Heavenly 3-Ingredient Peanut Butter Oreo Cookie Balls Recipe
Indulgent and ridiculously simple 3-ingredient peanut butter Oreo cookie balls dance between decadence and pure delight.
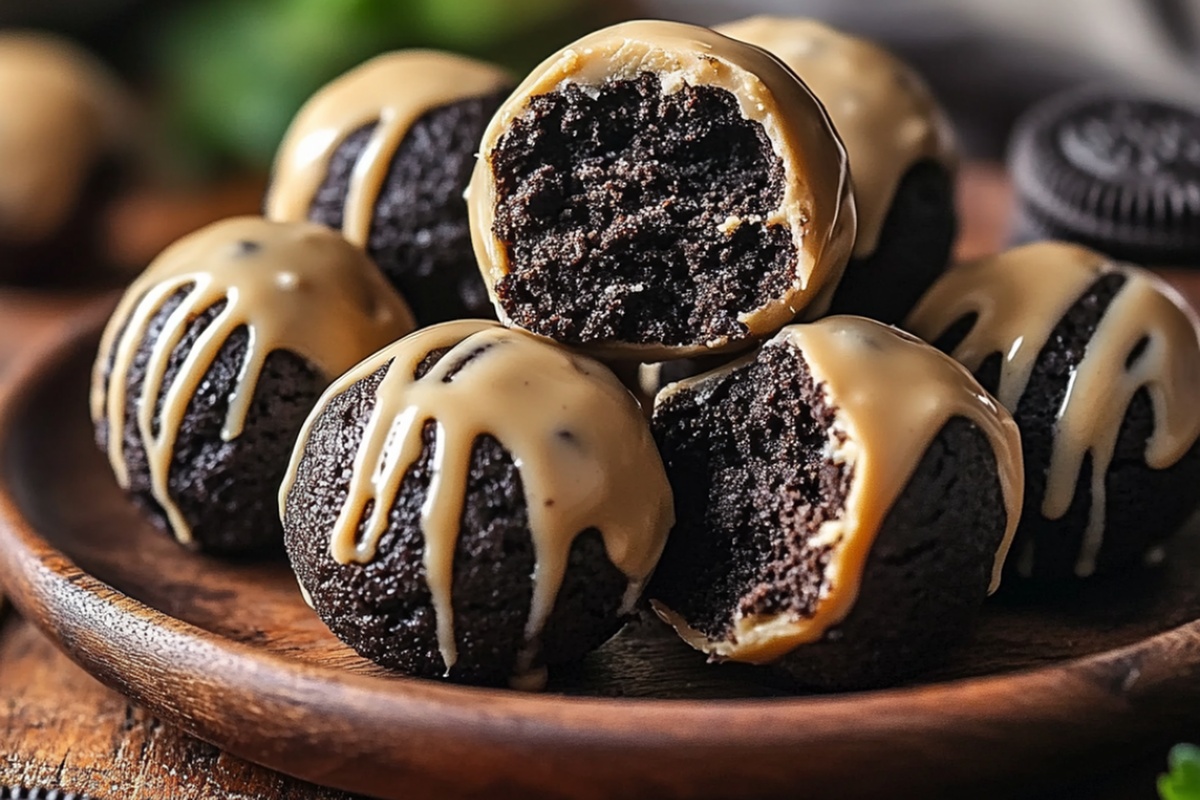
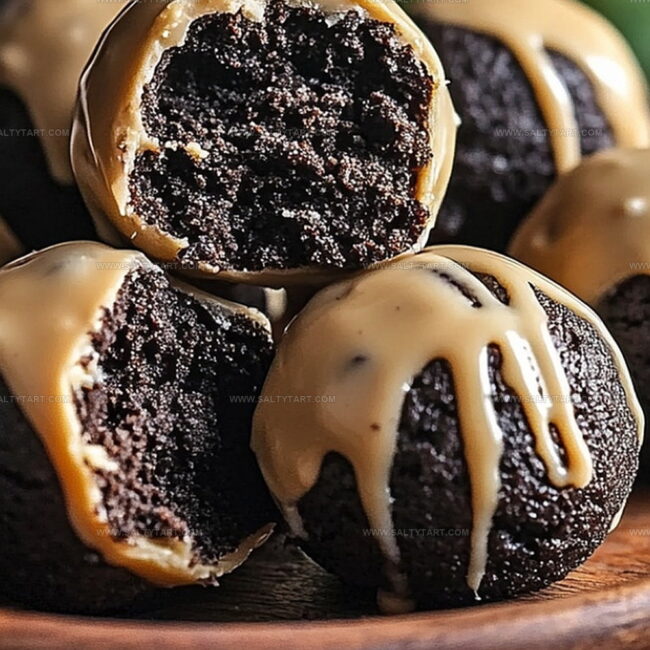
These no-bake treats blend crushed Oreo cookies with creamy peanut butter into irresistible bite-sized spheres of pure bliss.
Chocolate coating adds a luxurious finish that makes these little morsels absolutely stunning.
Each ball packs an intense flavor punch that will make dessert lovers weak in the knees.
Rich and smooth, they require minimal effort but deliver maximum satisfaction.
Minimal ingredients, maximum pleasure – these cookie balls are perfect for spontaneous sweet cravings or elegant party snacks.
Prepare to wow everyone with this effortless dessert that looks like you spent hours in the kitchen.
Why Peanut Butter Oreo Balls Are Addictive
Ingredients for Three-Ingredient Oreo Cookie Balls
Base Ingredients:Coating Ingredient:Optional Preparation Tools:Steps to Roll Peanut Butter Oreo Balls

Step 1: Crumble Oreo Cookies
Grab your food processor and pulse the Oreo cookies until they transform into fine, sandy crumbs. No food processor?
No worries! Toss the cookies into a resealable plastic bag and crush them with a rolling pin, releasing your inner baker’s energy.
Step 2: Blend Creamy Mixture
Dump the cookie crumbs into a spacious mixing bowl. Add smooth peanut butter and mix thoroughly until the ingredients merge into a rich, dense dough that holds together perfectly.
Step 3: Shape Delightful Treats
Using your hands, roll the mixture into bite-sized spheres about the size of a golf ball. Arrange these tasty morsels on a parchment-lined tray, ready for their chocolatey makeover.
Step 4: Melt Chocolate Coating
Select a microwave-safe bowl and gently melt chocolate chips. Zap in short 20-second bursts, stirring between each interval until the chocolate transforms into a silky, glossy liquid.
Step 5: Dunk and Coat
Carefully dip each cookie ball into the melted chocolate, using a fork to ensure complete coverage. Allow excess chocolate to drip off, creating a smooth, even shell around each treat.
Step 6: Chill and Set
Slide the chocolate-covered balls into the refrigerator for about 30 minutes. For speedier results, pop them in the freezer and watch the magic happen faster.
Step 7: Enjoy Your Creation
Once the chocolate hardens, these irresistible Peanut Butter Oreo Cookie Balls are ready to delight taste buds and impress friends!
Notes for Oreo Cookie Ball Success
Creative Ways to Change Up Oreo Balls
What Goes Well With Oreo Cookie Balls
Storing Peanut Butter Oreo Balls Safely
FAQs
Yes, you can substitute Oreos with similar sandwich cookies like chocolate-filled or cream-filled varieties. Graham crackers also work well as an alternative.
Absolutely! Place the Oreos in a sealed Ziploc bag and crush them using a rolling pin or the bottom of a heavy glass. Make sure to crush them into fine crumbs.
Stick with traditional creamy peanut butter. Natural peanut butter tends to be more liquid and might make the mixture too soft to form balls easily.
Print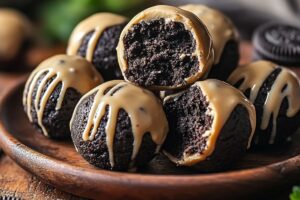
3-Ingredient Peanut Butter Oreo Cookie Balls Recipe
- Total Time: 20 minutes
- Yield: 24 1x
Description
Indulgent 3-ingredient peanut butter oreo cookie balls deliver a simple yet irresistible dessert experience. Creamy, chocolatey morsels melt in your mouth, promising pure bliss with minimal effort and maximum satisfaction.
Ingredients
Main Ingredients:
- 1 package (15.25 ounces / 432 grams) Oreo cookies
- 1 cup (240 milliliters) creamy peanut butter
Coating:
- 1 1/2 cups (255 grams) chocolate chips (milk, dark, or white chocolate)
Instructions
- Transform Oreos into fine crumbs using a food processor. For manual crushing, seal cookies in a Ziploc bag and pulverize with a rolling pin until uniformly ground.
- Incorporate crushed Oreos with peanut butter in a mixing bowl, blending thoroughly until a dense, cohesive mixture forms with consistent texture.
- Craft uniform spheres approximately 1-inch in diameter from the Oreo-peanut butter blend, positioning each on a parchment-lined surface.
- Melt chocolate chips in a microwave-safe container, heating at 20-second intervals and stirring between cycles until completely smooth and glossy.
- Submerge each ball into melted chocolate, utilizing a fork to ensure complete coverage. Allow excess chocolate to drip off gently before returning to parchment.
- Chill the chocolate-enrobed balls in refrigerator for 30 minutes or freeze for 15 minutes until chocolate hardens and sets completely.
- Once chocolate solidifies, the decadent peanut butter Oreo cookie balls are primed for serving and enjoying.
Notes
- Crush Oreos without a food processor by placing them in a sealed bag and rolling with a wine bottle or heavy pan for an even, fine texture.
- Ensure peanut butter is at room temperature for easier mixing and a smoother consistency with the Oreo crumbs.
- Use dark or white chocolate for coating to create different flavor variations and visual appeal.
- Customize by sprinkling crushed nuts, sea salt, or drizzling additional melted chocolate on top after chilling for extra gourmet touch.
- Prep Time: 20 minutes
- Cook Time: 0 minutes
- Category: Snacks, Desserts
- Method: Chilling
- Cuisine: American
Nutrition
- Serving Size: 24
- Calories: 182
- Sugar: 13 g
- Sodium: 78 mg
- Fat: 11 g
- Saturated Fat: 3.5 g
- Unsaturated Fat: 7.5 g
- Trans Fat: 0.1 g
- Carbohydrates: 18 g
- Fiber: 1 g
- Protein: 3.5 g
- Cholesterol: 4 mg
Jess Martinez
Contributing Recipe Writer & Nutrition Consultant
Expertise
Southwestern and Latin American cooking, Nutritional analysis and healthy recipe planning, Cultural food traditions, Modifying traditional dishes for better health
Education
Santa Fe Community College
Certificate in Culinary Arts
Focused on mastering the flavors and cooking methods of traditional Southwestern cuisine.
Jess’s love for bold, homegrown flavors led her straight into the world of Southwestern cooking and cultural nutrition.
After completing her Certificate in Culinary Arts at Santa Fe Community College, she made it her mission to show that good-for-you food can still taste incredible.
At saltytart.com, Jess shares vibrant, health-conscious recipes with roots in tradition but a fresh, modern twist. When she’s not testing new recipes, you’ll find her at local growers’ markets, tending her herb garden, or digging into food history books.