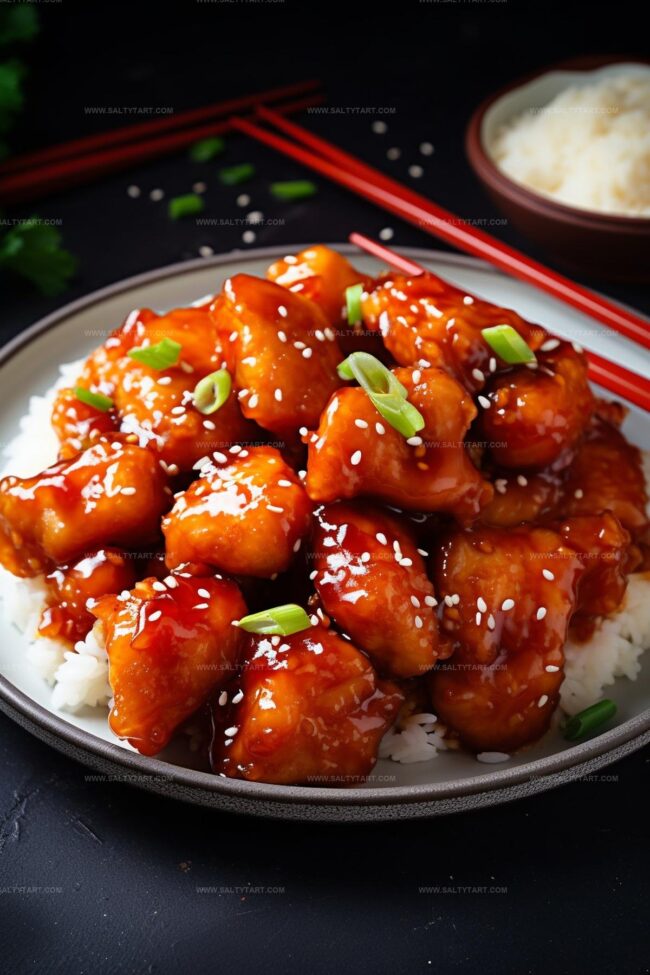
The Most Scrumptious Baked Sweet and Sour Chicken Recipe Ever
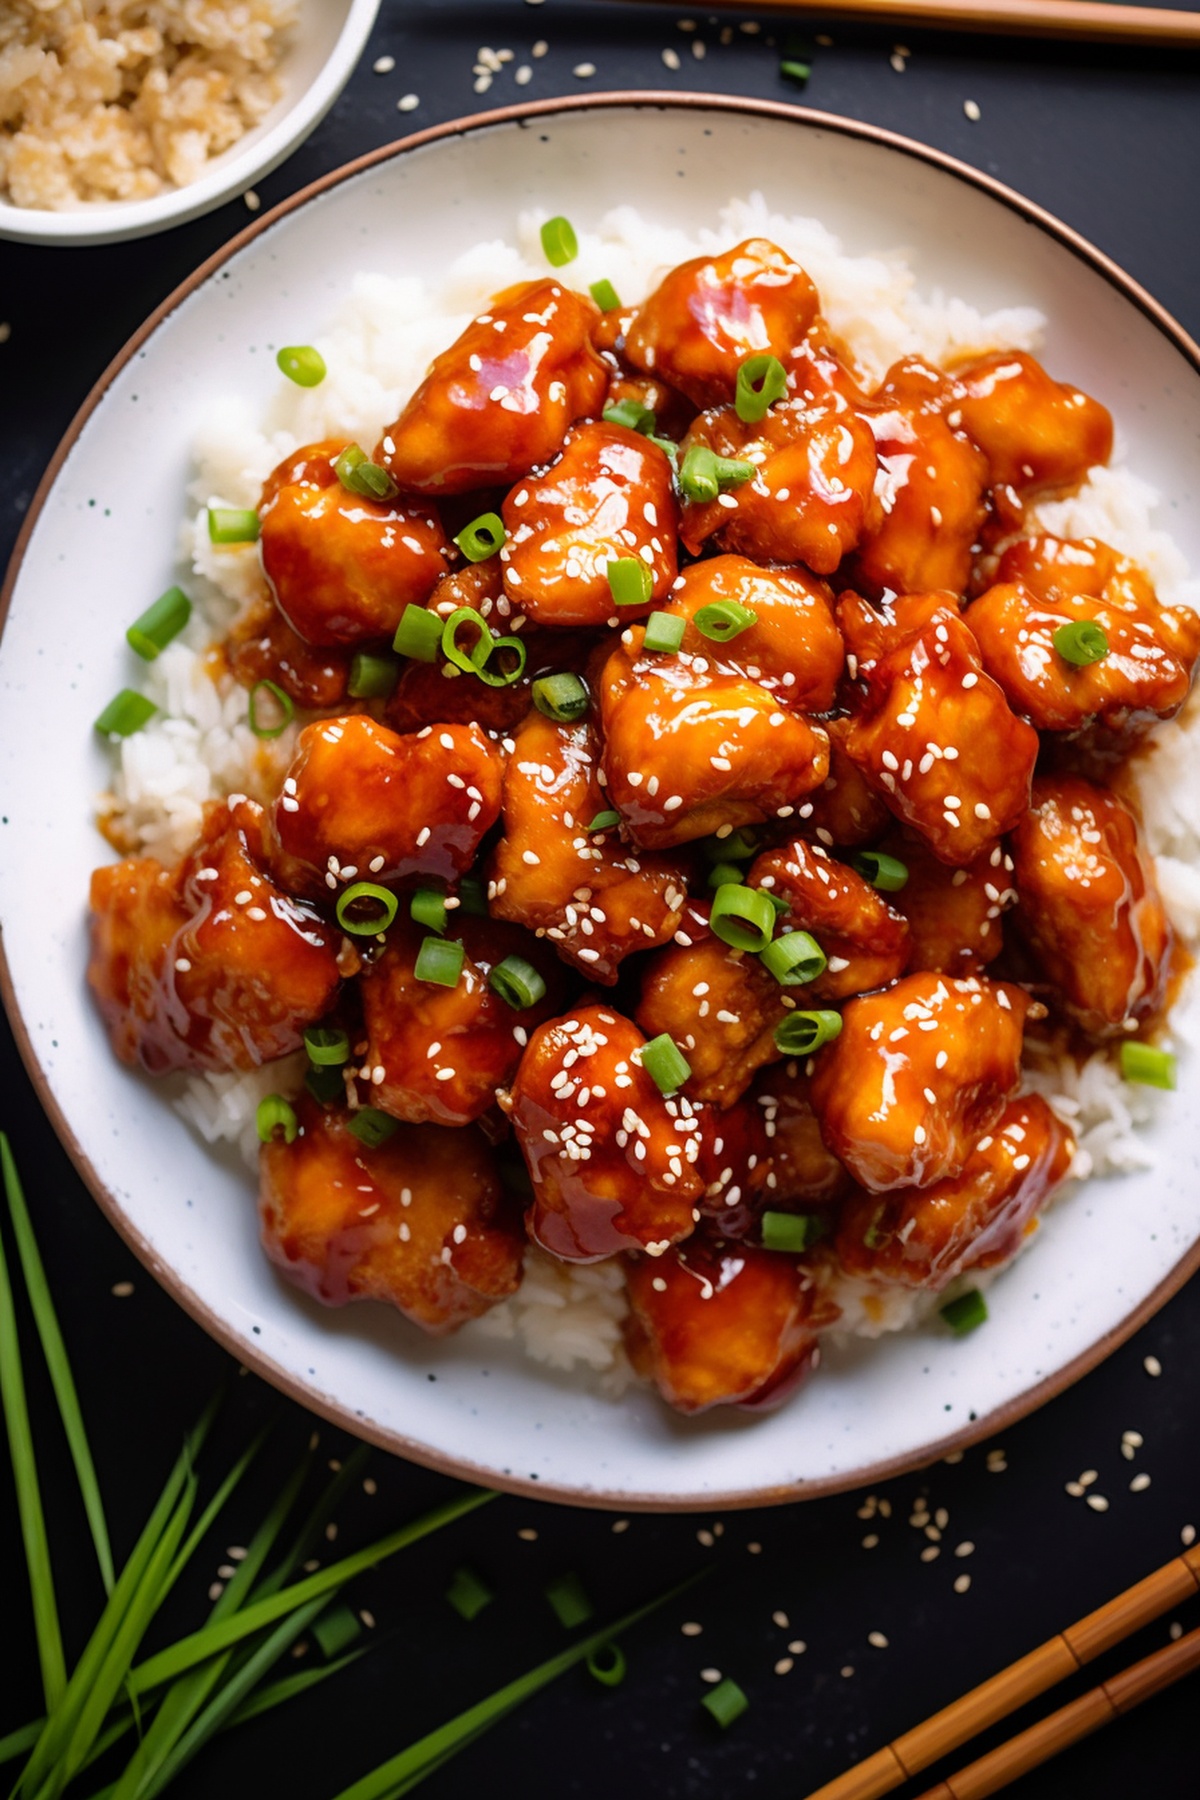
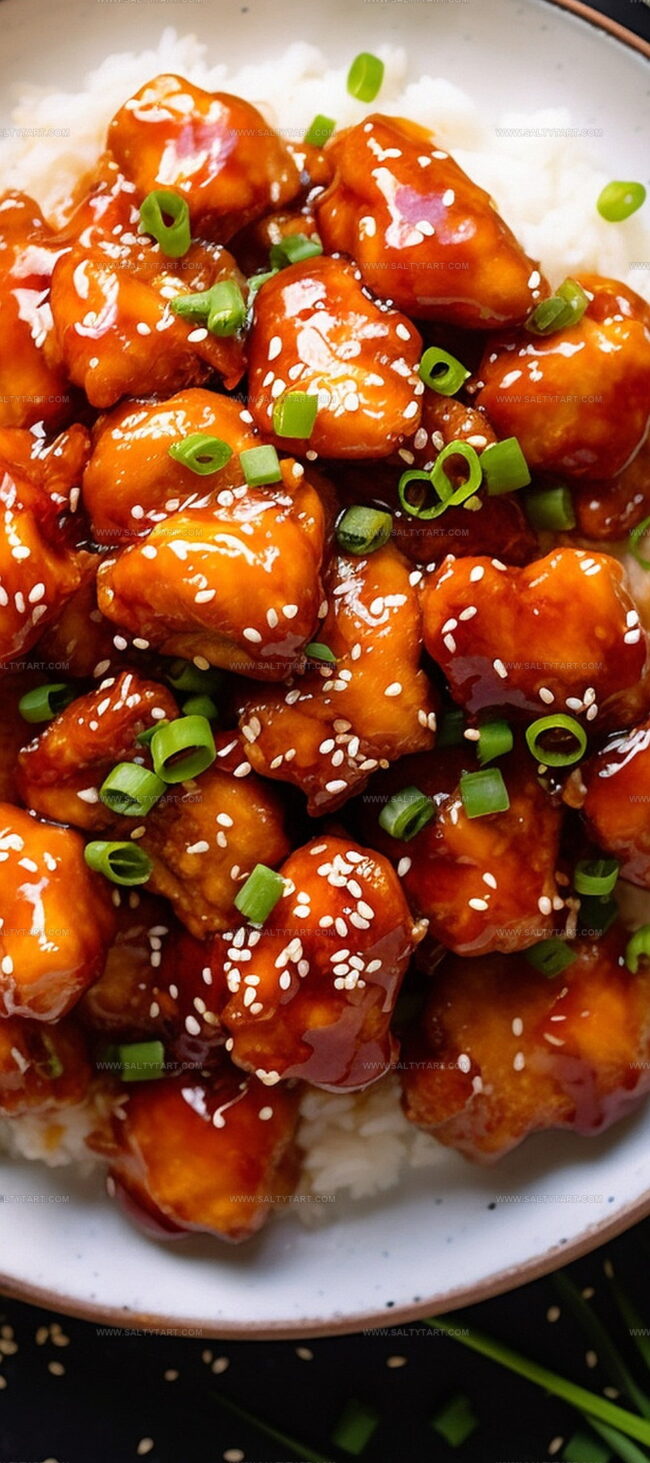
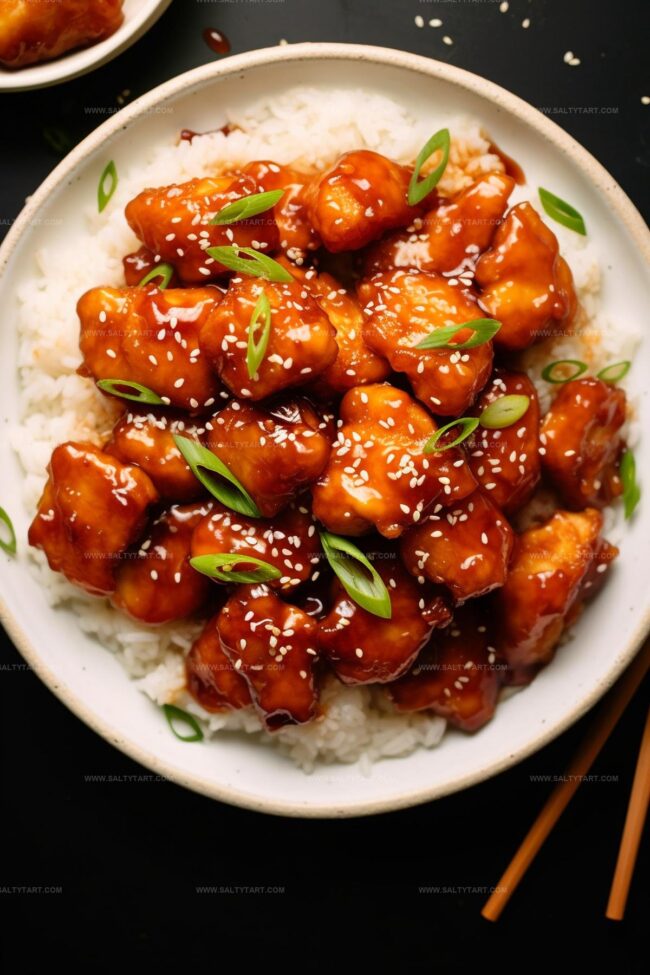
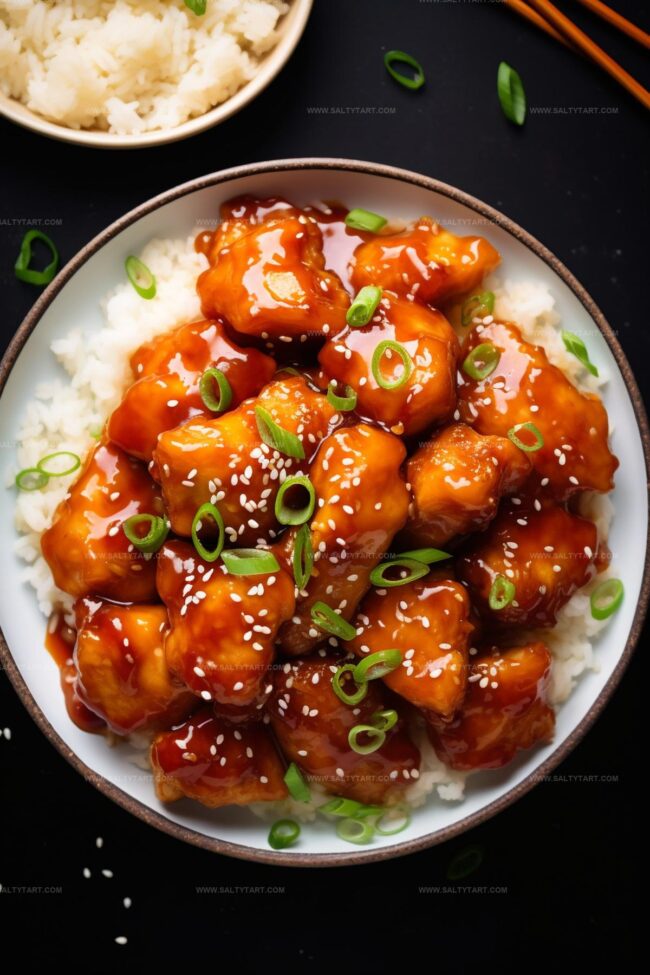
Crispy, golden baked sweet and sour chicken promises a delightful twist on classic takeout favorites.
Restaurants often serve greasy versions that leave you feeling heavy and unsatisfied.
Our home-style approach transforms simple ingredients into a mouthwatering meal everyone will love.
Perfectly balanced flavors dance between tangy and sweet, creating a sensational dining experience.
Lean chicken pieces receive a gorgeous golden coating that crunches beautifully with each bite.
Minimal effort yields maximum satisfaction, making this recipe a weeknight dinner champion.
Quick preparation meets incredible taste, ensuring you’ll want to add this to your regular rotation.
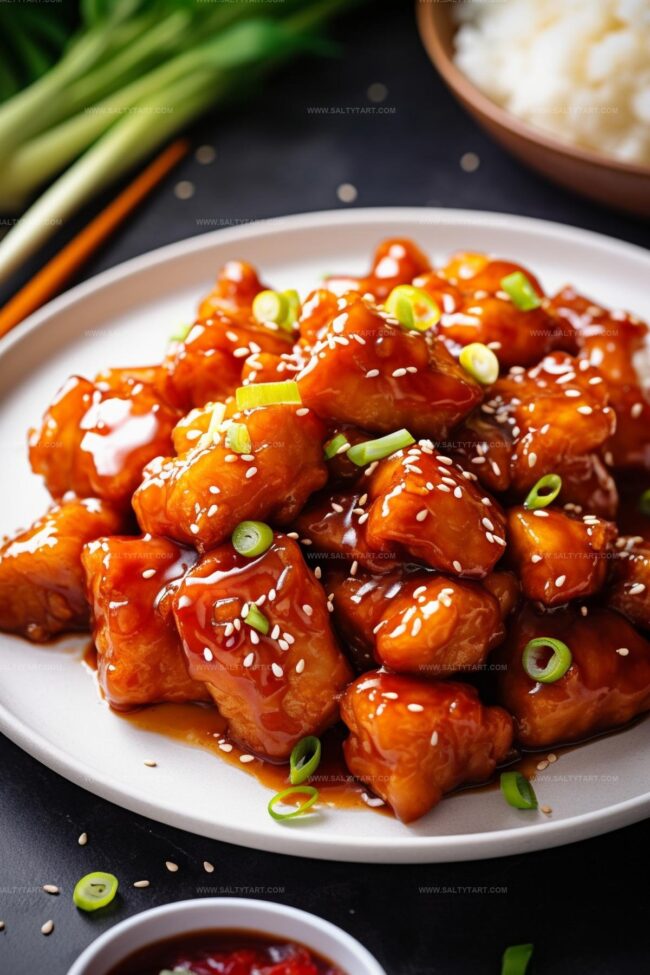
Baked Sweet and Sour Chicken – Balanced Flavors Baked to Perfection

Ingredients for Baked Sweet and Sour Chicken
How to Bake Sweet and Sour Chicken to Tenderness

Step 1: Warm Up the Oven
Preheat the oven to 325 degrees Fahrenheit. This will create the perfect cooking environment for your delicious sweet and sour chicken.
Step 2: Prepare the Chicken
Slice chicken breasts into bite-sized pieces. Sprinkle salt and pepper over the chicken to enhance its flavor.
Step 3: Create the Coating Station
Set up two bowls for coating the chicken:Dip each chicken piece first into cornstarch, ensuring full coverage, then transfer to the egg mixture for a complete coating.
Step 4: Brown the Chicken
Heat canola oil in a skillet over medium-high heat.
Carefully place chicken pieces in the hot oil and cook until they turn golden brown on all sides. This step adds a beautiful crispy texture to the chicken.
Step 5: Mix the Sauce
In a mixing bowl, combine the following ingredients:Stir until the sauce is well blended and smooth.
Step 6: Bake and Coat
Transfer the golden-brown chicken pieces to a greased 9 x 13 baking dish.
Pour the prepared sauce evenly over the chicken, making sure each piece is generously coated.
Step 7: Slow Cook to Perfection
Place the baking dish in the preheated oven.
Bake for 1 hour, stirring the chicken every 15 minutes to ensure the sauce is distributed evenly and the chicken remains moist and flavorful.
Tips to Achieve the Best Baked Sweet and Sour Chicken
Creative Variations of Baked Sweet and Sour Chicken
Pairings That Go Great with Baked Sweet and Sour Chicken
Storage Tips for Baked Sweet and Sour Chicken
FAQs
Cornstarch creates a crispy exterior by absorbing moisture, while eggs help the coating stick to the chicken, ensuring a crunchy and flavorful texture when baked.
White vinegar and apple cider vinegar work best for this recipe. Substituting with other vinegars might alter the sweet and sour balance and overall flavor profile.
Use a meat thermometer to check that the internal temperature reaches 165 degrees Fahrenheit. This ensures the chicken is safe to eat and remains juicy.
Browning the chicken in a skillet creates a golden crust and locks in flavor before baking, resulting in a more delicious and visually appealing dish.
Print
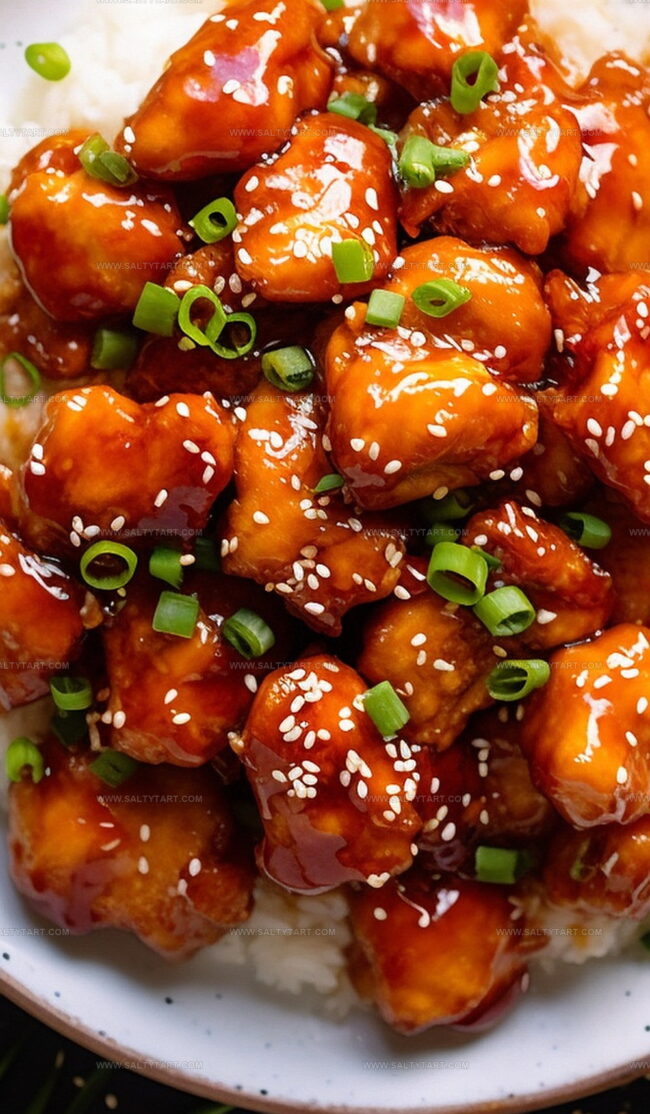
Baked Sweet And Sour Chicken Recipe
- Total Time: 1 hour 25 minutes
- Yield: 4 1x
Description
Sweet and sour chicken brings authentic Chinese-American flavors to home kitchens with crispy battered pieces glazed in tangy sauce. Home cooks can recreate restaurant-quality dishes through simple techniques and fresh ingredients.
Ingredients
- 4 chicken breasts (boneless, skinless)
- 3 eggs (thoroughly beaten)
- 1 1/2 cups cornstarch
- 1 cup granulated sugar
- 1/4 cup white vinegar
- 1/4 cup apple cider vinegar
- 1/4 cup ketchup
- 1/4 cup canola oil
- 1 tbsp low sodium soy sauce
- 1 tsp garlic salt
- Salt and pepper (to taste)
Instructions
- Preheat the oven to 325°F, preparing a cooking environment for a flavorful chicken dish.
- Cut chicken breasts into consistent, bite-sized pieces and season with salt and pepper to enhance natural flavors.
- Create two separate preparation stations: one with cornstarch and another with beaten eggs. Thoroughly coat each chicken piece first in cornstarch, then dip completely in egg mixture.
- Heat canola oil in a skillet over medium-high temperature. Fry chicken pieces until achieving a crispy, golden-brown exterior on all sides. Transfer the seared chicken to a pre-greased 9 x 13 baking dish.
- Prepare the signature sweet and sour sauce by whisking together granulated sugar, ketchup, apple cider vinegar, white vinegar, soy sauce, and garlic salt until fully incorporated and smooth.
- Pour the sauce evenly over the chicken, ensuring each piece is generously covered with the tangy mixture.
- Bake in the preheated oven for 1 hour, stirring the chicken every 15 minutes to guarantee consistent sauce distribution and prevent burning.
Notes
- Achieve a crispy exterior by ensuring each chicken piece is completely and evenly coated in cornstarch before dipping in egg, creating a perfect golden-brown crust.
- Adjust the sweetness and tanginess by slightly modifying vinegar and sugar ratios to suit personal taste preferences or dietary needs.
- Maintain medium-high heat when frying chicken to prevent burning and ensure a uniform golden color without overcooking the meat.
- Prepare the chicken and sauce in advance, storing separately in the refrigerator, then combine and bake when ready to serve for convenience and time-saving.
- Prep Time: 25 minutes
- Cook Time: 1 hour
- Category: Lunch, Dinner
- Method: Frying
- Cuisine: Chinese
Nutrition
- Serving Size: 4
- Calories: 604 kcal
- Sugar: 37 g
- Sodium: 437 mg
- Fat: 24 g
- Saturated Fat: 3 g
- Unsaturated Fat: 20 g
- Trans Fat: 0 g
- Carbohydrates: 54 g
- Fiber: 1 g
- Protein: 38 g
- Cholesterol: 110 mg
Mike Reynolds
Founder & Recipe Developer
Expertise
Farm-to-table cuisine, Seasonal recipe development, Sustainable cooking techniques, Food photography
Education
Asheville-Buncombe Technical Community College (A-B Tech)
Associate Degree in Culinary Arts
Mike studied culinary arts with a strong focus on farm-to-table principles and sustainable cooking. His training emphasized the importance of fresh, local ingredients and environmentally responsible practices in the kitchen.
Mike’s food journey began deep in the Blue Ridge Mountains, where weekends at farmers’ markets and home-cooked meals sparked a lifelong obsession with simple, seasonal eating.
After earning his Associate Degree in Culinary Arts from Asheville-Buncombe Technical Community College, he set out to bring farm-to-table cooking into everyday kitchens, without the fuss.
Mike’s philosophy is all about keeping it fresh, unfussy, and full of heart. When he’s not crafting new single-serving recipes, he’s hiking mountain trails, chatting with local farmers, or experimenting with wild ingredients in his backyard kitchen.