
Homemade Banana And Peanut Butter Chewy Sticks For Dogs Recipe
Spoiling furry friends with homemade treats becomes a delightful adventure when you craft these banana and peanut butter chewy sticks for dogs.
Canine companions will wag their tails with pure excitement over this simple, nutritious snack.
Packed with wholesome ingredients, these chewy sticks offer a perfect blend of flavors dogs adore.
Each bite delivers a tasty combination that supports their health and happiness.
The recipe requires minimal preparation and uses ingredients you likely already have in your kitchen.
You can whip up these treats quickly, ensuring your pup enjoys a special homemade reward.
Let’s make tails wag and dogs dance with joy through this delectable, tail-wagging recipe.
Why Dogs Love Banana Peanut Butter Sticks
What Goes Into Peanut Butter Dog Sticks
Main Ingredients:Flour and Oats:Additional Ingredients:How to Make Peanut Butter Chewy Sticks
Step 1: Warm Up the Oven
Get your oven cozy at 325F (165C). Grab a baking sheet and cover it with parchment paper for easy cleanup.
Step 2: Create Delicious Dough
In a mixing bowl, turn that ripe banana into a smooth mash. Bring in some peanut butter and an egg, stirring until everything becomes best friends.
Slowly introduce:Mix until the dough looks thick and perfect. If it seems too dry, splash in some water one tablespoon at a time to make it just right.
Step 3: Shape Doggy Delights
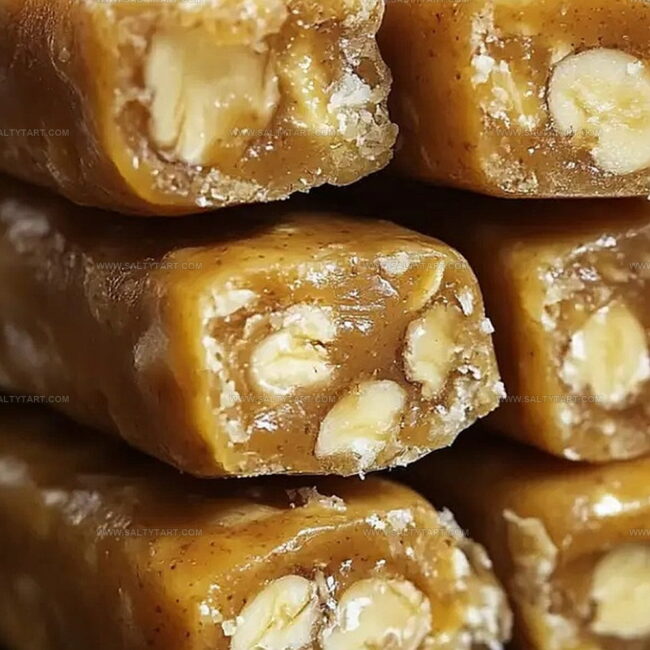
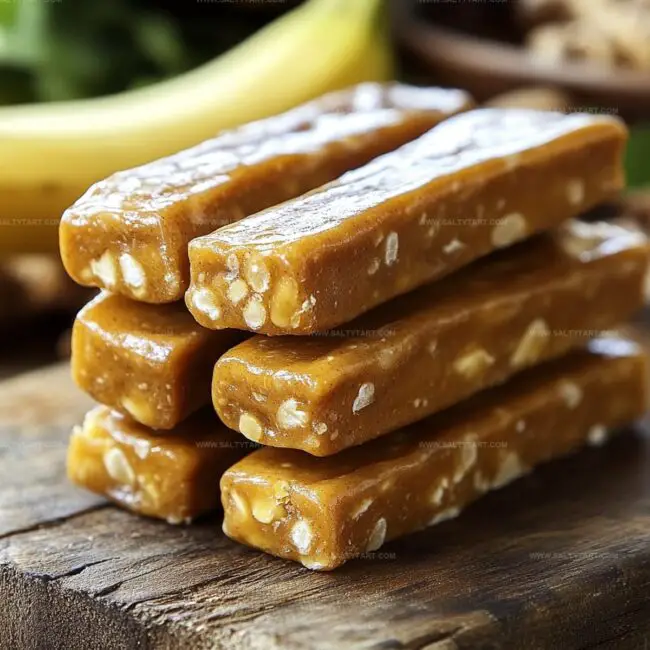
Scoop out portions of the dough and roll them into fun stick shapes. Aim for 4-5 inch long treats that look like little doggy snack bars.
Place these yummy sticks on your lined baking sheet, giving them a little breathing room.
Step 4: Bake to Perfection
Pop the baking sheet into the oven.
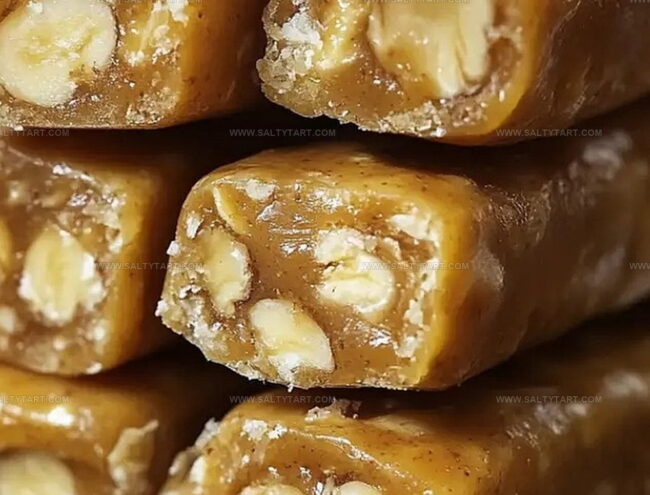
Bake for 20-25 minutes until the outside feels firm but the center remains slightly soft. This creates that irresistible chewy texture your furry friend will go crazy for.
Step 5: Cool and Serve
Let the treats chill completely on a wire rack. Once they’re cool, surprise your pup with these homemade goodies that show just how much you love them!
Notes Before Making Banana Dog Treats
Fun Flavors for Banana Dog Chewy Sticks
What Pairs Well With Dog Chewy Sticks
Keeping Dog Treat Sticks Fresh and Soft
FAQs
These treats are generally safe for most dogs, but always consult your veterinarian first, especially if your dog has specific dietary restrictions or allergies.
You can use whole wheat flour or rice flour as alternatives, but ensure they are dog-safe and consult with your vet about appropriate substitutions.
Store these homemade dog treats in an airtight container in the refrigerator for up to 5-7 days, or freeze for up to 2 months.
Puppies over 6 months can enjoy these treats in moderation, but always introduce new foods slowly and in small quantities.
Print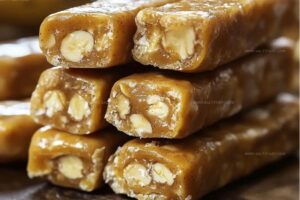
Banana And Peanut Butter Chewy Sticks For Dogs Recipe
- Total Time: 40 minutes
- Yield: 12 1x
Description
Canine companions will wag tails for homemade banana and peanut butter chewy sticks, packed with nutritious ingredients dogs adore. Wholesome treats made with love provide tail-wagging happiness for furry friends seeking delicious, healthy snacks.
Ingredients
Main Ingredients:
- 1 ripe banana (mashed)
- 1/4 cup (59 milliliters) creamy, unsalted peanut butter (xylitol-free)
- 1 large egg
Flour and Oats:
- 1 cup (120 grams) oat flour (or finely blended rolled oats)
- 1/4 cup (22 grams) rolled oats
Liquid Ingredients:
- 2 tablespoons (30 milliliters) water (if needed to bind the dough)
Instructions
- Prepare the oven to 325F (165C) and line a baking sheet with parchment paper for optimal dog treat preparation.
- Thoroughly mash the ripe banana in a mixing bowl until it reaches a smooth, creamy consistency.
- Incorporate peanut butter and egg into the mashed banana, stirring until the mixture becomes uniformly blended.
- Gradually fold in oat flour and rolled oats, mixing carefully to create a thick, cohesive dough.
- Adjust the dough’s moisture by adding water one tablespoon at a time if the mixture appears too dry and crumbly.
- Carefully portion the dough and roll into elongated stick shapes, approximately 4-5 inches in length.
- Arrange the dog treat sticks on the prepared baking sheet, ensuring slight separation between each piece.
- Bake for 20-25 minutes, monitoring until the exterior becomes firm while maintaining a soft, chewy center.
- Transfer the baked treats to a wire rack and allow them to cool completely before offering to your canine companion.
Notes
- Adjust banana ripeness for optimal sweetness, using overripe bananas will enhance natural sugars and make treats more appealing to dogs.
- Replace peanut butter with alternative nut butters like almond or sunflower seed butter for dogs with peanut allergies or sensitivities.
- Keep treats uniform in size to ensure consistent baking and prevent uneven texture between sticks.
- Store in airtight container for up to one week at room temperature or refrigerate for extended freshness, maintaining chewy consistency.
- Prep Time: 15 minutes
- Cook Time: 25 minutes
- Category: Snacks
- Method: Baking
- Cuisine: American
Nutrition
- Serving Size: 12
- Calories: 73 kcal
- Sugar: 2 g
- Sodium: 15 mg
- Fat: 3.5 g
- Saturated Fat: 0.6 g
- Unsaturated Fat: 2.7 g
- Trans Fat: 0 g
- Carbohydrates: 9 g
- Fiber: 1.3 g
- Protein: 3 g
- Cholesterol: 28 mg
Jess Martinez
Contributing Recipe Writer & Nutrition Consultant
Expertise
Southwestern and Latin American cooking, Nutritional analysis and healthy recipe planning, Cultural food traditions, Modifying traditional dishes for better health
Education
Santa Fe Community College
Certificate in Culinary Arts
Focused on mastering the flavors and cooking methods of traditional Southwestern cuisine.
Jess’s love for bold, homegrown flavors led her straight into the world of Southwestern cooking and cultural nutrition.
After completing her Certificate in Culinary Arts at Santa Fe Community College, she made it her mission to show that good-for-you food can still taste incredible.
At saltytart.com, Jess shares vibrant, health-conscious recipes with roots in tradition but a fresh, modern twist. When she’s not testing new recipes, you’ll find her at local growers’ markets, tending her herb garden, or digging into food history books.