The Sweetest Berry Crumble Cookie Cups Recipe for Teatime Joy
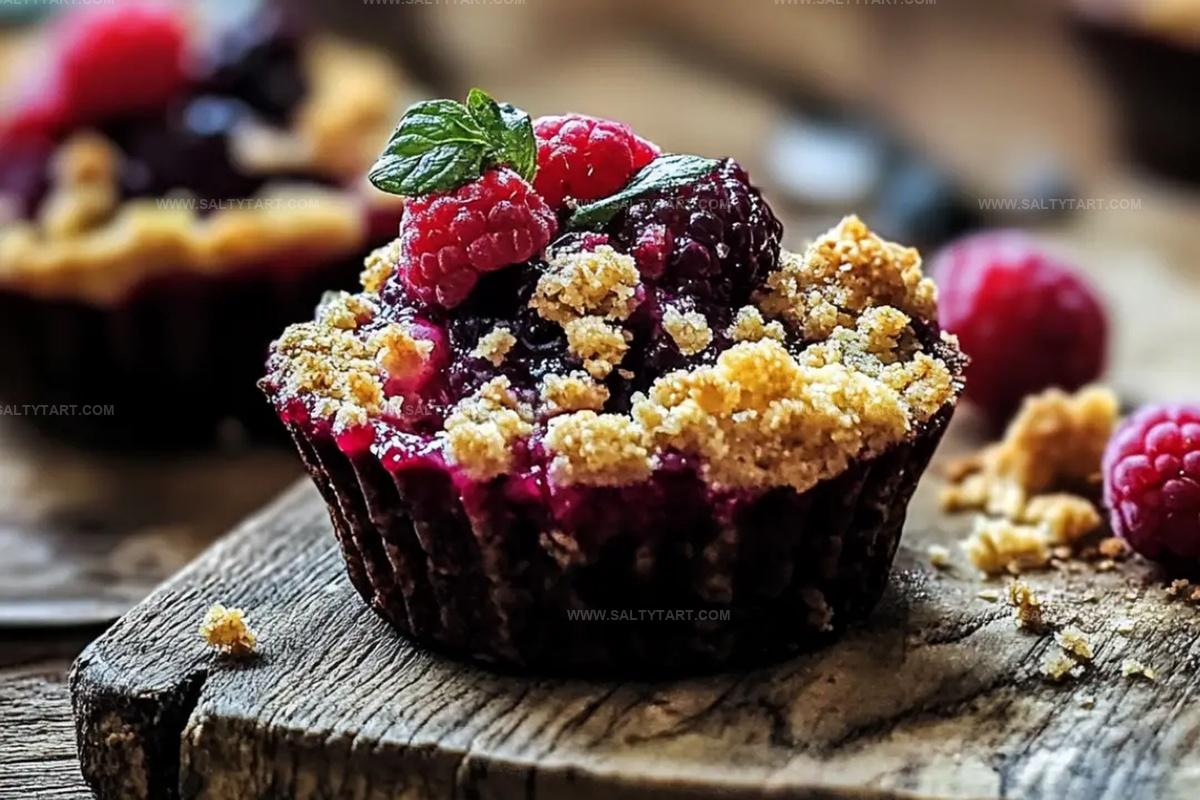
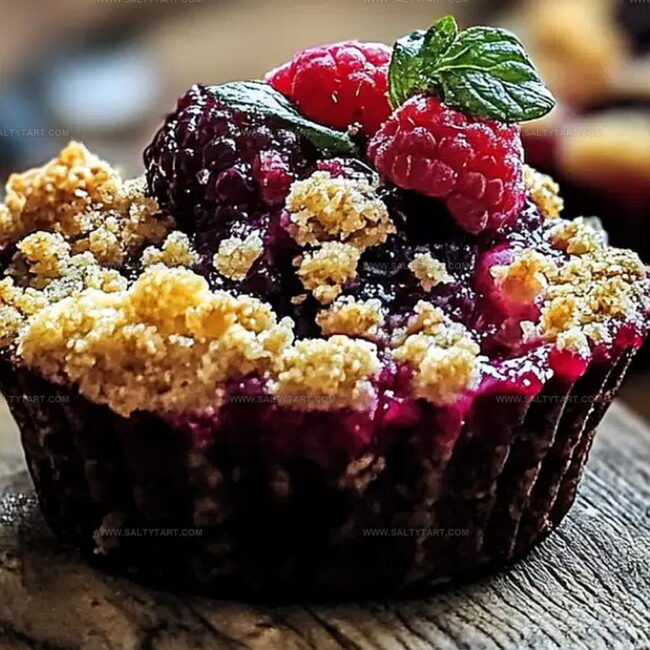
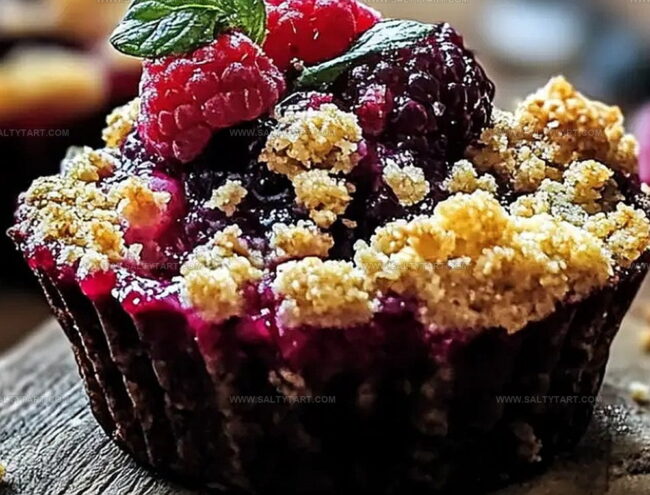
Soft, buttery cookies meet a burst of vibrant berry goodness in these delightful berry crumble cookie cups that promise pure dessert magic.
Nestled with a crumbly streusel topping, each bite delivers a symphony of sweet and tangy flavors.
The delicate cookie base cradles a luscious berry filling, creating an irresistible treat that dances between textures and tastes.
Homemade comfort radiates from these adorable dessert cups, inviting you to savor every delectable moment.
Perfectly portioned and elegantly simple, these cookie cups transform ordinary ingredients into an extraordinary experience.
The combination of tender cookies and fruity filling will make these treats the star of any gathering.
Let your taste buds embark on a delicious adventure with this crowd-pleasing dessert that’s sure to become a family favorite.
What Makes Berry Crumble Cookie Cups Special
Ingredients for Berry Crumble Cookie Cups Recipe
Main Ingredients:
Dry Mix Ingredients:Wet Ingredients:Finishing Ingredients:Instructions for Berry Crumble Cookie Cups Success

Step 1: Warm Up the Oven
Turn the oven to 350F (175C). Grab a 12-count muffin pan and spray it with cooking spray or line with paper liners.
Step 2: Mix Cookie Base
Grab two Berry Crumble Cake Mix packets and a mixing bowl. Combine:Stir everything until the mixture looks crumbly and well blended.
Step 3: Shape Cookie Shells
Scoop 2 tablespoons of dough into each muffin well. Gently press the dough down and up the sides, creating little cookie cups.
Set aside any leftover dough.
Step 4: Fill with Berry Goodness
Pour the berry mixture from packet 2 into each cookie shell.
Sprinkle the remaining dough crumbles on top.
Step 5: Bake to Golden Perfection
Slide the pan into the oven.
Bake for 12-14 minutes until the edges turn a beautiful golden brown. Let the cookie cups cool completely in the pan.
Step 6: Drizzle with Sweet Finish
Whisk powdered sugar and milk in a small bowl. Add milk gradually until the icing is smooth and drizzle-friendly.
Carefully remove cookies from the pan and add a gorgeous icing swirl on top of each cup.
Tips for Tasty Berry Crumble Cookie Cups
Ways to Change Berry Crumble Cookie Cups
Perfect Matches for Berry Crumble Cookie Cups
Best Storage for Berry Crumble Cookie Cups
FAQs
No, these cookie cups are beginner-friendly and require simple steps. The recipe uses a cake mix packet and basic ingredients, making it easy for home bakers of all skill levels.
While the recipe calls for the provided berry mixture, you could potentially substitute with fresh berries. However, fresh berries might release more liquid and could affect the overall texture of the cookie cups.
You’ll need a 12-count muffin pan, mixing bowls, measuring spoons, and a whisk. A basic kitchen setup is sufficient to create these delicious treats.
Print
Berry Crumble Cookie Cups Recipe
- Total Time: 29 minutes
- Yield: 12 1x
Description
Sweet Berry Crumble Cookie Cups deliver a delightful fusion of buttery cookie base and luscious berry filling. Crumbly, golden edges and juicy fruit center promise a mouthwatering dessert you’ll savor with pure joy.
Ingredients
Main Ingredients:
- 1 package berry crumble cake mix
- 1 large egg
- 1/2 cup (120 ml) butter, softened
Liquid Ingredients:
- 1/2 cup (120 ml) water
- 2 tablespoons (30 ml) milk
Finishing Ingredient:
- 1/2 cup (60 g) powdered sugar
Instructions
- Preheat the oven to 350F (175C) and prepare a 12-count muffin pan by greasing or lining with paper liners.
- In a small bowl, mix Berry Crumble Cake Mix packet 2 with water and set aside.
- In a large bowl, blend Berry Crumble Cake Mix packet 1, softened butter, and egg until a crumbly dough forms.
- Distribute 2 tablespoons of dough into each muffin well, pressing firmly to cover the bottom and sides about 1/2 inch up.
- Carefully spoon the berry mixture from packet 2 into each cookie cup.
- Crumble the remaining dough over the berry filling, ensuring even coverage.
- Bake for 12-14 minutes until the edges turn golden brown.
- Allow cookie cups to cool completely within the muffin pan.
- Prepare icing by whisking powdered sugar and milk in a small bowl until smooth and drizzle-like consistency.
- Remove cooled cookie cups from the pan and drizzle icing generously over the top of each cup.
Notes
- Achieve room temperature butter by leaving it out for 30-45 minutes before mixing, ensuring smooth and even dough consistency.
- Swap packet mix with fresh or frozen berries mixed with a touch of cornstarch for a more homemade filling.
- Use a gluten-free cake mix and almond flour to create a celiac-friendly version of these delightful cookie cups.
- Keep cookie cups in an airtight container at room temperature for up to 3 days, or refrigerate for extended freshness.
- Prep Time: 15 minutes
- Cook Time: 14 minutes
- Category: Desserts, Snacks
- Method: Baking
- Cuisine: American
Nutrition
- Serving Size: 12
- Calories: 192 kcal
- Sugar: 13 g
- Sodium: 145 mg
- Fat: 9 g
- Saturated Fat: 5 g
- Unsaturated Fat: 3 g
- Trans Fat: 0.1 g
- Carbohydrates: 26 g
- Fiber: 0.5 g
- Protein: 2 g
- Cholesterol: 35 mg
Jess Martinez
Contributing Recipe Writer & Nutrition Consultant
Expertise
Southwestern and Latin American cooking, Nutritional analysis and healthy recipe planning, Cultural food traditions, Modifying traditional dishes for better health
Education
Santa Fe Community College
Certificate in Culinary Arts
Focused on mastering the flavors and cooking methods of traditional Southwestern cuisine.
Jess’s love for bold, homegrown flavors led her straight into the world of Southwestern cooking and cultural nutrition.
After completing her Certificate in Culinary Arts at Santa Fe Community College, she made it her mission to show that good-for-you food can still taste incredible.
At saltytart.com, Jess shares vibrant, health-conscious recipes with roots in tradition but a fresh, modern twist. When she’s not testing new recipes, you’ll find her at local growers’ markets, tending her herb garden, or digging into food history books.