Heavenly Brownie Muffin Pan Recipe: Bite-Sized Chocolate Bliss
Chocolate lovers crave these delectable brownie muffin pan treats that combine the rich, fudgy goodness of brownies with the adorable individual serving size.
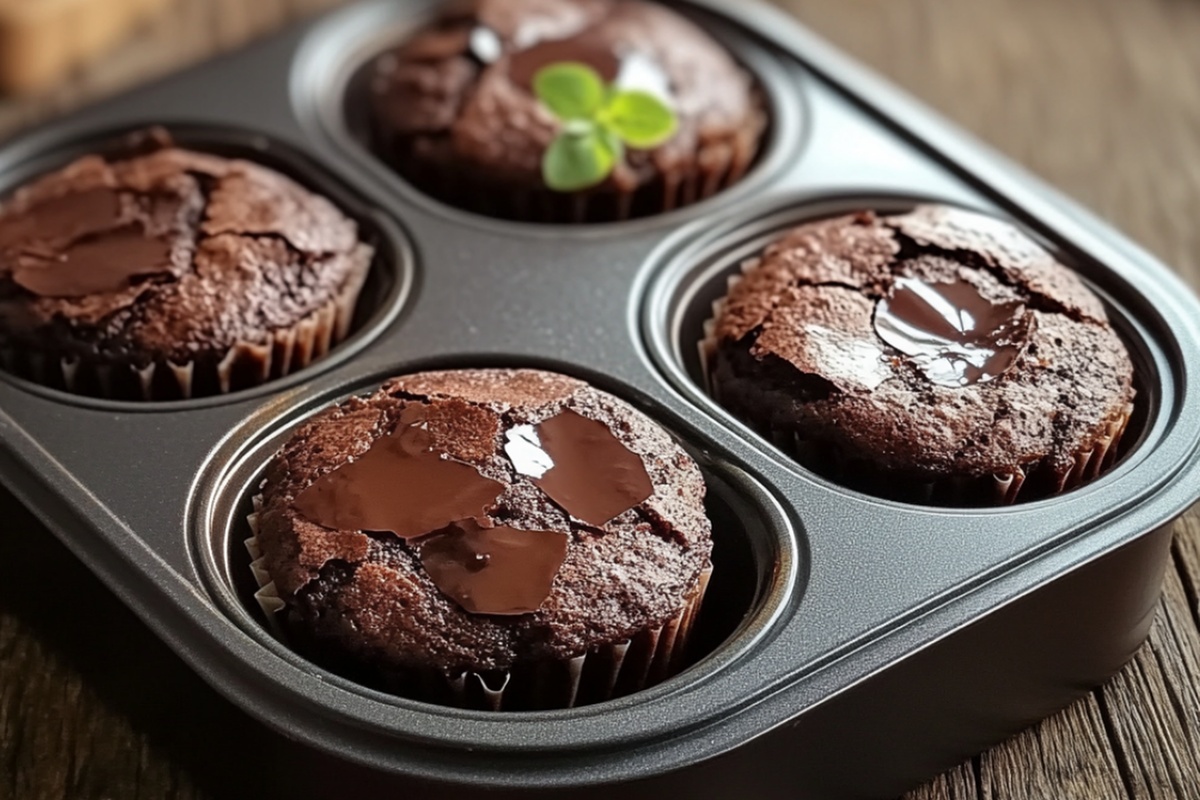
Baking these delightful morsels in a muffin pan creates perfectly portioned chocolate delights that are crispy on the outside and irresistibly gooey inside.
Each compact brownie muffin delivers an intense chocolate experience that will make your taste buds dance with joy.
The genius of this recipe lies in its simplicity and the way it transforms classic brownie batter into cute, handheld treats.
No more messy cutting or uneven slices – these muffin-style brownies ensure everyone gets an equally decadent portion.
With just a few basic ingredients and minimal prep time, you can whip up these crowd-pleasing chocolate gems that are sure to disappear faster than you can say “seconds, please!” Prepare to indulge in a dessert that’s both nostalgic and innovative, perfect for any chocolate craving.
Notes for Perfect Brownie Muffin Results
Tasty Mixes for Brownie Muffin Fans
Pairings That Go Well With Brownie Muffins
Storing Brownie Muffins for Snack Time
FAQs
Yes, you can substitute boxed mix with homemade brownie batter. Just ensure the batter consistency is similar and add an extra egg for that gooey texture.
You can use one muffin pan and bake in batches, or use a large baking pan and cut into squares after baking. Just adjust baking time accordingly.
Generously spray the muffin pan with nonstick cooking spray, or use cupcake liners. The extra egg helps create a softer texture that might stick more easily.
Why Brownie Muffin Pan Recipe Is So Popular
Ingredients Needed for Brownie Muffin Magic
Dry Ingredients:Wet Ingredients:Preparation Ingredients:Optional Serving Ingredients:Steps for Baking Brownie Muffins Easily
Step 1: Warm Up the Oven
Crank your oven to 350F and grab two 12-cup muffin pans. Give each pan a generous spray of nonstick cooking spray so your brownie muffins slide out like magic.
Step 2: Create the Chocolate Magic
Whip up the brownie mix following the box instructions. Here’s a pro tip: toss in an extra egg to make these treats extra fudgy and irresistible.
Step 3: Fill the Muffin Cups
Carefully distribute the batter into the muffin cups. Fill each cup about three-quarters full, leaving a little space for the muffins to rise and puff up beautifully.
Step 4: Bake to Perfection
Slide the pans into the preheated oven and bake for 20 minutes. You’ll know they’re done when the tops look set and a toothpick comes out with just a few moist chocolatey crumbs.
Step 5: Cool and Release
Let the brownie muffins hang out in the pans for 5 minutes. Then, use the tip of a butter knife to gently coax each muffin out of its cozy cup.
Step 6: Serve and Savor
Dig in while they’re warm and topped with a scoop of creamy ice cream, or let them cool completely for later snacking. These brownie muffins are pure chocolate heaven!
Print
Brownie Muffin Pan Recipe
- Total Time: 30 minutes
- Yield: 24 1x
Description
Rich chocolate Brownie Bites emerge from classic muffin pan magic, delivering irresistible individual desserts with deep cocoa intensity. Chocolate lovers discover compact, fudgy indulgence you’ll savor bite by delectable bite.
Ingredients
Main Ingredients:
- 2 boxes brownie mix
- 1 egg
Supporting Ingredients:
Baking/Preparation Ingredients:
- 1 nonstick cooking spray
Instructions
- Prepare the oven by heating to 350°F and thoroughly coat two 12-cup muffin pans with nonstick cooking spray to prevent sticking.
- Combine brownie mix according to package directions, incorporating an additional egg to create a more decadent, rich texture.
- Distribute batter carefully into muffin cups, filling approximately three-quarters full to accommodate rising during baking.
- Place muffin pans in preheated oven and bake for 20 minutes, ensuring tops appear set and a toothpick inserted near the center reveals a few moist crumbs.
- Allow brownies to rest in the pans for 5 minutes, then delicately loosen edges using a butter knife to facilitate smooth removal.
- Serve immediately while warm with a scoop of ice cream, or allow to cool completely for later enjoyment and storage.
Notes
- Swap out the boxed mix for a homemade brownie batter to control ingredients and reduce processed foods.
- Try mix-ins like chopped nuts, chocolate chips, or dried fruit to add texture and personalize the muffins.
- Use silicone muffin liners for even easier removal and minimal cleanup, especially helpful for those with limited kitchen time.
- Adjust baking time slightly for high-altitude cooking by reducing temperature by 25 degrees and slightly increasing flour to maintain perfect texture.
- Prep Time: 10 minutes
- Cook Time: 20 minutes
- Category: Breakfast, Snacks, Desserts
- Method: Baking
- Cuisine: American
Nutrition
- Serving Size: 24
- Calories: 140 kcal
- Sugar: 16 g
- Sodium: 150 mg
- Fat: 6 g
- Saturated Fat: 2.5 g
- Unsaturated Fat: 3.5 g
- Trans Fat: 0 g
- Carbohydrates: 22 g
- Fiber: 1 g
- Protein: 2 g
- Cholesterol: 25 mg
Jess Martinez
Contributing Recipe Writer & Nutrition Consultant
Expertise
Southwestern and Latin American cooking, Nutritional analysis and healthy recipe planning, Cultural food traditions, Modifying traditional dishes for better health
Education
Santa Fe Community College
Certificate in Culinary Arts
Focused on mastering the flavors and cooking methods of traditional Southwestern cuisine.
Jess’s love for bold, homegrown flavors led her straight into the world of Southwestern cooking and cultural nutrition.
After completing her Certificate in Culinary Arts at Santa Fe Community College, she made it her mission to show that good-for-you food can still taste incredible.
At saltytart.com, Jess shares vibrant, health-conscious recipes with roots in tradition but a fresh, modern twist. When she’s not testing new recipes, you’ll find her at local growers’ markets, tending her herb garden, or digging into food history books.