Sweet & Crunchy Butterfinger Balls Recipe for Candy Lovers
Whipping up these delectable Butterfinger balls sends sweet tooth cravings into overdrive.
Chocolate and peanut butter create an irresistible dance of flavors that melt instantly.
Crafted with simple ingredients, this no-bake treat promises pure indulgence without complicated steps.
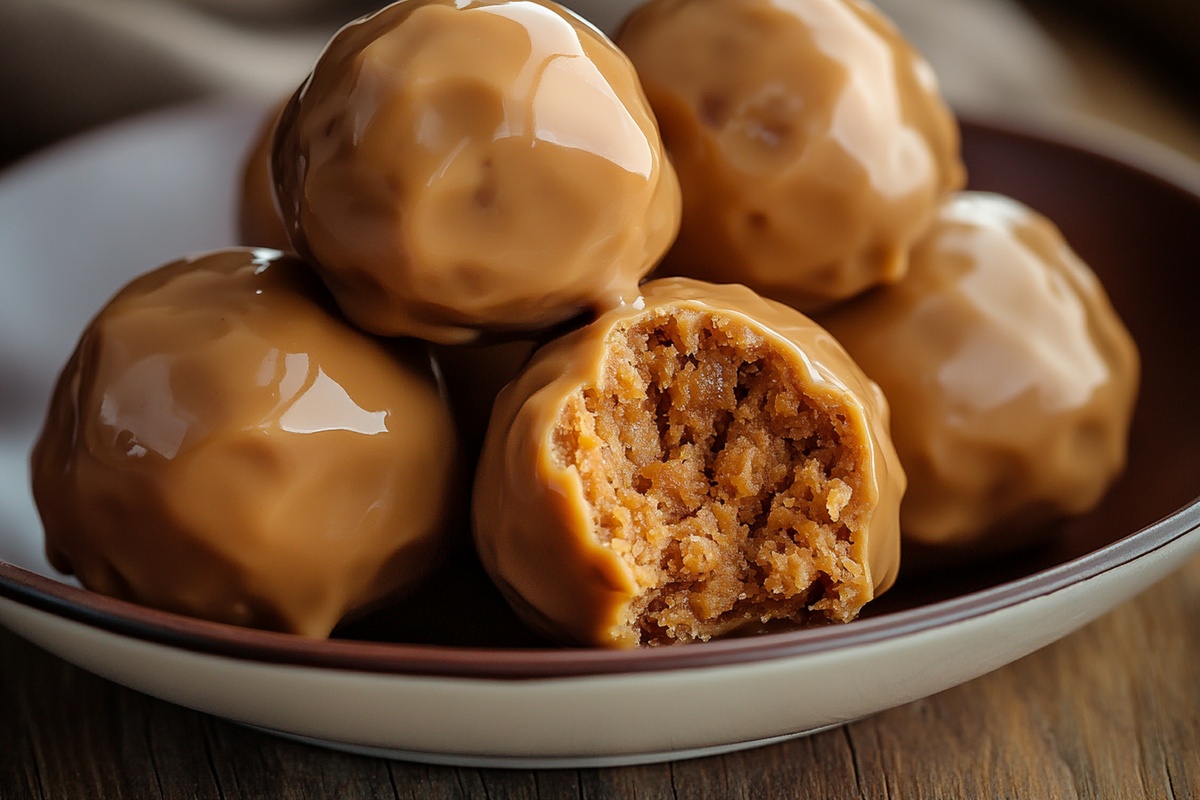
Crumbly candy pieces add delightful texture and unexpected crunch to each bite-sized delight.
Quick assembly means you can satisfy dessert dreams in minutes, not hours.
Each golden morsel delivers a nostalgic punch of childhood memories wrapped in creamy decadence.
Let your taste buds embark on this mouthwatering adventure that promises to become your new favorite dessert obsession.
Reasons to Enjoy Butterfinger Balls Dessert
Ingredients for Making Butterfinger Balls
Main Ingredients:Chocolate Coating:Optional Extras:How to Prepare Butterfinger Balls Step by Step
Step 1: Crush Butterfinger Candies
Grab your Butterfinger candy bars and transform them into fine, sandy crumbs. You can use a food processor or place the bars in a ziplock bag and crush them with a rolling pin.
Make sure the crumbs are super fine for a smooth texture.
Step 2: Create Creamy Mixture
In a large mixing bowl, combine the crushed Butterfinger crumbs with:Blend everything together until the mixture becomes completely smooth and well incorporated.
The consistency should be easy to roll and hold its shape.
Step 3: Shape Delightful Balls
Use your hands to roll the mixture into small, bite-sized spheres.
Each ball should be about the size of a golf ball. Gently place these delectable orbs on a parchment-lined baking sheet.
Pop the tray into the refrigerator for 30 minutes to help them firm up.
Step 4: Melt Chocolate Coating
Prepare your chocolate for dipping by melting it in a microwave-safe bowl.
Heat in short 30-second bursts, stirring between each interval until the chocolate becomes silky smooth. If the chocolate seems too thick, add a touch of coconut oil to create a perfect dipping consistency.
Step 5: Dip and Decorate
Using a fork or a specialized dipping tool, carefully coat each chilled Butterfinger ball in the melted chocolate. Allow excess chocolate to drip off, then place the coated balls back on the parchment paper.
Step 6: Final Chill and Serve
Let the chocolate coating set completely. You can leave them at room temperature or speed up the process by placing them in the refrigerator.
Once set, transfer the Butterfinger Bliss Balls to an airtight container and store in the refrigerator until you’re ready to indulge in these irresistible treats.
Expert Suggestions for Butterfinger Balls Success
Variations to Try with Butterfinger Balls
Food Matches for Butterfinger Balls Dessert
Rich dark chocolate with 70% cocoa pairs beautifully, cutting through the sweet Butterfinger’s caramel notes and providing a sophisticated contrast.
Cold milk creates a nostalgic comfort, neutralizing the candy’s intense sweetness while complementing its creamy texture.
Late harvest Riesling offers a delightful balance, with its honeyed sweetness enhancing the Butterfinger balls’ rich peanut butter flavor without overwhelming the palate.
Strong espresso delivers a robust counterpoint, its bitter undertones perfectly balancing the dessert’s sugary richness and cleansing the palate between bites.
Best Storage Tips for Butterfinger Balls
FAQs
No, they are surprisingly easy! Even beginner bakers can make these treats with simple ingredients and basic mixing skills. The process involves crushing candy bars, mixing ingredients, rolling balls, and dipping in chocolate.
While Butterfinger is the classic choice, you can experiment with similar crunchy chocolate bars like Crunch or Heath bars. The key is maintaining a similar texture and flavor profile.
When stored in an airtight container in the refrigerator, they can stay fresh for up to 1 week. Make sure to keep them chilled to maintain their texture and prevent melting.
Print
Butterfinger Balls Recipe
- Total Time: 1 hour 5 minutes
- Yield: 24 1x
Description
Irresistible Butterfinger Balls dance with creamy peanut butter and crushed candy bar bliss. Sweet indulgence meets simple no-bake magic, tempting dessert lovers with a quick and delectable treat perfect for sharing or savoring solo.
Ingredients
Main Filling Ingredients:
- 2 cups crushed butterfinger candy bars
- 1 cup creamy peanut butter
- 1/2 cup unsalted butter, softened
- 2 cups powdered sugar
Coating Ingredients:
- 12 ounces (340 grams) chocolate candy melts or semi-sweet chocolate chips
Melting/Coating Assist Ingredient:
- 1 tablespoon coconut oil or vegetable shortening (optional, for smoother chocolate coating)
Instructions
- Pulverize Butterfinger candy bars into ultra-fine crumbs using a food processor or manual crushing technique with a rolling pin.
- In a spacious mixing bowl, thoroughly blend crushed Butterfinger fragments with creamy peanut butter, velvety softened butter, and delicate powdered sugar until achieving a uniform, silky consistency.
- Utilize clean hands or a small scoop to craft compact, uniform spheres approximately one inch in diameter, ensuring consistent sizing.
- Arrange the freshly shaped orbs onto a parchment-lined baking sheet, maintaining slight separation between each ball.
- Refrigerate the proto-treats for approximately 30 minutes, allowing them to solidify and develop structural integrity.
- Prepare chocolate coating by gradually melting chocolate candy melts or chocolate chips within a microwave-safe vessel, employing 30-second intervals and stirring meticulously between each heating cycle.
- Optional: Incorporate a tablespoon of coconut oil or vegetable shortening to achieve optimal chocolate viscosity for seamless coating.
- Employ a specialized dipping fork or culinary tool to immerse each chilled Butterfinger sphere completely in molten chocolate, ensuring comprehensive coverage.
- Gently tap utensil against bowl’s edge to eliminate excessive chocolate drippings, then delicately transfer chocolate-enrobed spheres back onto parchment paper.
- Allow chocolate coating to solidify naturally at ambient room temperature, or expedite setting process by placing in refrigerator for approximately 15 minutes.
- Transfer completed confections to an hermetically sealed container and store within refrigeration unit until serving moment arrives.
Notes
- Crush Butterfinger bars thoroughly to ensure smooth, even texture without large chunks that might disrupt coating.
- Use room temperature peanut butter and butter for easier mixing and better binding of ingredients.
- Chill the mixture before rolling to prevent sticky hands and help maintain ball shape during chocolate dipping.
- When melting chocolate, use low heat and stir frequently to prevent burning and achieve silky smooth consistency.
- Add a pinch of sea salt to enhance the sweet and salty flavor profile of the Butterfinger balls.
- For gluten-free version, confirm Butterfinger bars are gluten-free or substitute with gluten-free candy.
- Experiment with different chocolate coatings like dark, milk, or white chocolate for variety.
- Use a dipping tool or fork with thin tines to ensure clean, even chocolate coverage without clumps.
- Prep Time: 20 minutes
- Cook Time: 45 minutes
- Category: Snacks, Desserts
- Method: Blending
- Cuisine: American
Nutrition
- Serving Size: 24
- Calories: 217
- Sugar: 19 g
- Sodium: 59 mg
- Fat: 14 g
- Saturated Fat: 6 g
- Unsaturated Fat: 7 g
- Trans Fat: 0.1 g
- Carbohydrates: 20 g
- Fiber: 1 g
- Protein: 3 g
- Cholesterol: 16 mg
Jess Martinez
Contributing Recipe Writer & Nutrition Consultant
Expertise
Southwestern and Latin American cooking, Nutritional analysis and healthy recipe planning, Cultural food traditions, Modifying traditional dishes for better health
Education
Santa Fe Community College
Certificate in Culinary Arts
Focused on mastering the flavors and cooking methods of traditional Southwestern cuisine.
Jess’s love for bold, homegrown flavors led her straight into the world of Southwestern cooking and cultural nutrition.
After completing her Certificate in Culinary Arts at Santa Fe Community College, she made it her mission to show that good-for-you food can still taste incredible.
At saltytart.com, Jess shares vibrant, health-conscious recipes with roots in tradition but a fresh, modern twist. When she’s not testing new recipes, you’ll find her at local growers’ markets, tending her herb garden, or digging into food history books.