
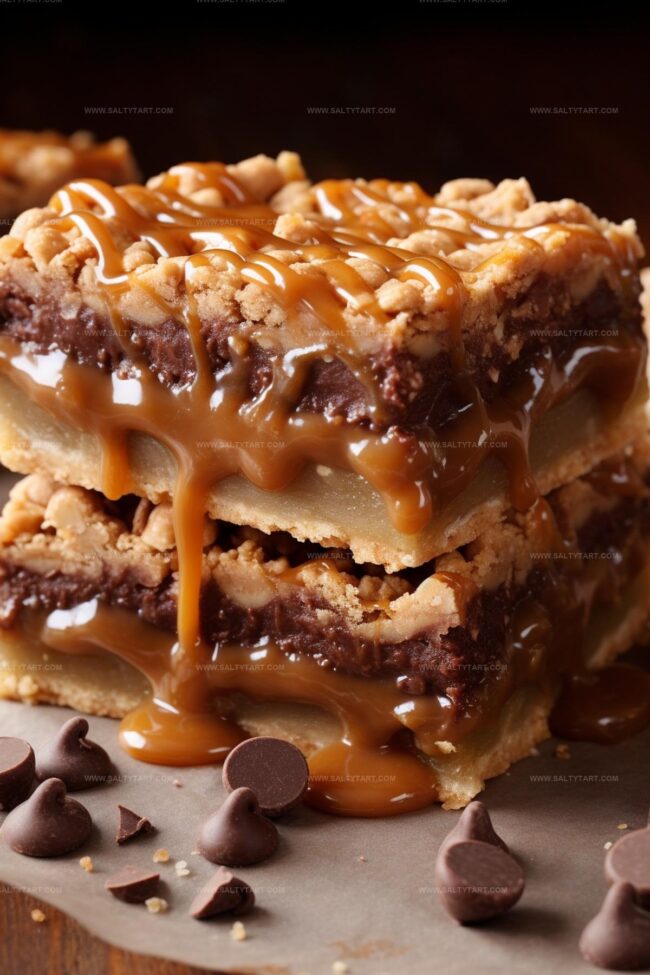
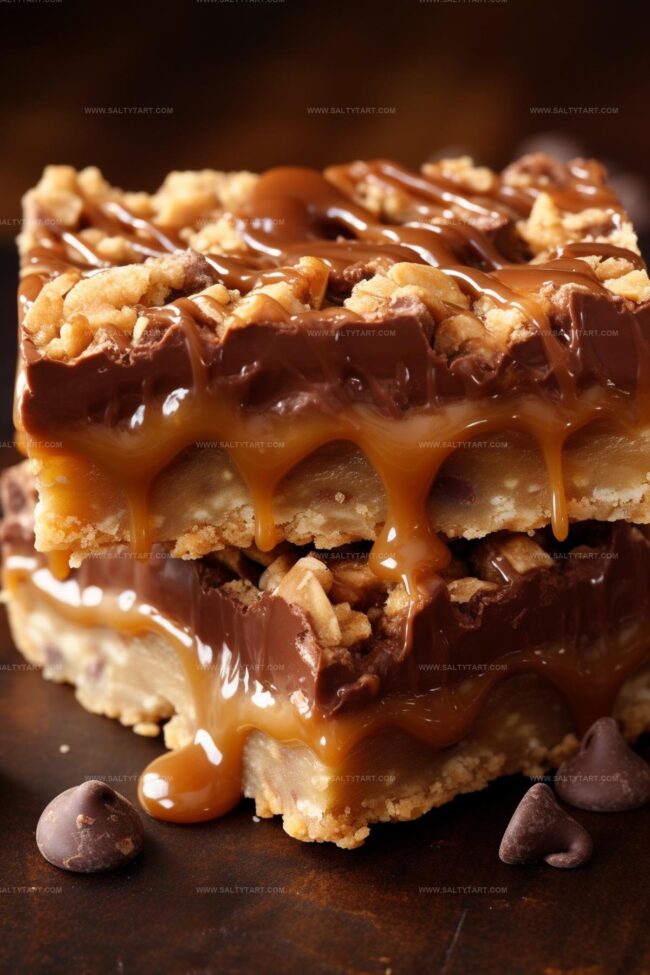
Buttery Caramelitas Recipe: Sweet Layers of Gooey Goodness
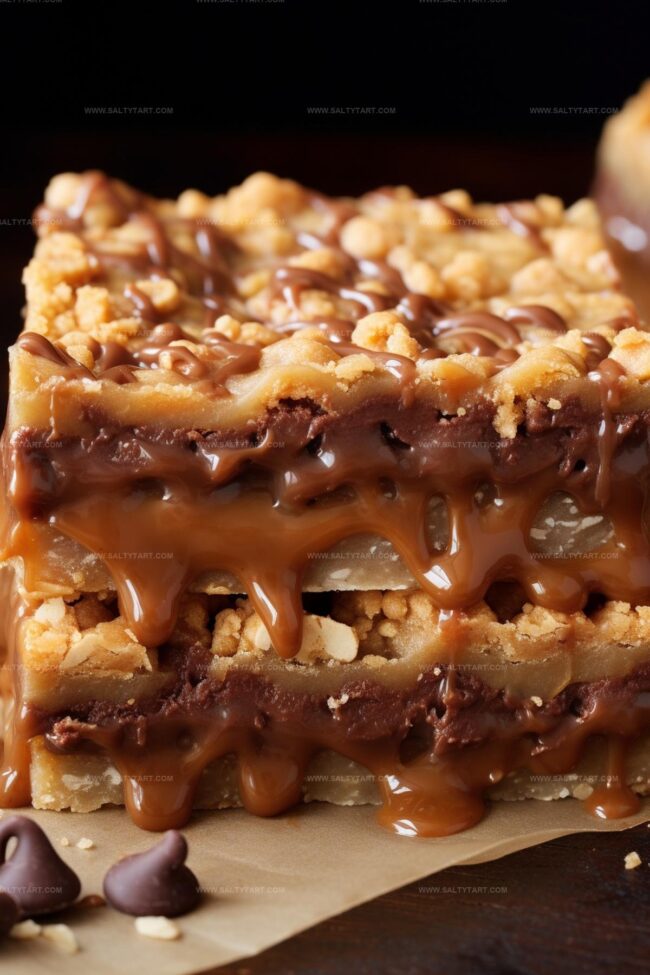
Sweet layers of buttery caramelitas dance between crisp oat crusts, promising an irresistible dessert adventure.
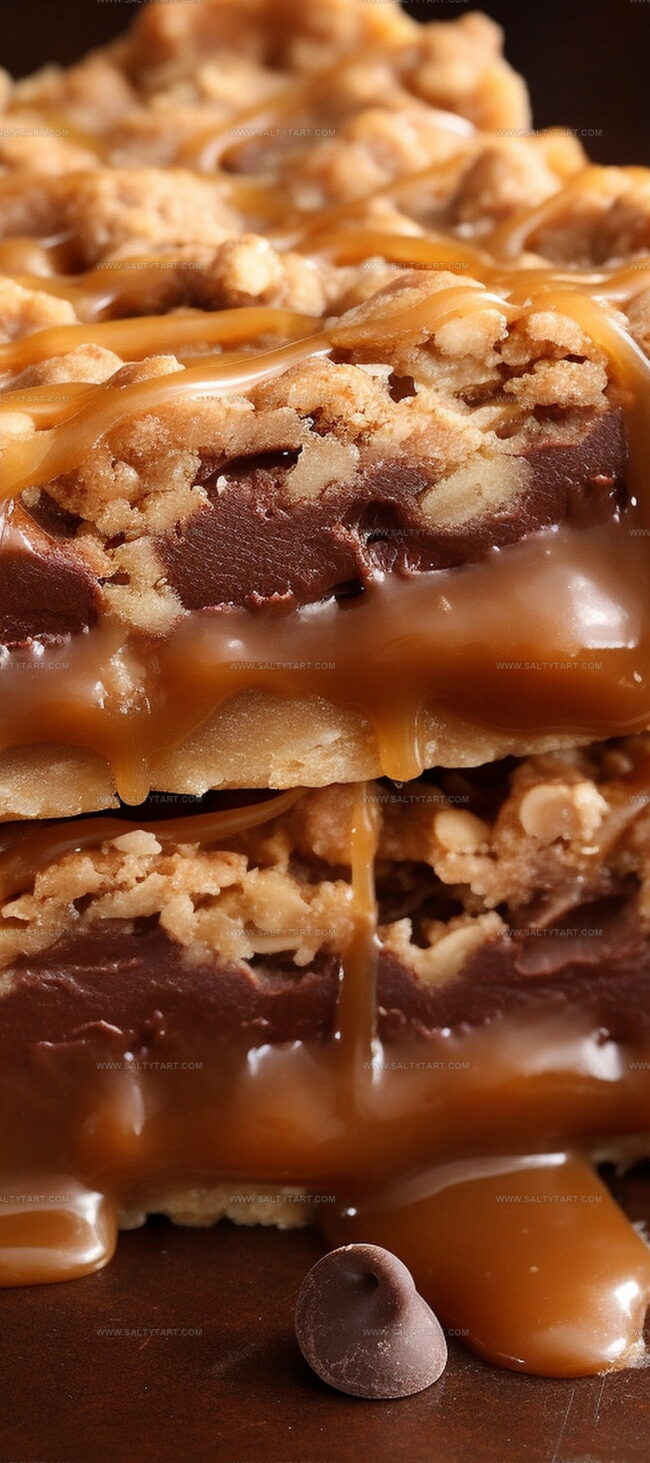
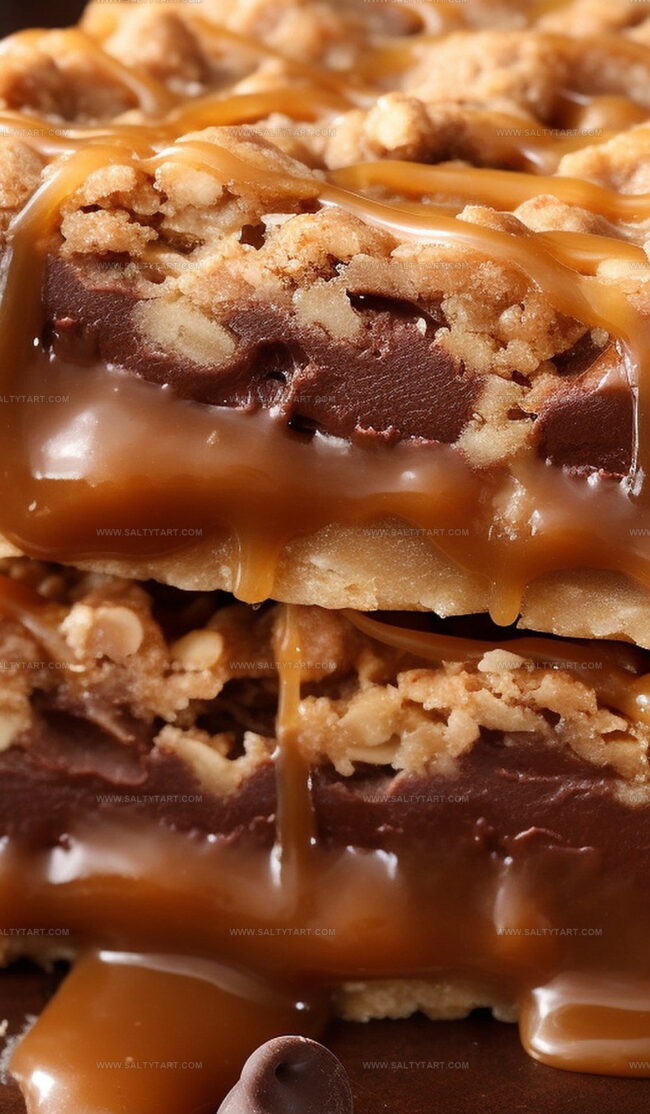
Chocolate melts into soft caramel, creating a harmony of rich flavors.
Baking enthusiasts adore these decadent bars for their simple yet impressive profile.
Crafted with minimal ingredients, caramelitas deliver maximum satisfaction in every single bite.
Our tested recipe guarantees a foolproof approach to creating these addictive treats.
Unexpected combinations of textures make this dessert a true crowd-pleaser.
Prepare to impress everyone at your next gathering with these mouthwatering squares that blend comfort and indulgence perfectly.
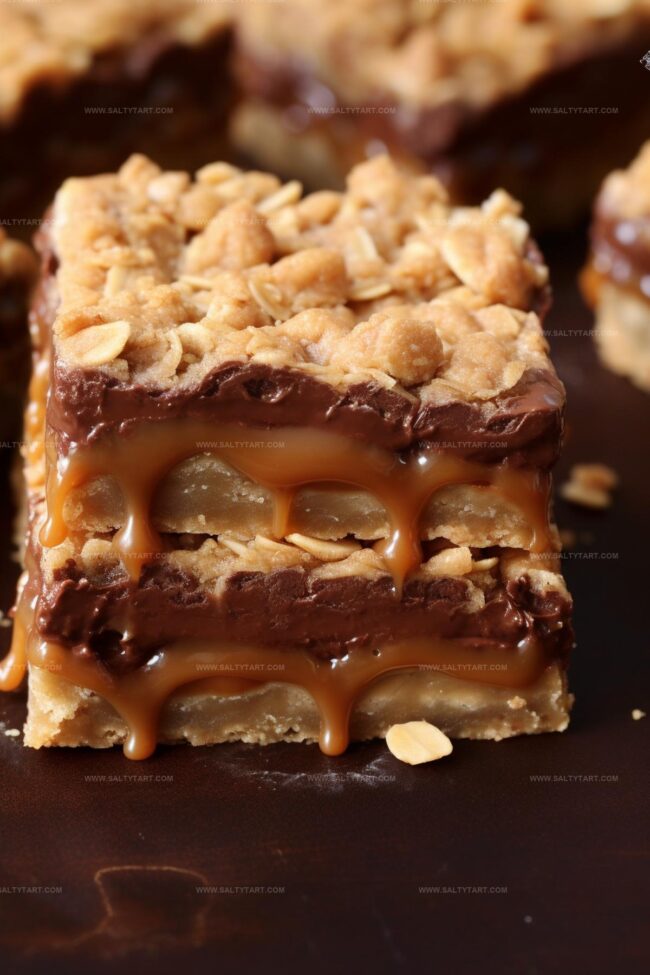
Caramelitas – Sweet, Gooey, and Irresistibly Chewy
Ingredients for Classic Caramelitas
How to Bake Perfect Caramelitas

Step 1: Warm Up the Oven
Fire up your oven to 350°F. Grab an 8×8 inch baking dish and give it a quick spray with cooking spray or line it with parchment paper for super easy cleanup.
Step 2: Melt the Caramel Goodness
Grab a saucepan and combine:Stir this mixture over medium heat until it transforms into a silky smooth river of golden deliciousness. Once melted, set it aside to cool slightly.
Step 3: Create the Oat Base
In a mixing bowl, blend together:Mix everything until it forms a crumbly, delectable mixture.
Step 4: Layer the First Oat Base
Press half of the oat mixture into the bottom of your prepared baking dish.
Make sure it’s packed down evenly for a perfect foundation.
Step 5: Pre-Bake the Base
Slide the dish into the oven and bake for 10 minutes.
This gives your base a head start and creates a delightful golden crust.
Step 6: Add Chocolate and Caramel Layers
Once out of the oven, sprinkle chocolate chips across the baked layer.
Then carefully pour the melted caramel over the chocolate, making sure it covers everything evenly.
Step 7: Top with Remaining Oat Mixture
Scatter the remaining oat mixture over the caramel layer.
This creates a gorgeous crumbly topping that will make mouths water.
Step 8: Final Bake
Return the dish to the oven and bake for 18-20 minutes.
You’re looking for a beautiful golden-brown color that signals perfection is near.
Step 9: Cool and Slice
Let the Caramelitas cool completely.
This is crucial – patience rewards you with clean, perfect slices that showcase all those gorgeous layers. Once cooled, cut into squares and watch them disappear!
Tips to Nail Caramelitas Every Time
Variations on Caramelitas to Try
Pairing Suggestions for Caramelitas
How to Store Caramelitas Properly

FAQs
The main ingredients include caramels, heavy cream, melted butter, brown sugar, all-purpose flour, oats, baking soda, and chocolate chips.
No, Caramelitas are relatively easy to prepare. The recipe involves simple steps like mixing ingredients, layering, and baking, making it suitable for novice bakers.
You can potentially swap quick oats for rolled oats, use different chocolate chips, or try alternative sweeteners, but this might slightly alter the final texture and taste.
Print
Caramelitas Recipe
- Total Time: 45 minutes
- Yield: 16 1x
Description
Gooey chocolate and caramel meld perfectly in these irresistible caramelitas from Minnesota’s heartland. Layered oat crumble and rich chocolate create a mouthwatering dessert that delights with each sweet, crumbly bite.
Ingredients
- 1 cup chocolate chips
- 11 oz baking caramels
- 1/2 cup heavy cream (120 ml)
- 3/4 cup butter, unsalted (melted) (170 g)
- 3/4 cup brown sugar (150 g)
- 1 cup all-purpose flour (125 g)
- 1 cup old-fashioned oats (90 g)
- 1 tsp baking soda
Instructions
- Warm the oven to 350°F and prepare an 8×8 inch baking dish with parchment paper or a light grease coating.
- Melt caramels and heavy cream in a saucepan over medium heat, stirring constantly until smooth and glossy. Remove from heat and let rest.
- Create a crumbly base mixture by combining melted butter, brown sugar, flour, oats, and baking soda in a mixing bowl until fully integrated.
- Press half of the oat mixture into the prepared baking dish, creating an even foundational layer.
- Bake the initial layer for 10 minutes until lightly golden and set.
- Immediately sprinkle chocolate chips across the warm baked layer in a uniform distribution.
- Gently pour the caramel mixture over the chocolate chips, ensuring complete and even coverage.
- Delicately scatter the remaining oat mixture across the caramel surface, creating a textured top layer.
- Return the dish to the oven and bake for an additional 18-20 minutes, watching for a golden-brown appearance.
- Remove from oven and allow to cool completely at room temperature before cutting into squares for serving.
Notes
- Chilling the caramel mixture for a few minutes before pouring helps create a more stable layer and prevents chocolate from melting too quickly.
- For gluten-free variations, substitute all-purpose flour with almond flour or certified gluten-free oats to accommodate dietary restrictions.
- Enhance flavor complexity by adding a pinch of sea salt over the caramel layer, which beautifully balances the sweetness and creates a gourmet touch.
- Ensure complete cooling before cutting to achieve clean, precise slices and prevent the bars from falling apart during serving.
- Prep Time: 15 minutes
- Cook Time: 30 minutes
- Category: Snacks, Desserts
- Method: Baking
- Cuisine: American
Nutrition
- Serving Size: 16
- Calories: 277
- Sugar: 19 g
- Sodium: 120 mg
- Fat: 14 g
- Saturated Fat: 8 g
- Unsaturated Fat: 5 g
- Trans Fat: 0.2 g
- Carbohydrates: 34 g
- Fiber: 1.5 g
- Protein: 2.5 g
- Cholesterol: 35 mg
Mike Reynolds
Founder & Recipe Developer
Expertise
Farm-to-table cuisine, Seasonal recipe development, Sustainable cooking techniques, Food photography
Education
Asheville-Buncombe Technical Community College (A-B Tech)
Associate Degree in Culinary Arts
Mike studied culinary arts with a strong focus on farm-to-table principles and sustainable cooking. His training emphasized the importance of fresh, local ingredients and environmentally responsible practices in the kitchen.
Mike’s food journey began deep in the Blue Ridge Mountains, where weekends at farmers’ markets and home-cooked meals sparked a lifelong obsession with simple, seasonal eating.
After earning his Associate Degree in Culinary Arts from Asheville-Buncombe Technical Community College, he set out to bring farm-to-table cooking into everyday kitchens, without the fuss.
Mike’s philosophy is all about keeping it fresh, unfussy, and full of heart. When he’s not crafting new single-serving recipes, he’s hiking mountain trails, chatting with local farmers, or experimenting with wild ingredients in his backyard kitchen.