
Juicy Cheeseburger Sliders Recipe: Party-Ready Tiny Bites
Crafting delectable cheeseburger sliders can turn any ordinary gathering into a memorable feast.
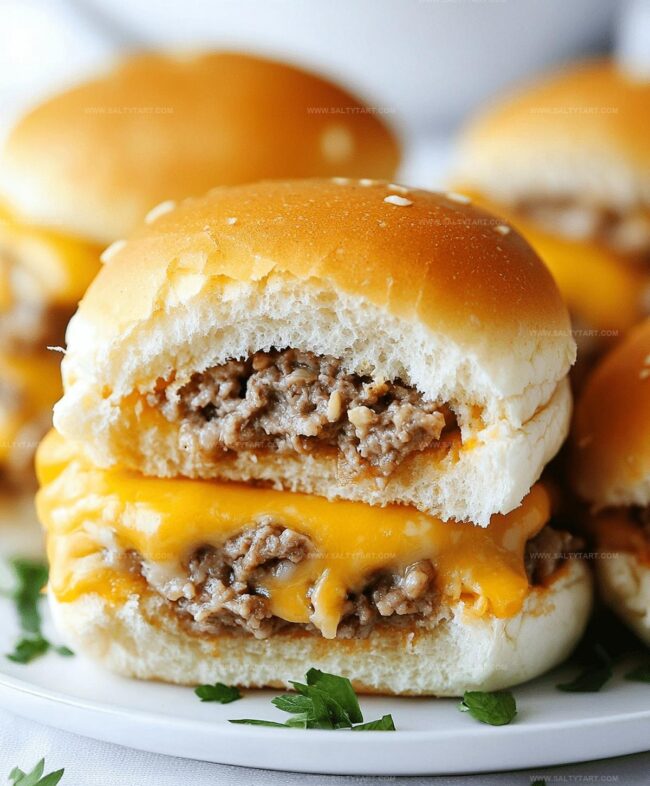
Mini burgers pack incredible flavor in compact bites that everyone adores.
Small yet mighty, these tiny treasures deliver big satisfaction with minimal effort.
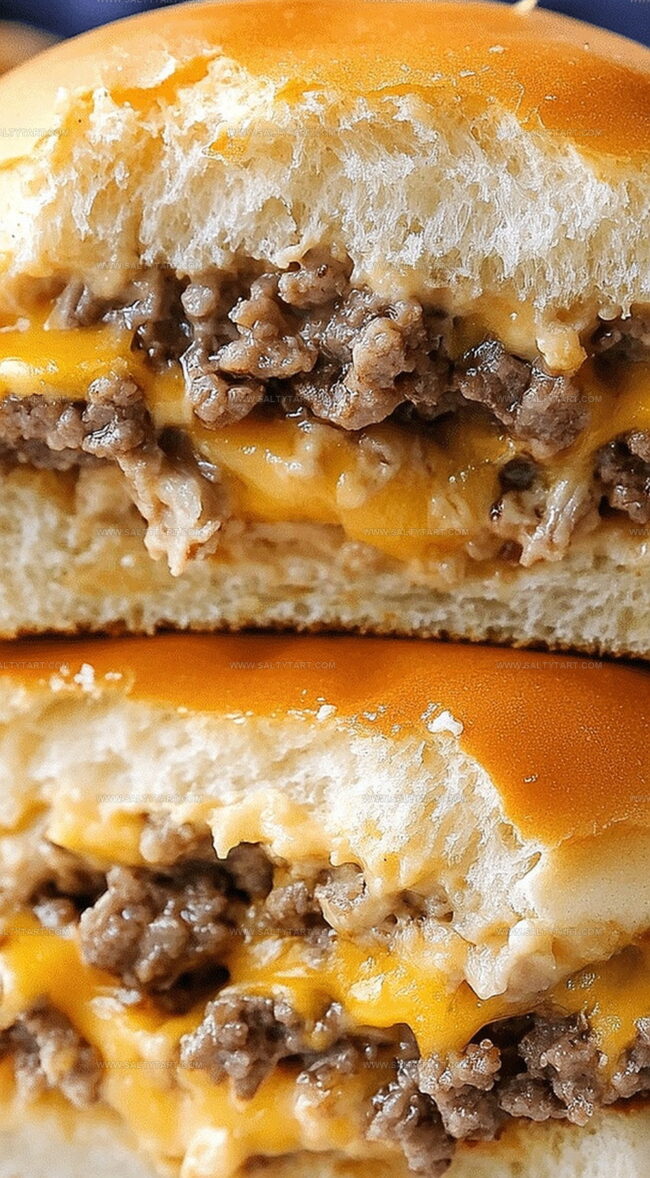
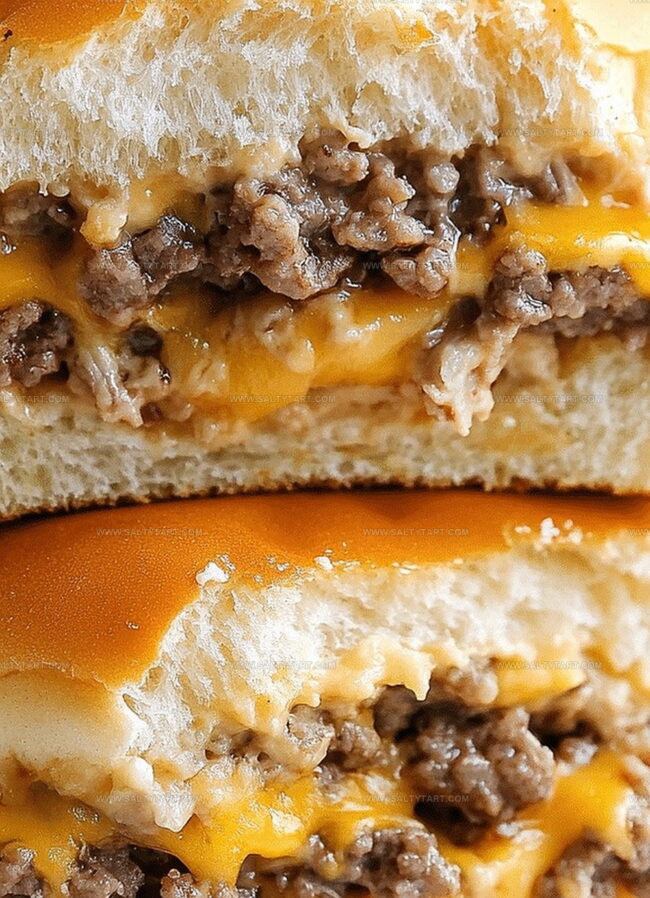
Juicy beef patties nestled between soft rolls create an irresistible combination.
Cheese melts perfectly across each miniature burger, adding rich, creamy goodness.
Quick to prepare and even faster to devour, these sliders guarantee smiles all around.
Let’s create something delicious that will have people asking for seconds!
What Makes Cheeseburger Sliders So Popular
Cheeseburger Sliders Ingredient Checklist
For the Protein:For the Cheese:For the Bread:For the Aromatics and Seasonings:For the Finishing Touch:Optional Toppings and Condiments:How to Make Cheeseburger Sliders
Step 1: Warm Up the Oven
Fire up your oven to a cozy 350°F (175°C), getting ready for some slider magic.
Step 2: Sizzle the Beef and Onions
Grab a skillet and toss in ground beef and diced onions.
Cook over medium heat, stirring and breaking up the meat. Sprinkle with salt and pepper for a flavor punch.
Step 3: Create the Beef Base
Spread the sizzling beef mixture evenly across a greased baking dish, creating a delicious foundation for your sliders.
Step 4: Add the Cheesy Layer
Drape cheese slices over the beef, letting them melt and create a gooey, irresistible surface.
Step 5: Top with Slider Buns
Gently place slider buns on top of the cheese. Brush the bun tops with melted butter for a golden, crispy finish.
Step 6: Bake to Perfection
Slide the baking dish into the preheated oven. Bake for 10-12 minutes until the cheese transforms into a melty blanket and the buns turn a beautiful golden brown.
Step 7: Serve and Enjoy
Carefully remove from the oven and separate into individual sliders. Set out an array of toppings:Let everyone customize their slider for a personalized flavor experience.
Tips to Perfect Cheeseburger Sliders
Flavor Variations for Cheeseburger Sliders
Serving Ideas for Cheeseburger Sliders
Storing Cheeseburger Sliders Safely
FAQs
Yes, you can substitute ground beef with ground turkey, chicken, or even plant-based meat alternatives for a different flavor profile.
Add jalapeños to the beef mixture or sprinkle some red pepper flakes for extra heat.
Absolutely! You can prepare the beef mixture and assemble the sliders ahead of time, then bake them when ready to serve.
American, cheddar, or Swiss cheese are classic choices that melt well and complement the beef perfectly.
Print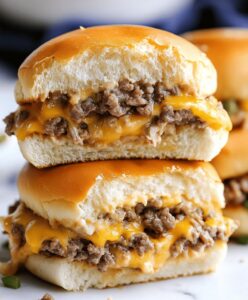
Cheeseburger Sliders Recipe
- Total Time: 27 minutes
- Yield: 12 1x
Description
Juicy cheeseburger sliders bring mini burger magic to party tables with irresistible flavor. Small sandwiches pack big taste, delighting guests and satisfying hunger with classic American comfort.
Ingredients
- 1 lb ground beef
- 12 slider buns
- 6 slices cheddar cheese (halved)
- 2 tbsps butter (melted)
- 1 small onion (diced)
- Salt (to taste)
- Pepper (to taste)
- Pickles (optional)
- Lettuce (optional)
- Tomato (optional)
- Ketchup (for serving)
- Mustard (for serving)
Instructions
- Warm the oven to 350F (175C), preparing a greased baking dish for the upcoming culinary creation.
- Sauté ground beef and onions in a skillet over medium heat, carefully seasoning with salt and pepper until the meat browns thoroughly and develops rich flavor.
- Distribute the cooked beef mixture uniformly across the bottom of the prepared baking dish, creating an even foundational layer.
- Arrange cheese slices directly atop the beef mixture, ensuring complete coverage for maximum melting potential.
- Position slider buns gently over the cheese layer, then delicately brush the top surfaces with melted butter to enhance golden crispness.
- Transfer the assembled dish into the preheated oven, baking for 10-12 minutes until cheese transforms into a luxurious molten state and bun tops acquire a warm, golden-brown appearance.
- Carefully extract the baking dish from the oven, allowing a brief cooling moment before separating into individual sliders.
- Complement the sliders with classic accompaniments such as crisp pickles, fresh lettuce, ripe tomato slices, tangy ketchup, and zesty mustard according to personal preference.
Notes
- Opt for lean ground beef to reduce excess grease and create a healthier slider base.
- Customize cheese varieties like sharp cheddar, pepper jack, or Swiss for different flavor profiles.
- Prepare sliders ahead of time and refrigerate before baking, perfect for meal prep or party planning.
- Toast bun tops lightly before assembling to enhance their texture and prevent sogginess during baking.
- Prep Time: 15 minutes
- Cook Time: 12 minutes
- Category: Lunch, Dinner, Snacks
- Method: Baking
- Cuisine: American
Nutrition
- Serving Size: 12
- Calories: 235 kcal
- Sugar: 2 g
- Sodium: 380 mg
- Fat: 14 g
- Saturated Fat: 6 g
- Unsaturated Fat: 5 g
- Trans Fat: 0.3 g
- Carbohydrates: 18 g
- Fiber: 1 g
- Protein: 13 g
- Cholesterol: 45 mg
Jess Martinez
Contributing Recipe Writer & Nutrition Consultant
Expertise
Southwestern and Latin American cooking, Nutritional analysis and healthy recipe planning, Cultural food traditions, Modifying traditional dishes for better health
Education
Santa Fe Community College
Certificate in Culinary Arts
Focused on mastering the flavors and cooking methods of traditional Southwestern cuisine.
Jess’s love for bold, homegrown flavors led her straight into the world of Southwestern cooking and cultural nutrition.
After completing her Certificate in Culinary Arts at Santa Fe Community College, she made it her mission to show that good-for-you food can still taste incredible.
At saltytart.com, Jess shares vibrant, health-conscious recipes with roots in tradition but a fresh, modern twist. When she’s not testing new recipes, you’ll find her at local growers’ markets, tending her herb garden, or digging into food history books.