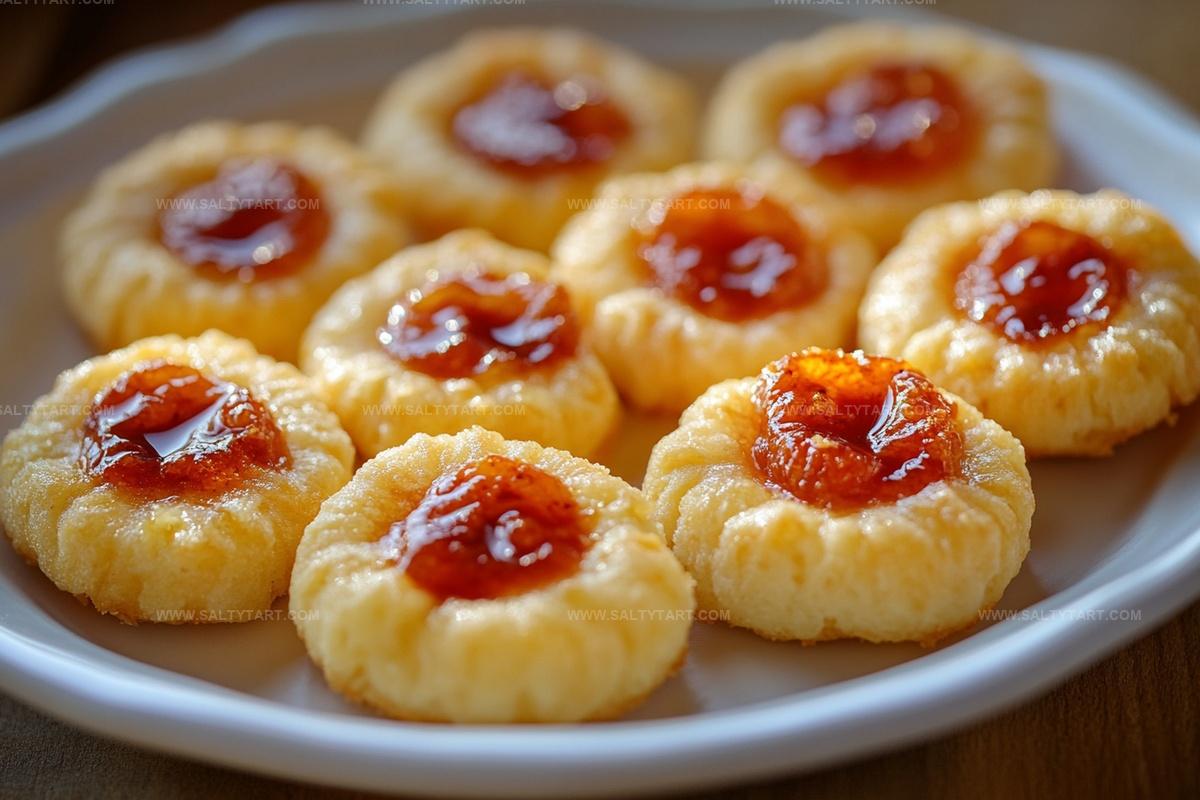
Sizzling Cheesy Thumbprint Appetizers with Hot Pepper Jelly Recipe
Crispy crackers transform into delightful cheesy thumbprint appetizers with hot pepper jelly that spark conversation at any gathering.
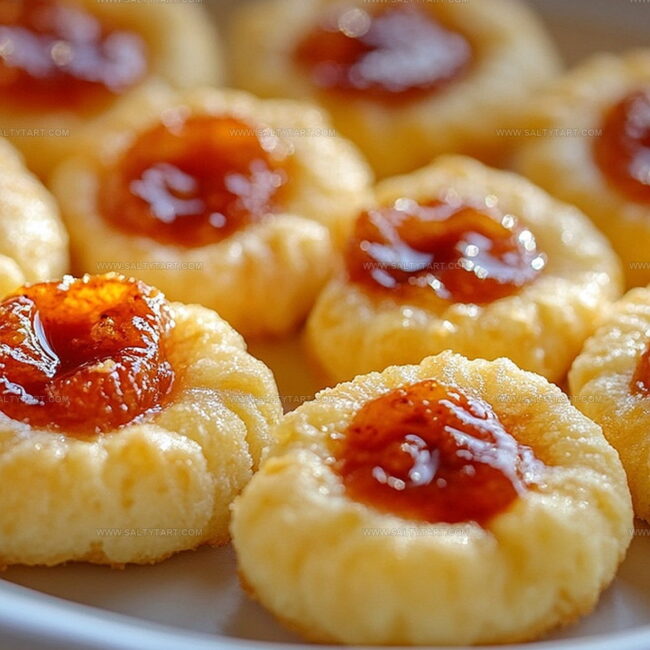
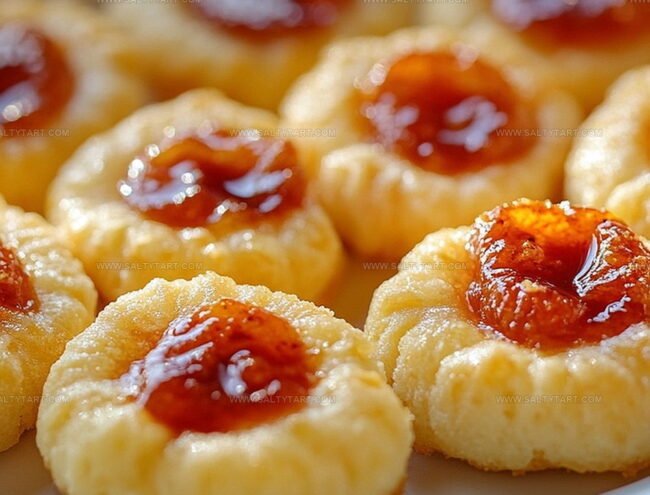
Crunchy edges and molten centers make these little bites irresistible.
Creamy cheese blends perfectly with spicy-sweet jelly for a flavor explosion.
Guests will devour these elegant morsels faster than you can plate them.
Minimal ingredients and quick preparation mean you can whip up these crowd-pleasers in minutes.
Bold colors and zesty flavors ensure these appetizers become the star of your next party.
Prepare to wow everyone with this simple yet spectacular recipe that promises pure deliciousness.
Why Cheesy Thumbprint Appetizers Impress Guests
What You’ll Need for Thumbprint Appetizers
Main Ingredients:Seasoning Ingredients:Filling Ingredient:How to Make Cheesy Thumbprint Appetizers
Step 1: Fire Up the Oven
Crank your oven to a toasty 375F (190C). Grab a baking sheet and line it with parchment paper for easy cleanup.
Step 2: Create the Cheesy Dough
Toss these ingredients into a mixing bowl:Mix everything until the dough becomes a cohesive, delightful blend. If it looks too crumbly, give it a gentle knead with your hands.
Step 3: Shape Delightful Bites
Roll the dough into cute little 1-inch balls. Place them on the prepared baking sheet, leaving some breathing room between each morsel.
Use your thumb or the back of a spoon to create a cozy little indent in the center of each ball.
Step 4: Bake to Golden Perfection
Slide the baking sheet into the oven and bake for 10-12 minutes.
Watch for those gorgeous golden edges that signal they’re ready to rock.
Step 5: Cool and Fill
Carefully remove the baking sheet from the oven.
Let the bites cool down for a moment. Then, dollop a small spoonful of zesty hot pepper jelly right into those tempting little centers.
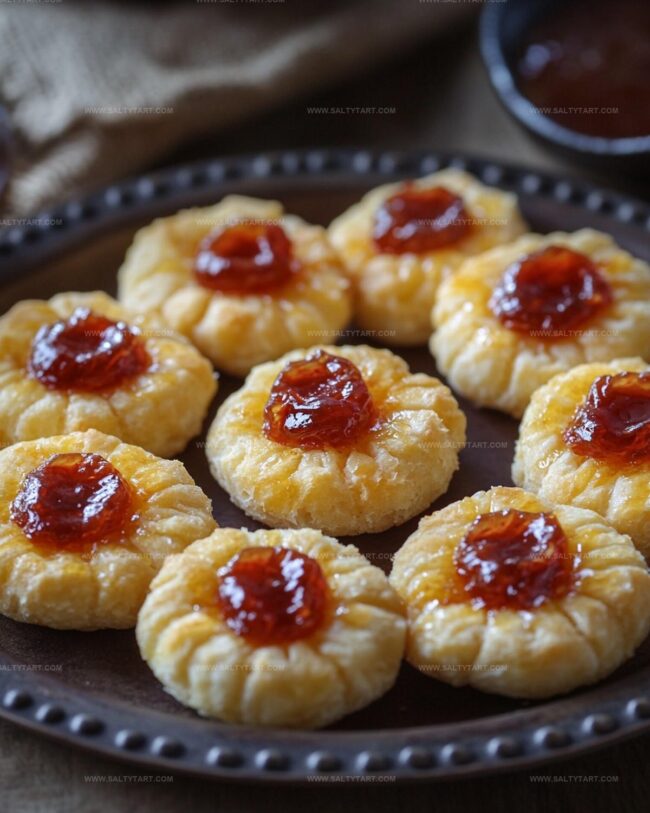
Step 6: Serve and Devour
These spicy-cheesy bites are ready to party! Serve them warm or at room temperature.
They’re perfect for game day, movie night, or any time you want a flavor explosion.
Tips for Perfect Thumbprint Appetizers
Fun Spins on Thumbprint Appetizers
Best Pairings with Cheesy Thumbprint Bites
Select a bold, spicy red wine like Syrah or Zinfandel to complement the hot pepper jelly’s kick and the cheese’s richness.
Choose a hoppy India Pale Ale (IPA) with citrus notes that can cut through the cheesy richness and match the appetizer’s spicy undertones.
Mix a gin-based cocktail with fresh herbs like basil or thyme to balance the appetizer’s intense flavors and provide a refreshing counterpoint.
Opt for a dry sparkling apple cider that offers crisp acidity and subtle sweetness to contrast with the savory, spicy thumbprint appetizers.
How to Store Thumbprint Appetizers Safely
FAQs
Yes, you can substitute cheddar with other firm, melty cheeses like monterey jack or gouda for similar results.
The cayenne and hot pepper jelly add a mild kick, but you can adjust heat levels by reducing cayenne or using mild pepper jelly.
Knead the dough gently and ensure it’s not too dry. If it feels crumbly, add a tiny bit more butter to help bind the ingredients.
Absolutely! You can use mild jelly or reduce/omit cayenne to make them more kid-friendly while keeping the cheesy goodness.
Print
Cheesy Thumbprint Appetizers With Hot Pepper Jelly Recipe
- Total Time: 27 minutes
- Yield: 24 1x
Description
Savory cheesy thumbprint appetizers dance with zesty hot pepper jelly, creating a perfect party starter that sparks conversation. Creamy cheese and spicy jelly combine in bite-sized morsels you’ll crave at every gathering.
Ingredients
Cheese and Base Ingredients:
- 1 1/2 cups (340 grams) sharp cheddar cheese, shredded
- 1/2 cup (113 grams) unsalted butter, softened
- 1 cup (120 grams) all-purpose flour
Seasonings:
- 1/4 teaspoon salt
- 1/4 teaspoon smoked paprika
- 1/4 teaspoon garlic powder
- 1/4 teaspoon cayenne pepper
Topping:
- 1/4 cup (60 milliliters) hot pepper jelly
Instructions
- Heat the oven to 375F (190C) and prepare a parchment-lined baking sheet for the appetizers.
- Combine cheddar, butter, flour, and seasonings in a mixing bowl, creating a cohesive dough through gentle kneading if needed.
- Form the mixture into uniform 1-inch spheres, arranging them evenly across the prepared baking sheet.
- Create distinct wells in each dough ball using your thumb or the rounded back of a spoon, ensuring consistent indentations.
- Transfer the baking sheet to the preheated oven and roast for 10-12 minutes until edges turn a delicate golden hue.
- Extract the baked appetizers and allow them a brief cooling period to stabilize their structure.
- Carefully fill each thumbprint cavity with a precise dollop of hot pepper jelly, ensuring even distribution.
- Present these zesty nibbles either warmed or at ambient temperature, ideal for social gatherings or impromptu entertaining.
Notes
- Ensure butter is softened at room temperature for easier mixing and smoother dough consistency.
- Use a digital kitchen scale to measure ingredients precisely, preventing crumbly or dry texture.
- Experiment with different cheese varieties like sharp cheddar, smoked gouda, or pepper jack for unique flavor profiles.
- For gluten-free option, replace wheat flour with almond or gluten-free all-purpose flour blend to accommodate dietary restrictions.
- Customize heat levels by adjusting cayenne pepper or selecting mild to extra-spicy pepper jelly based on personal preference.
- Make ahead and store cooled thumbprints in airtight container for up to 3 days, reheating briefly before serving to restore crispness.
- Use small measuring spoon or melon baller to create uniform indentations for consistent presentation and even jelly distribution.
- Prep Time: 15 minutes
- Cook Time: 12 minutes
- Category: Appetizer, Snacks
- Method: Baking
- Cuisine: American
Nutrition
- Serving Size: 24
- Calories: 111 kcal
- Sugar: 3 g
- Sodium: 83 mg
- Fat: 8 g
- Saturated Fat: 5 g
- Unsaturated Fat: 3 g
- Trans Fat: 0 g
- Carbohydrates: 6 g
- Fiber: 0.2 g
- Protein: 3 g
- Cholesterol: 17 mg
Mike Reynolds
Founder & Recipe Developer
Expertise
Farm-to-table cuisine, Seasonal recipe development, Sustainable cooking techniques, Food photography
Education
Asheville-Buncombe Technical Community College (A-B Tech)
Associate Degree in Culinary Arts
Mike studied culinary arts with a strong focus on farm-to-table principles and sustainable cooking. His training emphasized the importance of fresh, local ingredients and environmentally responsible practices in the kitchen.
Mike’s food journey began deep in the Blue Ridge Mountains, where weekends at farmers’ markets and home-cooked meals sparked a lifelong obsession with simple, seasonal eating.
After earning his Associate Degree in Culinary Arts from Asheville-Buncombe Technical Community College, he set out to bring farm-to-table cooking into everyday kitchens, without the fuss.
Mike’s philosophy is all about keeping it fresh, unfussy, and full of heart. When he’s not crafting new single-serving recipes, he’s hiking mountain trails, chatting with local farmers, or experimenting with wild ingredients in his backyard kitchen.