The Jolly Chocolate Peppermint Cheesecake Cookies Recipe
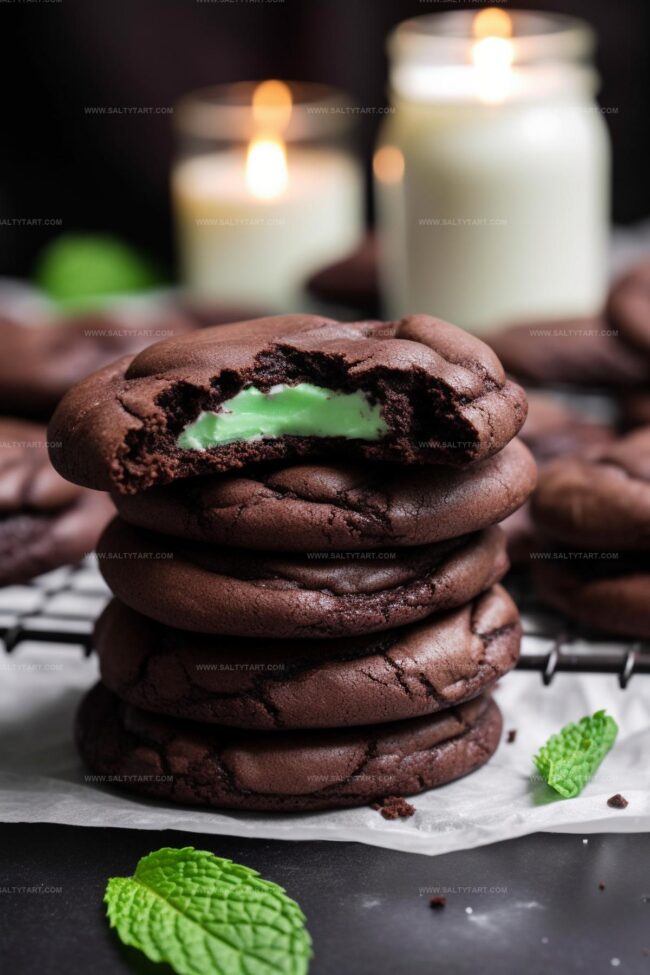
Sweet chocolate peppermint cheesecake cookies combine decadent flavors that dance across your palate with surprising elegance.
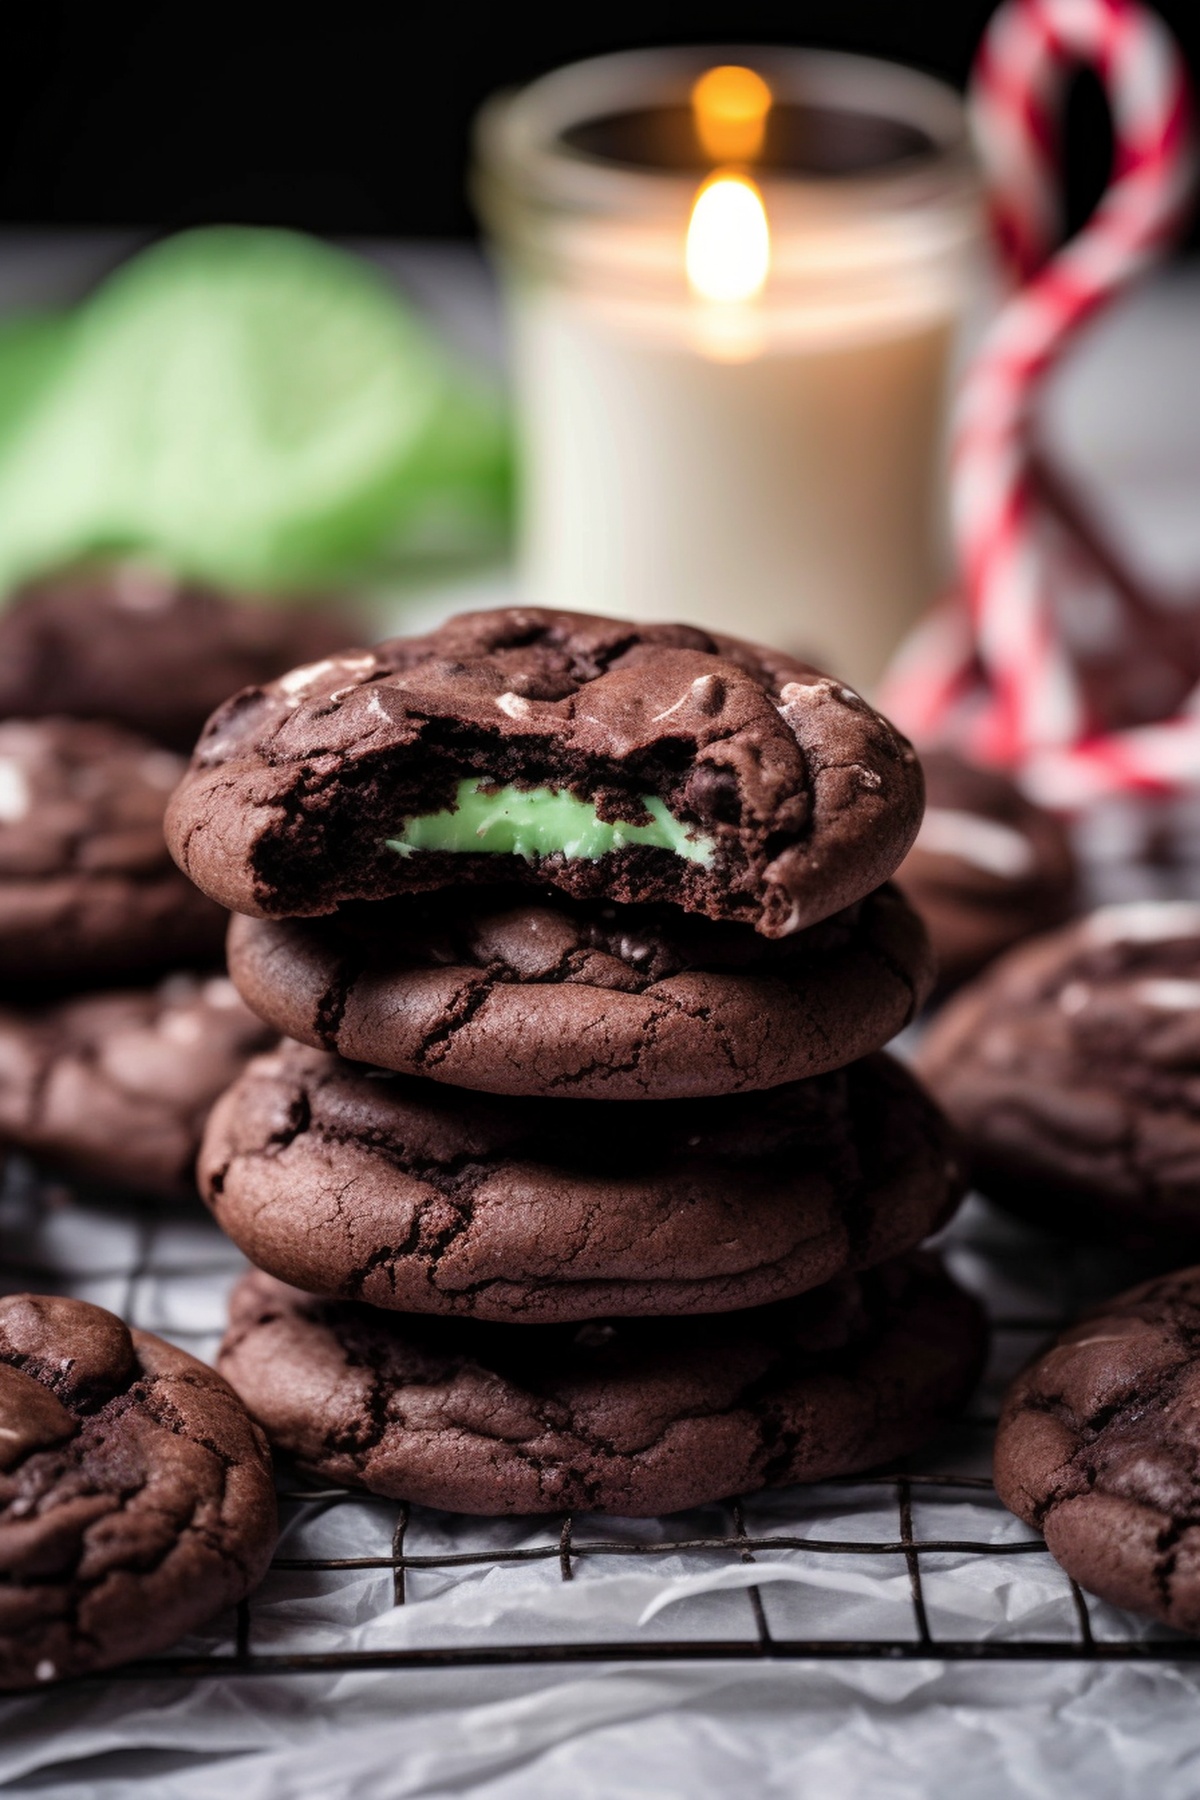
Smooth cream cheese melts into rich chocolate, creating an irresistible texture.
Mint adds a cool, refreshing twist that makes these treats absolutely memorable.
Delicate yet indulgent, each cookie promises a delightful sensory experience.
Chocolate and peppermint merge in perfect harmony, tempting even the most discerning dessert enthusiasts.
Crisp edges give way to soft, creamy centers that melt in your mouth.
One bite, and you’ll be transported to a winter wonderland of pure confectionery bliss.
Whip up these cookies and watch magic unfold in your kitchen.
Why Chocolate Peppermint Cheesecake Cookies Are Festive Favorites
Ingredients for Chocolate Peppermint Cheesecake Cookies

How to Make Chocolate Peppermint Cheesecake Cookies
Step 1: Whip Up Cream Cheese Filling
In a medium bowl, blend cream cheese, sugar, peppermint extract, and food coloring using an electric mixer until smooth and creamy.
Step 2: Freeze Filling Portions
Scoop 10 equal dollops of cream cheese mixture onto parchment paper.
Place in freezer to set while preparing cookie dough.
Step 3: Mix Dry Cookie Ingredients
Sift together flour, cocoa powder, baking soda, and salt in a small bowl.
Set aside for later use.
Step 4: Cream Butter and Sugars
In a large mixing bowl, cream butter, granulated sugar, and brown sugar until light and fluffy using an electric mixer.
Step 5: Add Egg and Vanilla
Beat in egg and vanilla extract until fully incorporated into the butter-sugar mixture.
Step 6: Combine Dry Ingredients
Gradually fold sifted dry ingredients into the wet mixture until dough becomes uniform and well-blended.
Step 7: Portion and Chill Dough
Divide dough into 10 equal portions on a parchment-lined plate. Cover with plastic wrap and refrigerate for 2-24 hours.
Step 8: Prepare Baking Setup
Preheat oven to 350°F/180°C. Line a baking sheet with parchment paper.
Step 9: Assemble Cookie Balls
Remove chilled dough and frozen cream cheese filling. Flatten each dough portion, place a cream cheese dollop in the center, and wrap dough around filling.
Roll into smooth balls.
Step 10: Arrange on Baking Sheet
Place filled cookie dough balls on prepared baking sheet, spacing them 2 inches apart.
Step 11: Bake Cookies
Bake in preheated oven for 11-12 minutes until cookies have puffed up and look set.
Step 12: Cool and Serve
Allow cookies to cool on baking sheet for 10 minutes, then transfer to a wire rack to cool completely before serving.
Pro Tips for Perfect Holiday Cheesecake Cookies
Flavor Variations on Chocolate Peppermint Cheesecake Cookies
Pairing Suggestions for Chocolate Peppermint Cheesecake Cookies

Storage Tips for Chocolate Peppermint Cheesecake Cookies
FAQs
Yes, you can prepare the cream cheese filling up to 2 days in advance and store it covered in the refrigerator until ready to use.
No, the food coloring is optional. You can skip it if you prefer a natural white filling or don’t have food coloring on hand.
Look for slight puffing and set edges. The cookies should look slightly underbaked in the center, as they will continue to set while cooling on the baking sheet.
Absolutely! Once completely cooled, you can freeze the cookies in an airtight container for up to 3 weeks. Just let them thaw at room temperature before serving.
Print
Chocolate Peppermint Cheesecake Cookies Recipe
- Total Time: 2 hours 42 minutes
- Yield: 12 1x
Description
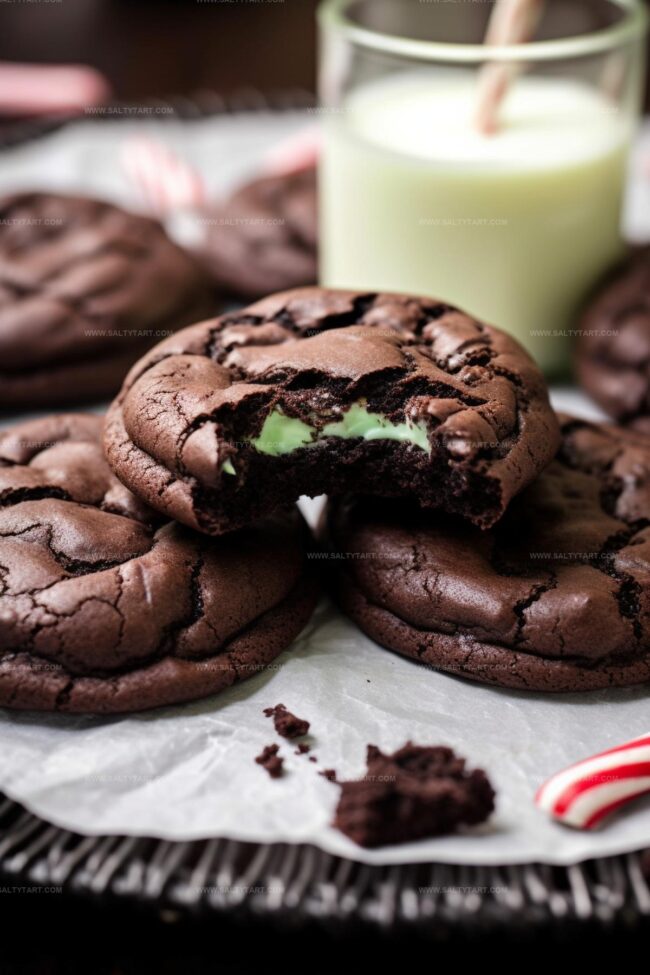
Rich chocolate peppermint cheesecake cookies blend indulgent flavors for delightful winter treats. Creamy cheesecake swirls and cool mint create irresistible holiday magic you won’t be able to resist.
Ingredients
- 113 g unsalted butter (at room temperature)
- 140 g cream cheese (at room temperature)
- 156 g all-purpose flour
- 100 g soft brown sugar
- 100 g granulated sugar
- 45 g unsweetened cocoa powder
- 1 large egg
- 40 g granulated sugar
- 1 tsp pure vanilla extract
- 1/2 tsp baking soda
- 1/4 tsp salt
- 1/4 tsp peppermint extract
- 2–3 drops green food coloring (optional)
Instructions
- Whip cream cheese with sugar, peppermint extract, and optional food coloring using an electric mixer until silky and uniform.
- Drop 10 equal cream cheese portions onto parchment paper and freeze while preparing cookie dough.
- Sift flour, cocoa powder, baking soda, and salt into a separate bowl, setting mixture aside.
- Cream butter with granulated and brown sugars in a large mixing bowl until light and fluffy.
- Incorporate egg and vanilla extract into the butter mixture, blending thoroughly.
- Gently fold dry ingredients into the wet mixture until dough forms consistently.
- Shape dough into 10 equal portions, cover with plastic wrap, and refrigerate for 2-24 hours.
- Heat oven to 350°F/180°C and line baking sheet with parchment paper.
- Extract chilled dough and cream cheese filling. Flatten each dough portion, center a frozen cream cheese dollop, and carefully enclose filling by rolling into a smooth ball.
- Arrange cookie balls on prepared baking sheet, spacing 2 inches apart.
- Bake for 11-12 minutes until cookies expand and appear slightly puffy.
- Let cookies rest on baking sheet for 10 minutes, then transfer to wire rack for complete cooling.
Notes
- Freeze the cream cheese mixture beforehand to help maintain its shape and prevent it from melting during baking.
- Chill the cookie dough thoroughly to prevent spreading and ensure a thick, chewy texture during baking.
- Use room temperature ingredients like butter and cream cheese for smoother mixing and better incorporation.
- For a gluten-free version, substitute all-purpose flour with a gluten-free blend and ensure all other ingredients are certified gluten-free.
- Prep Time: 2 hours 30 minutes
- Cook Time: 12 minutes
- Category: Desserts, Snacks
- Method: Baking
- Cuisine: American
Nutrition
- Serving Size: 12
- Calories: 201 kcal
- Sugar: 13 g
- Sodium: 96 mg
- Fat: 12 g
- Saturated Fat: 7 g
- Unsaturated Fat: 4 g
- Trans Fat: 0.3 g
- Carbohydrates: 20 g
- Fiber: 2 g
- Protein: 3 g
- Cholesterol: 36 mg
Mike Reynolds
Founder & Recipe Developer
Expertise
Farm-to-table cuisine, Seasonal recipe development, Sustainable cooking techniques, Food photography
Education
Asheville-Buncombe Technical Community College (A-B Tech)
Associate Degree in Culinary Arts
Mike studied culinary arts with a strong focus on farm-to-table principles and sustainable cooking. His training emphasized the importance of fresh, local ingredients and environmentally responsible practices in the kitchen.
Mike’s food journey began deep in the Blue Ridge Mountains, where weekends at farmers’ markets and home-cooked meals sparked a lifelong obsession with simple, seasonal eating.
After earning his Associate Degree in Culinary Arts from Asheville-Buncombe Technical Community College, he set out to bring farm-to-table cooking into everyday kitchens, without the fuss.
Mike’s philosophy is all about keeping it fresh, unfussy, and full of heart. When he’s not crafting new single-serving recipes, he’s hiking mountain trails, chatting with local farmers, or experimenting with wild ingredients in his backyard kitchen.