
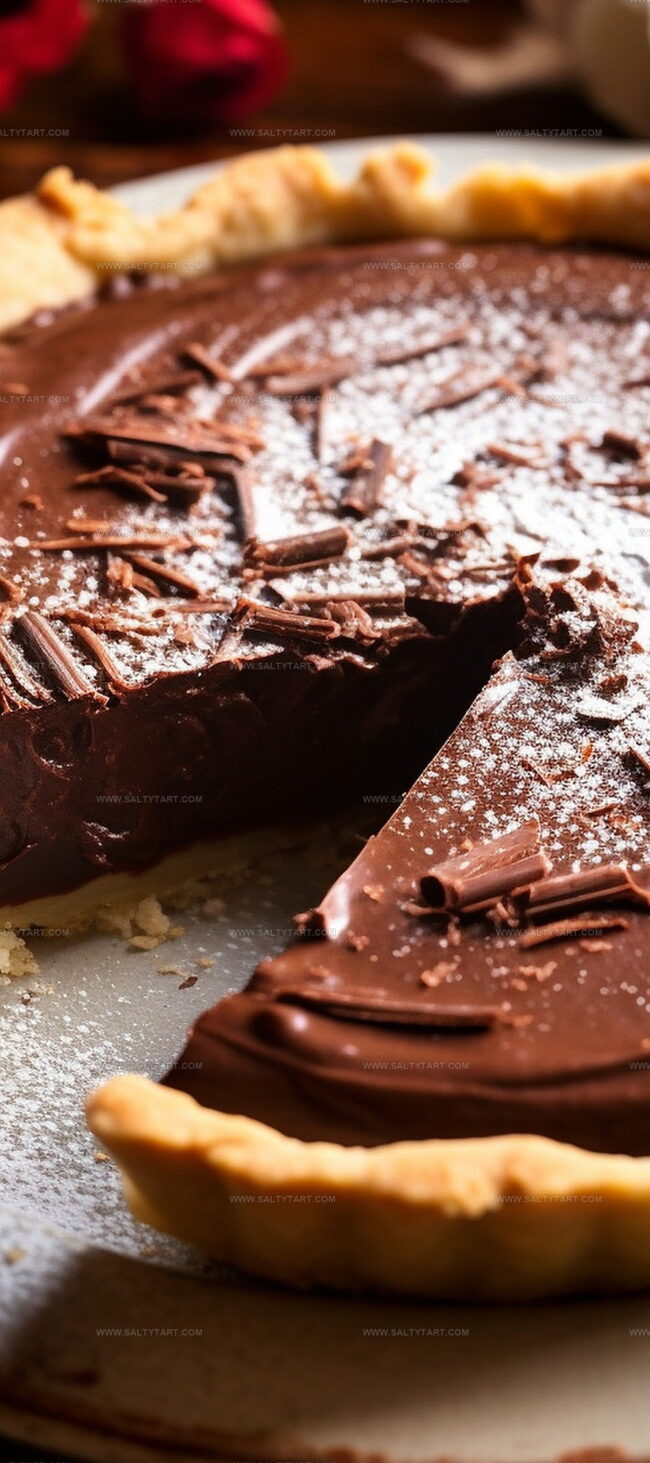
The Most Heavenly Chocolate Pie Recipe Ever Crafted
Rich, creamy chocolate pie beckons dessert enthusiasts with its irresistible charm.
Decadent layers promise pure indulgence for anyone seeking sweet comfort.
Chocolate lovers understand the magic of a perfectly crafted pie.
Smooth filling nestled in a flaky crust creates pure bliss.
Each bite promises a symphony of intense cocoa flavors.
Silky textures and deep chocolate notes will transport you to dessert paradise.
You cannot resist diving into this ultimate chocolate experience.
Chocolate Pie Overview

Ingredients for Chocolate Pie
How to Bake Chocolate Pie

Step 1: Warm Up the Oven
Fire up your oven to a toasty 350℉, getting ready for some serious pie magic.
Step 2: Prepare the Pie Crust
Gently place the pie crust into a 9-inch pie dish.
Trim the edges with care, creating a beautiful border that’ll make your pie look professional.
Step 3: Shield the Crust
Cover the crust completely with parchment paper.
Fill the center with:This helps prevent the crust from puffing up during baking.
Step 4: Initial Baking
Slide the crust into the oven and bake for 20 minutes.
This creates a solid foundation for your pie.
Step 5: Finish the Crust
Remove the parchment and weights.
Continue baking for another 10 minutes until the crust turns a light golden brown. Let it cool completely.
Step 6: Create the Chocolate Filling
In a saucepan, blend together:Mix these dry ingredients thoroughly.
Step 7: Combine Wet Ingredients
Whisk in:Ensure everything is perfectly combined with no lumps.
Step 8: Cook the Filling
Heat the mixture over medium flame. Whisk constantly until bubbles form around the edges and the pudding thickens significantly.
Step 9: Add Chocolate Magic
Remove from heat and stir in:Blend until silky smooth and completely melted.
Step 10: Fill the Pie Crust
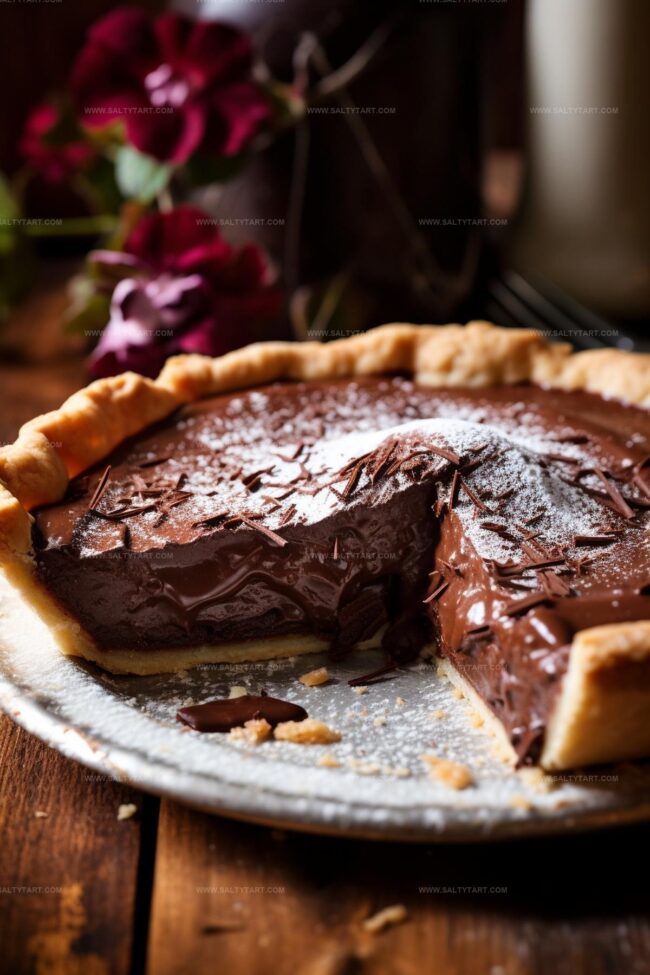
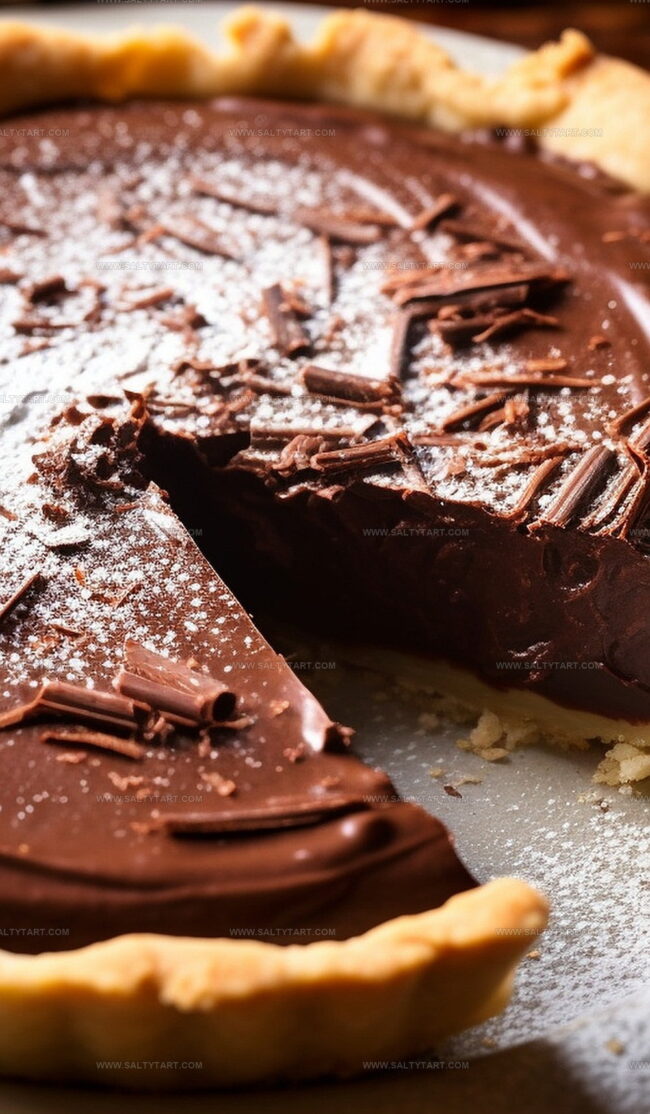
Pour the luscious chocolate filling into the cooled crust.
Spread evenly with a spatula for a perfect surface.
Step 11: Chill and Set
Refrigerate the pie for at least 6 hours.
This allows the filling to firm up and develop deep, rich flavors.
Step 12: Serve in Style
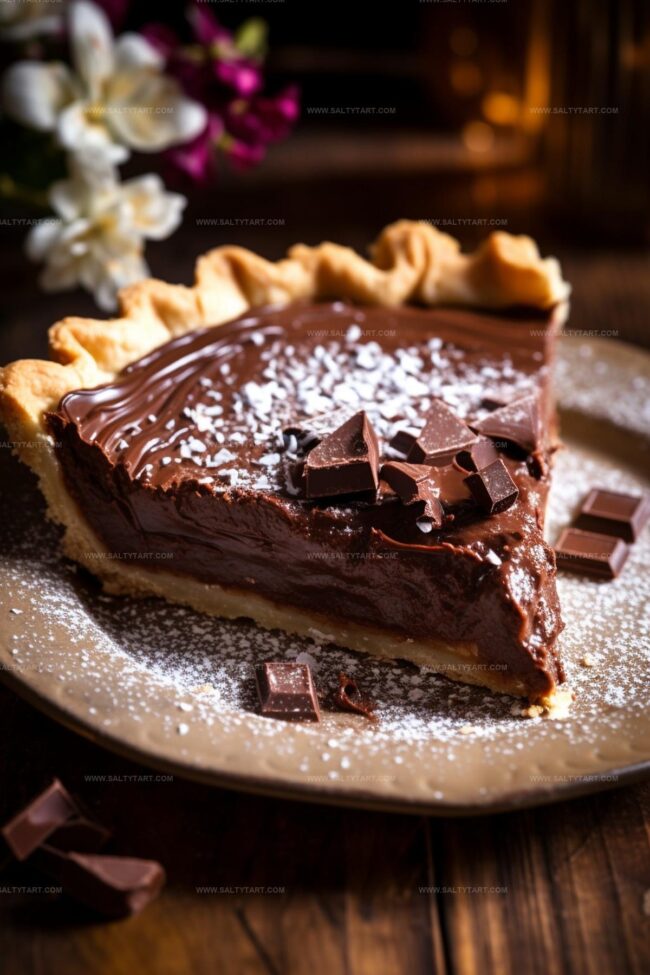
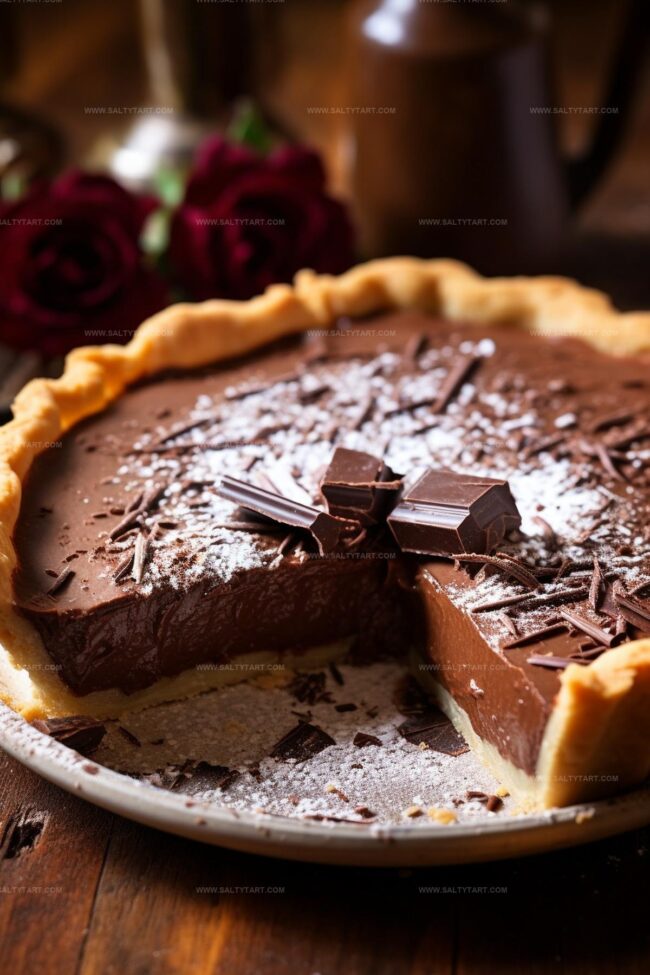
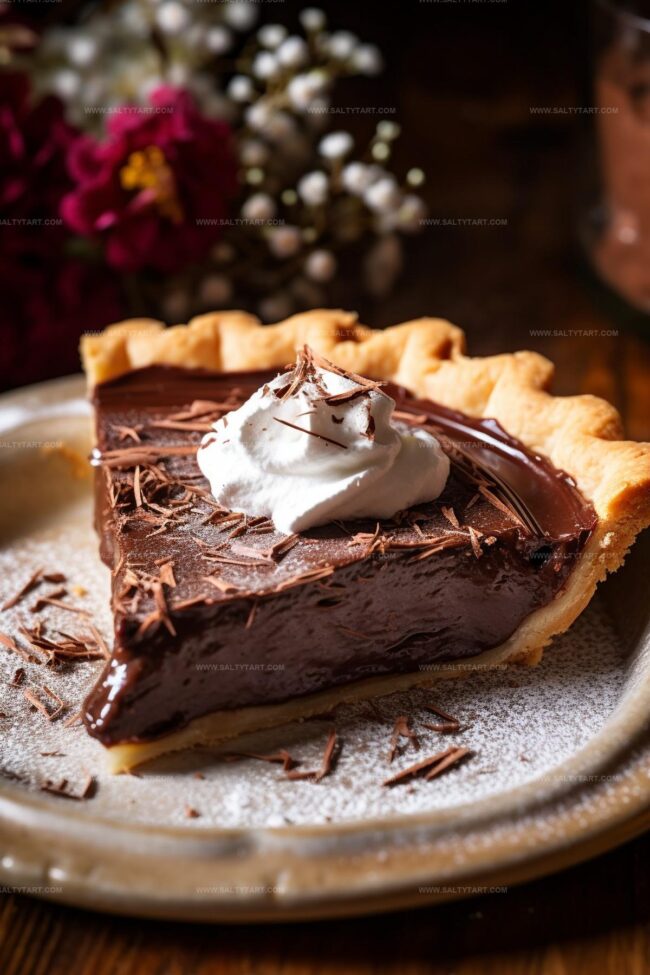
Top with freshly whipped cream and sprinkle with extra chopped dark chocolate for a stunning presentation.
Tips for Chocolate Pie Success
Variations of Chocolate Pie
Pairing Ideas for Chocolate Pie
Storage Advice for Chocolate Pie
FAQs
The key is continuous whisking while cooking the mixture and using both heavy cream and whole milk, which creates a luxurious, velvety texture that prevents lumps and ensures a perfectly smooth pudding-like filling.
Watch for bubbles forming around the edges of the saucepan and the mixture thickening. The consistency should be similar to pudding, where it coats the back of a spoon and leaves a clear path when you run your finger through it.
Dark chocolate is recommended for the best flavor profile and proper setting. Milk chocolate has more sugar and fat, which can affect the pie’s texture and firmness, potentially making the filling too soft or overly sweet.
Print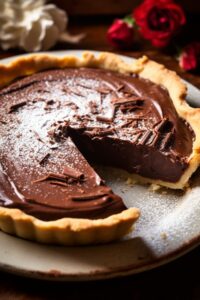
Chocolate Pie Recipe
- Total Time: 1 hour
- Yield: 8 1x
Description
Homemade chocolate pie blends rich cocoa flavors with a buttery crust, creating a classic dessert. Chocolate lovers will savor each silky slice of this irresistible American favorite.
Ingredients
- 6 oz finely chopped dark chocolate (70% cocoa)
- 2.5 cups whole milk
- 1.25 cups granulated sugar
- 4 large egg yolks
- 1/2 cup heavy cream
- 1/3 cup cornstarch
- 2 tbsps unsalted butter
- 1 tbsp pure vanilla extract
- 1/4 tsp salt
- 1 prepared pie crust
- Freshly whipped cream (for topping)
- Finely chopped dark chocolate (for garnish)
Instructions
- Heat the oven to 350℉ and arrange the oven rack in the middle position.
- Gently press the pie crust into a 9-inch pie dish, trimming edges and creating a decorative border.
- Cover the crust with parchment paper, completely lining the interior with pie weights or dried beans to prevent puffing.
- Bake the weighted crust for 20 minutes until the edges turn pale golden.
- Remove the weights and parchment paper, then return the crust to the oven for an additional 10 minutes until it becomes light golden brown.
- Allow the crust to cool completely at room temperature.
- In a medium saucepan, blend cornstarch, sugar, and salt until well combined.
- Whisk egg yolks, milk, and cream into the dry ingredients, creating a smooth liquid mixture.
- Cook the mixture over medium heat, stirring constantly until it bubbles and thickens to a pudding-like consistency.
- Remove from heat and immediately incorporate dark chocolate, butter, and vanilla, stirring until the mixture becomes perfectly smooth and glossy.
- Pour the chocolate filling into the cooled pie shell, using a spatula to spread evenly and eliminate any air pockets.
- Refrigerate the pie for at least 6 hours to allow the filling to set completely.
- Before serving, top with whipped cream and sprinkle with additional chopped dark chocolate for an elegant finish.
Notes
- Use room temperature ingredients to ensure smooth blending and consistent texture throughout the chocolate filling.
- Whisk egg yolks thoroughly to prevent lumps and create a silky custard base for the pie.
- Consider using a digital thermometer to monitor the pudding’s temperature, aiming for 180-185℉ for perfect thickening without scorching.
- Opt for high-quality dark chocolate with 60-70% cocoa content to enhance the rich, deep chocolate flavor of the pie.
- Prep Time: 30 minutes
- Cook Time: 30 minutes
- Category: Desserts
- Method: Baking
- Cuisine: American
Nutrition
- Serving Size: 8
- Calories: 355 kcal
- Sugar: 45 g
- Sodium: 110 mg
- Fat: 18 g
- Saturated Fat: 11 g
- Unsaturated Fat: 6 g
- Trans Fat: 0.5 g
- Carbohydrates: 44 g
- Fiber: 3 g
- Protein: 5 g
- Cholesterol: 135 mg
Mike Reynolds
Founder & Recipe Developer
Expertise
Farm-to-table cuisine, Seasonal recipe development, Sustainable cooking techniques, Food photography
Education
Asheville-Buncombe Technical Community College (A-B Tech)
Associate Degree in Culinary Arts
Mike studied culinary arts with a strong focus on farm-to-table principles and sustainable cooking. His training emphasized the importance of fresh, local ingredients and environmentally responsible practices in the kitchen.
Mike’s food journey began deep in the Blue Ridge Mountains, where weekends at farmers’ markets and home-cooked meals sparked a lifelong obsession with simple, seasonal eating.
After earning his Associate Degree in Culinary Arts from Asheville-Buncombe Technical Community College, he set out to bring farm-to-table cooking into everyday kitchens, without the fuss.
Mike’s philosophy is all about keeping it fresh, unfussy, and full of heart. When he’s not crafting new single-serving recipes, he’s hiking mountain trails, chatting with local farmers, or experimenting with wild ingredients in his backyard kitchen.