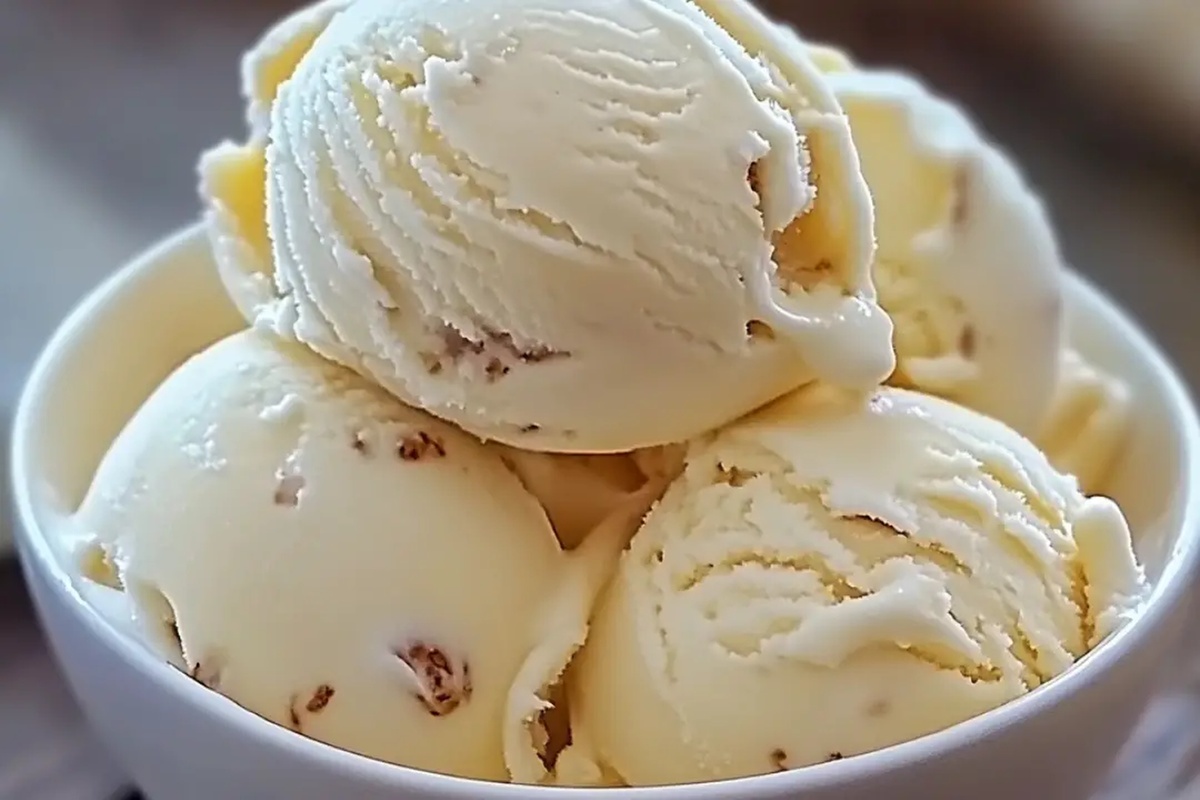
Heavenly Classic Vanilla Ice Cream Recipe: Silky Homemade Joy
Cool summer days call for a classic vanilla ice cream that melts effortlessly on your tongue.
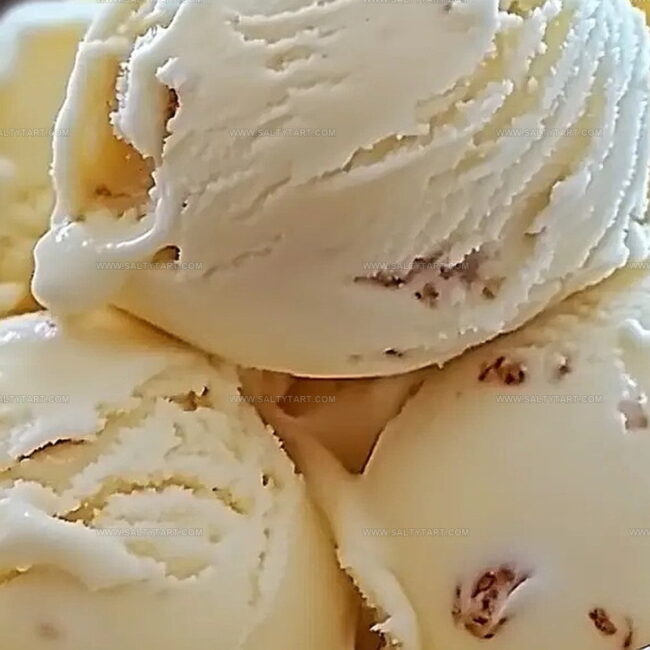
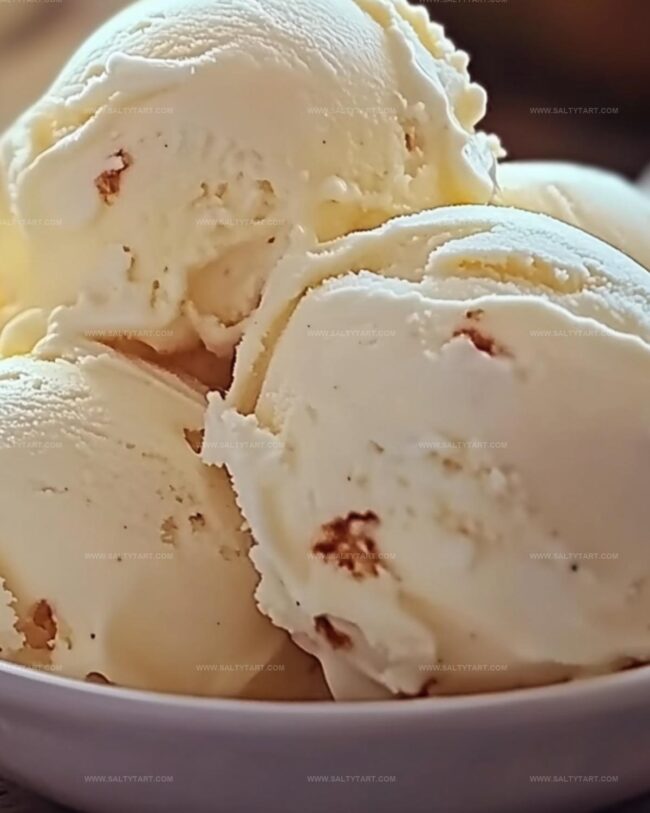
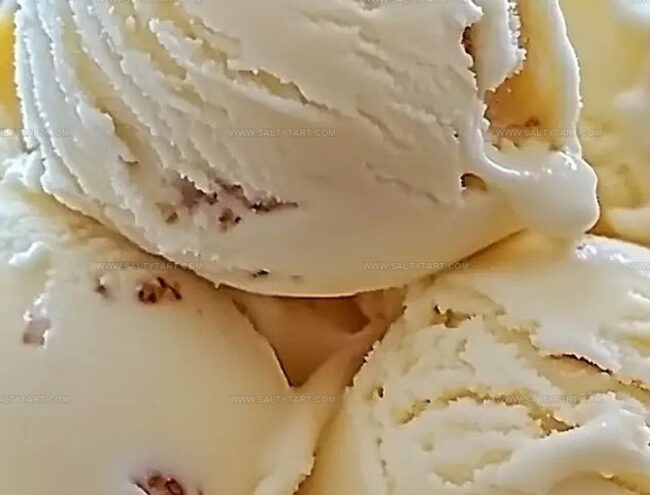
Creamy, smooth vanilla ice cream promises pure indulgence with every spoonful.
The simplest ingredients create magic in this timeless dessert.
Rich dairy and fragrant vanilla beans combine to craft a treat that feels both nostalgic and luxurious.
Each scoop carries memories of childhood delights and warm afternoons.
Home cooks adore this straightforward recipe that requires minimal effort but delivers maximum flavor.
Prepare to savor a dessert that celebrates the elegant simplicity of vanilla sweet embrace.
Classic Vanilla Ice Cream That’s Truly Timeless
What You Need to Make Classic Vanilla Ice Cream
Dairy Base:Sweeteners:Egg Components:Flavor Enhancers:Method for Churning Classic Vanilla Ice Cream
Step 1: Warm the Dairy Blend
Grab your medium saucepan and combine heavy cream, milk, and half the sugar. Gently heat the mixture over medium heat until steam appears, being careful not to let it boil.
Watch for tiny bubbles and a steamy surface that signals perfect temperature.
Step 2: Whip the Egg Mixture
In a separate bowl, whisk egg yolks with remaining sugar and salt.
Keep whisking until the color transforms into a pale, creamy texture and the mixture becomes slightly thicker. Your goal is a smooth, light consistency.
Step 3: Create a Smooth Custard Base
Carefully pour about half a cup of hot cream into the egg mixture, whisking continuously. This delicate process prevents egg scrambling and creates a silky smooth base.
Slowly incorporate the tempered egg mixture back into the saucepan.
Step 4: Cook the Custard Perfectly
Reduce heat to medium-low and stir constantly with a wooden spoon.
Watch for the mixture to thicken enough to coat the spoon’s back. Use a kitchen thermometer to check the temperature reaches 170-175 degrees Fahrenheit.
Avoid boiling at all costs.
Step 5: Flavor and Chill the Base
Remove from heat and stir in vanilla extract or seeds.
Strain the custard through a fine mesh sieve to eliminate any potential lumps. Cover the surface with plastic wrap and refrigerate until completely cold, which takes at least 4 hours or overnight.
Step 6: Churn into Creamy Goodness
Pour the chilled custard into an ice cream maker. Churn according to manufacturer’s instructions, typically 20-25 minutes, until it reaches a soft-serve consistency with a luxurious, creamy texture.
Step 7: Freeze and Enjoy
Transfer the churned ice cream to an airtight container. Smooth the top carefully and freeze for a minimum of 2 hours to achieve the perfect firm texture.
Get ready to savor your homemade classic vanilla ice cream!
Smart Details to Know for Ice Cream
New Takes on Classic Vanilla Ice Cream
Sweets That Go With Vanilla Ice Cream
Keeping Classic Vanilla Ice Cream Smooth
FAQs
Tempering prevents the eggs from scrambling when added to hot liquid. By slowly adding hot cream to eggs while whisking, you gradually raise their temperature without cooking them, creating a smooth custard base.
Both work great. Vanilla extract is convenient and budget-friendly, while vanilla bean seeds provide a more intense, authentic flavor with visible specks. Choose based on your preference and availability.
The custard is done when it coats the back of a spoon and reaches 170-175°F. When you run your finger across the spoon, it should leave a clear path that doesn’t immediately fill back in.
Print
Classic Vanilla Ice Cream Recipe
- Total Time: 6 hours 50 minutes
- Yield: 6 1x
Description
Creamy vanilla dreams come alive in this classic Vanilla Ice Cream that whispers sweet memories of summer afternoons. Rich custard base and pure vanilla essence merge into a silky scoop perfect for chilling with friends and family.
Ingredients
Dairy:
- 2 cups (480 ml) heavy cream
- 1 cup (240 ml) whole milk
- 4 large egg yolks
Sweeteners:
- 3/4 cup (150 g) granulated sugar
Flavoring and Seasoning:
- 1 tablespoon pure vanilla extract
- 1/4 teaspoon salt
Instructions
- Create a creamy foundation by gently heating heavy cream, milk, and half the sugar in a saucepan until wisps of steam emerge, avoiding boiling.
- Whisk egg yolks, remaining sugar, and salt until the mixture transforms into a pale, silky texture with subtle thickness.
- Carefully introduce about 1/2 cup of hot cream into egg mixture, whisking vigorously to prevent curdling, then seamlessly incorporate the tempered eggs back into the saucepan.
- Maintain a gentle medium-low heat, stirring continuously with a wooden spoon, until the custard reaches 170-175°F and develops a smooth, coating consistency that clings to the spoon.
- Remove from heat and infuse vanilla extract or seeds, then strain through a fine mesh sieve to eliminate potential lumps, ensuring a velvety smooth base.
- Shield the custard’s surface with plastic wrap and refrigerate until thoroughly chilled, allowing flavors to meld for a minimum of 4 hours or preferably overnight.
- Transfer the cold custard into an ice cream maker and churn for approximately 20-25 minutes until it achieves a soft, cloud-like texture.
- Scoop the churned mixture into an airtight container, smoothing the surface, and freeze for at least 2 hours to solidify into a perfect, scoopable dessert.
Notes
- Cool the custard quickly by placing the bowl in an ice bath to speed up chilling and prevent bacterial growth.
- Try different vanilla sources like Madagascar, Tahitian, or Mexican beans for unique flavor profiles.
- For a richer texture, use only egg yolks and adjust cream-to-milk ratio to increase butterfat content.
- Make a lactose-free version by substituting dairy with coconut milk or almond milk for a creamy alternative.
- Prep Time: 20 minutes
- Cook Time: 6 hours 30 minutes
- Category: Desserts
- Method: Simmering
- Cuisine: American
Nutrition
- Serving Size: 6
- Calories: 357 kcal
- Sugar: 22 g
- Sodium: 60 mg
- Fat: 29 g
- Saturated Fat: 18 g
- Unsaturated Fat: 9 g
- Trans Fat: 1.2 g
- Carbohydrates: 23 g
- Fiber: 0 g
- Protein: 5 g
- Cholesterol: 200 mg
Jess Martinez
Contributing Recipe Writer & Nutrition Consultant
Expertise
Southwestern and Latin American cooking, Nutritional analysis and healthy recipe planning, Cultural food traditions, Modifying traditional dishes for better health
Education
Santa Fe Community College
Certificate in Culinary Arts
Focused on mastering the flavors and cooking methods of traditional Southwestern cuisine.
Jess’s love for bold, homegrown flavors led her straight into the world of Southwestern cooking and cultural nutrition.
After completing her Certificate in Culinary Arts at Santa Fe Community College, she made it her mission to show that good-for-you food can still taste incredible.
At saltytart.com, Jess shares vibrant, health-conscious recipes with roots in tradition but a fresh, modern twist. When she’s not testing new recipes, you’ll find her at local growers’ markets, tending her herb garden, or digging into food history books.