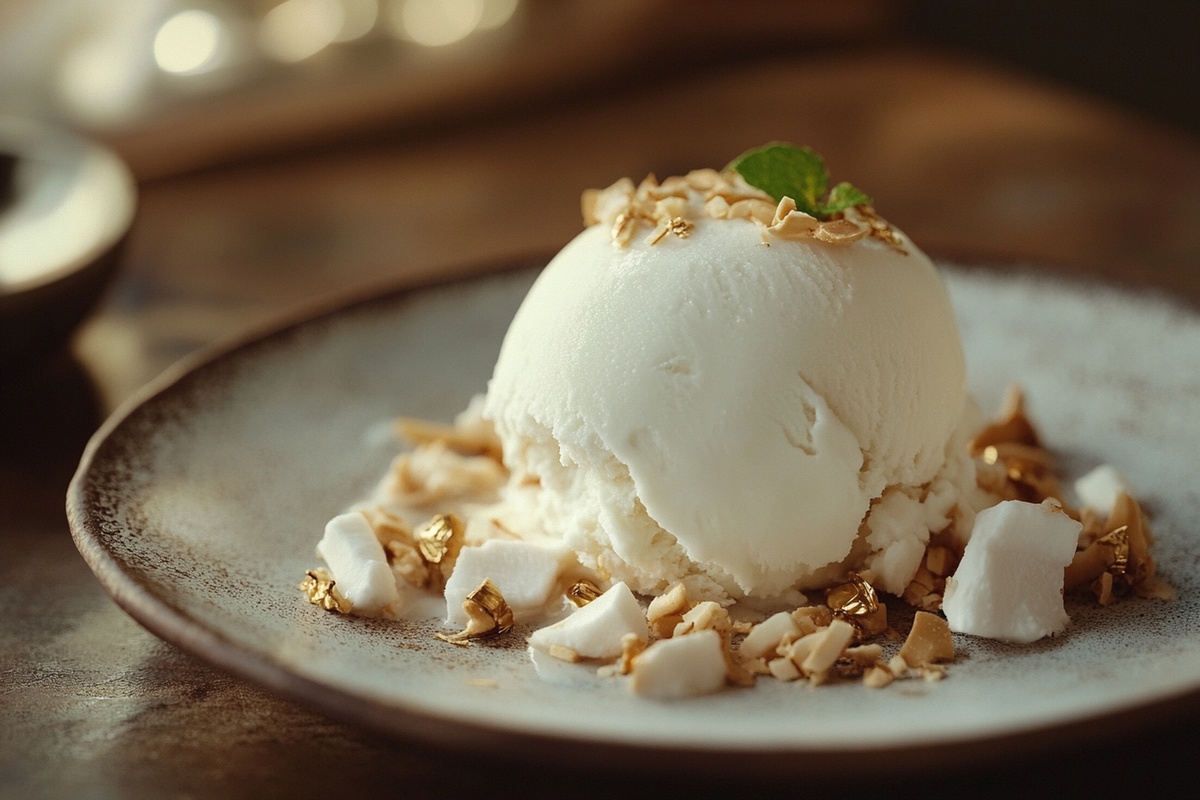
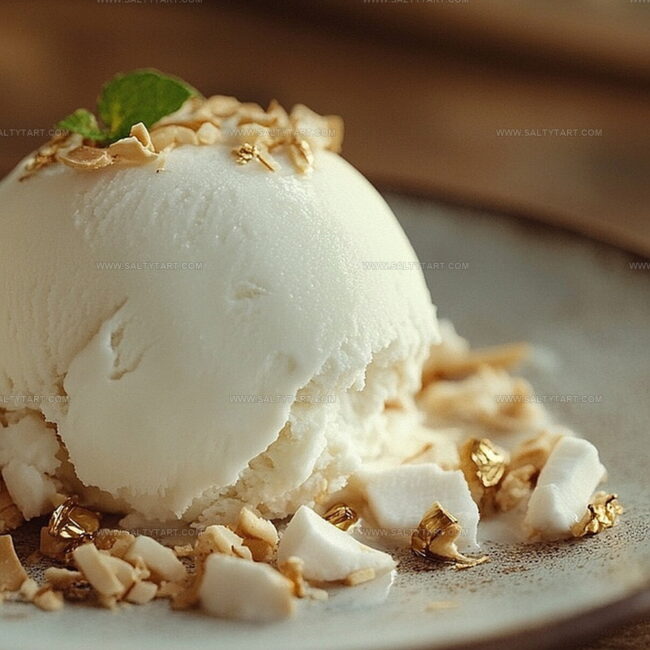
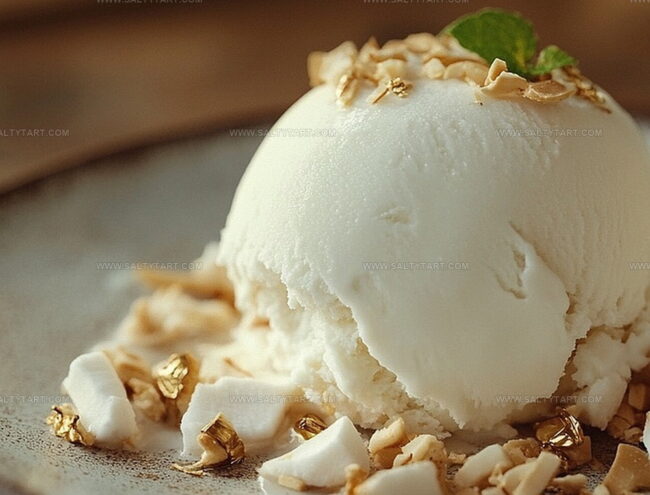
Dreamy Coconut Milk Ice Cream Recipe: A Luscious Summer Treat
Cool summer days demand a creamy coconut milk ice cream that melts smoothly on your tongue.
Tropical flavors dance through each delightful spoonful, promising refreshment beyond ordinary desserts.
Silky textures invite you to savor every delicate bite.
Ingredients blend effortlessly without complicated techniques or professional equipment.
Sweet coconut notes whisper tropical memories with each luscious scoop.
Home kitchens can easily craft this dreamy treat that feels like a mini vacation.
Grab your churner and unleash deliciousness waiting to transform an ordinary afternoon into a creamy celebration.
Why Coconut Milk Ice Cream Is Creamy & Cool
What Goes Into Creamy Coconut Milk Ice Cream
Base Ingredients:Optional Add-In:Preparation Ingredients:Simple Steps for Making Coconut Milk Ice Cream
Step 1: Blend Creamy Base
Grab a saucepan and combine coconut milk, sugar, salt, and vanilla extract. Warm the mixture over medium heat, stirring gently until the sugar melts completely and transforms into a silky smooth liquid.
The gentle heat helps blend the flavors and create a perfect base for your dreamy dessert.
Step 2: Chill and Rest
Transfer the liquid mixture to the refrigerator and let it cool down for 2 hours.
This resting period allows the flavors to mingle and develop a rich, deep taste. Patience is key to creating an amazing homemade ice cream.
Step 3: Churn into Magical Texture
Pour the chilled mixture into an ice cream maker and start the churning process. Let it spin and whip for 20-25 minutes until the texture becomes thick and creamy.
Watch as the liquid transforms into a luxurious frozen treat.
Step 4: Add Coconut Crunch
During the final 5 minutes of churning, sprinkle in shredded coconut.
This adds a delightful texture and extra burst of tropical flavor to your ice cream.
Step 5: Freeze and Set
Carefully transfer the churned ice cream into an airtight container.
Place in the freezer and let it firm up for at least 4 hours. This allows the ice cream to reach the perfect scoopable consistency.
Step 6: Serve and Enjoy
Remove the ice cream from the freezer 10 minutes before serving. This brief rest helps soften the texture, making it easier to scoop and enjoy.
Serve in your favorite bowl and savor the creamy, coconutty goodness.
Tips for Silky and Rich Coconut Milk Ice Cream
Coconut Milk Ice Cream Swaps and Add-Ins
Pairings for Dairy-Free Coconut Milk Ice Cream
Splash a shot of coconut rum alongside the ice cream for an elevated tropical experience that complements the coconut’s natural sweetness.
Grill fresh pineapple slices until golden brown, creating a warm contrast to the cool, creamy ice cream and enhancing the coconut flavor profile.
Dust the ice cream with freshly ground nutmeg to introduce a warm, aromatic depth that beautifully highlights the dessert’s delicate coconut notes.
Melt high-quality dark chocolate and gently pour over the ice cream, creating a rich, sophisticated layer that balances the coconut’s light and creamy texture.
Storing Coconut Milk Ice Cream Smoothly
FAQs
Yes, coconut milk replaces traditional dairy cream, making it perfect for those with lactose intolerance or following a vegan diet.
You can use the no-churn method by whipping the mixture and freezing it, but an ice cream maker produces a smoother, creamier texture.
When stored in an airtight container in the freezer, the coconut milk ice cream will stay fresh for up to 2 weeks.
Absolutely! You can reduce or increase the sugar amount based on your preference, or substitute with alternatives like honey or maple syrup.
Print
Coconut Milk Ice Cream Recipe
- Total Time: 6 hours 40 minutes
- Yield: 4 1x
Description
Cool coconut milk ice cream delivers creamy tropical bliss with minimal effort. Smooth, rich flavors whisk you straight to island paradise in one delightful scoop.
Ingredients
Main Ingredients:
- 2 cans (14 ounces / 400 milliliters each) full-fat coconut milk
- 1 cup (240 milliliters) shredded coconut
Sweeteners and Flavoring:
- 3/4 cup (150 grams) sugar
- 1 teaspoon vanilla extract
Seasoning:
- 1 pinch salt
Instructions
- Blend coconut milk, sugar, salt, and vanilla extract in a saucepan, warming over medium heat until sugar completely dissolves and ingredients integrate smoothly.
- Remove pan from heat and thoroughly chill the liquid mixture in refrigerator for approximately 2 hours, ensuring complete temperature reduction.
- Transfer the chilled coconut liquid into an ice cream maker, initiating churning process at medium speed for 20-25 minutes until mixture transforms into a thick, creamy consistency.
- During final 5 minutes of churning, gently incorporate shredded coconut, allowing even distribution throughout the developing ice cream.
- Carefully transfer churned ice cream into a sealed, freezer-safe container, ensuring minimal air exposure.
- Place container in freezer and allow ice cream to solidify for minimum 4 hours, enabling proper texture development and optimal flavor integration.
- Prior to serving, extract ice cream from freezer and let stand at room temperature for approximately 10 minutes, permitting slight softening for enhanced scooping and enjoyment.
Notes
- Dairy-Free Delight: This coconut milk ice cream naturally caters to those avoiding dairy, making it a perfect treat for lactose-intolerant or vegan friends.
- Texture Tip: Chilling the mixture thoroughly before churning ensures a smoother, creamier consistency that mimics traditional ice cream.
- Flavor Boost: Experiment with adding toasted coconut flakes or a drizzle of dark chocolate for an extra layer of indulgence and crunch.
- Storage Hack: For the best texture, store the ice cream in a shallow, wide container to prevent ice crystals from forming and maintain its creamy smoothness.
- Prep Time: 10 minutes
- Cook Time: 6 hours 30 minutes
- Category: Desserts
- Method: Simmering
- Cuisine: Southeast Asian
Nutrition
- Serving Size: 4
- Calories: 479
- Sugar: 21g
- Sodium: 45mg
- Fat: 44g
- Saturated Fat: 38g
- Unsaturated Fat: 6g
- Trans Fat: 0g
- Carbohydrates: 15g
- Fiber: 3g
- Protein: 3g
- Cholesterol: 0mg
Jess Martinez
Contributing Recipe Writer & Nutrition Consultant
Expertise
Southwestern and Latin American cooking, Nutritional analysis and healthy recipe planning, Cultural food traditions, Modifying traditional dishes for better health
Education
Santa Fe Community College
Certificate in Culinary Arts
Focused on mastering the flavors and cooking methods of traditional Southwestern cuisine.
Jess’s love for bold, homegrown flavors led her straight into the world of Southwestern cooking and cultural nutrition.
After completing her Certificate in Culinary Arts at Santa Fe Community College, she made it her mission to show that good-for-you food can still taste incredible.
At saltytart.com, Jess shares vibrant, health-conscious recipes with roots in tradition but a fresh, modern twist. When she’s not testing new recipes, you’ll find her at local growers’ markets, tending her herb garden, or digging into food history books.