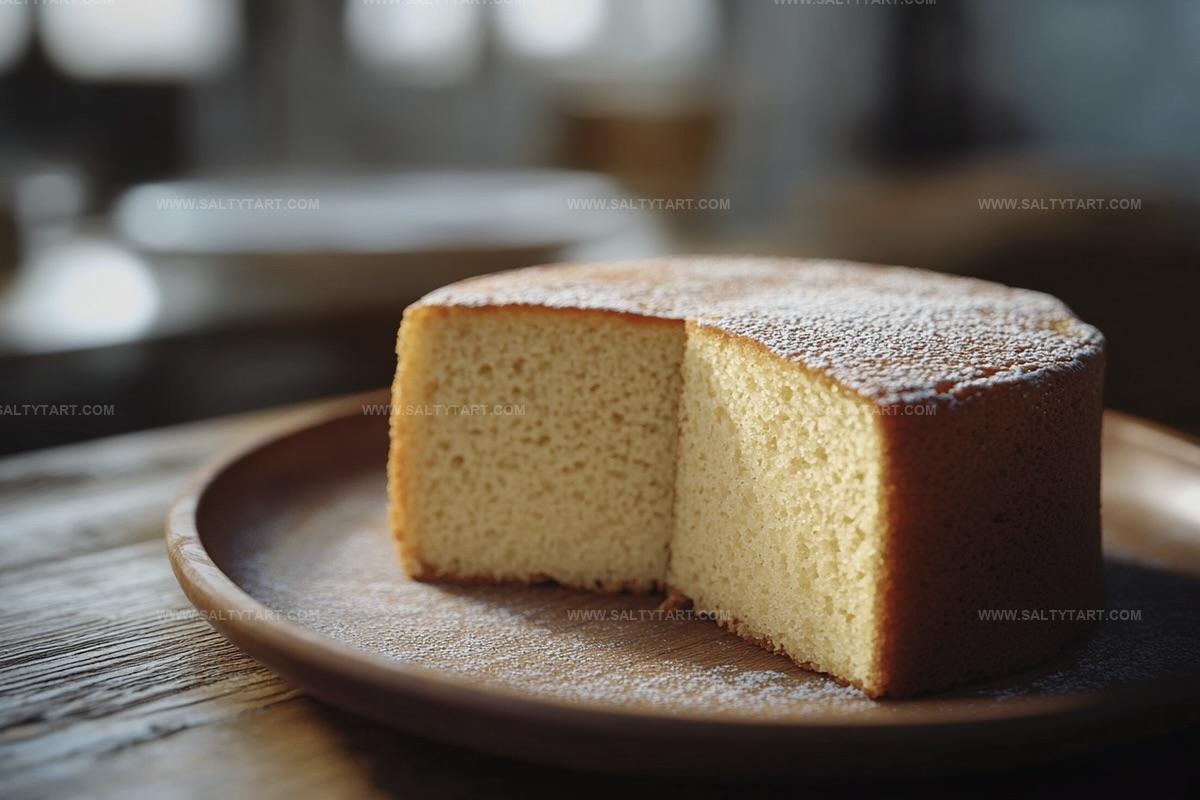
The Fluffiest Condensed Milk Cake Recipe for Sweet Smiles
Sweet memories often bloom around a perfectly crafted condensed milk cake that brings comfort and joy to any gathering.
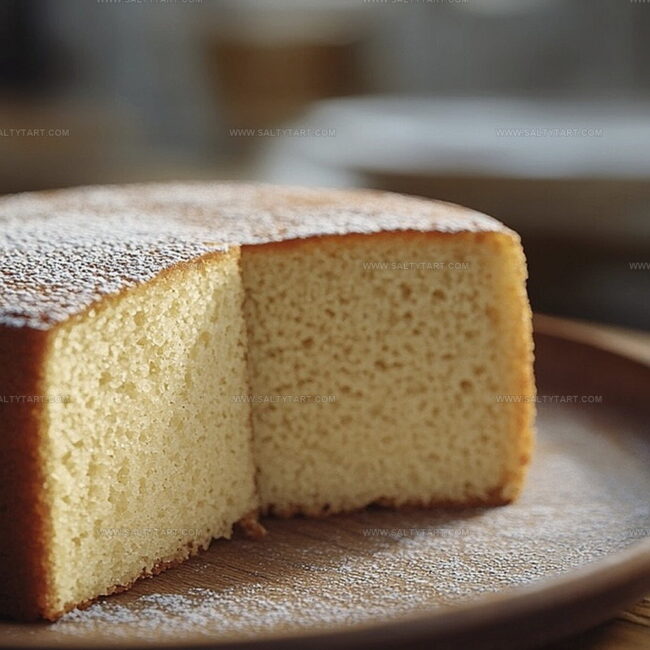
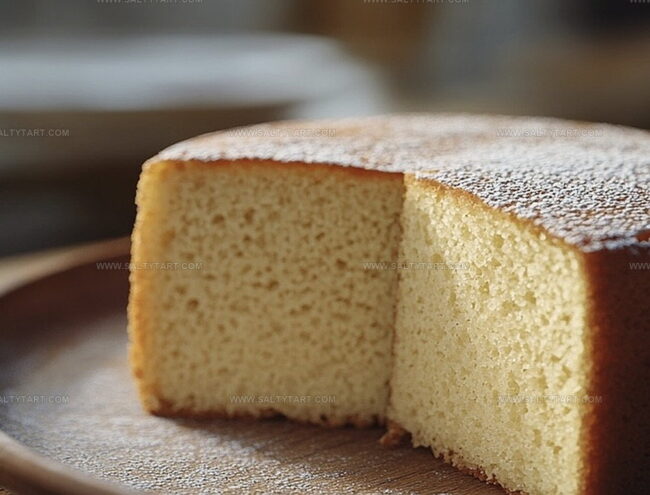
Soft crumbs melt deliciously in your mouth, promising an experience beyond simple dessert.
Creamy and rich, this recipe carries whispers of childhood nostalgia and warmth.
Baking becomes an art form when you combine simple ingredients with love and care.
Each slice tells a story of tradition and culinary passion.
Delicate yet indulgent, the cake invites you to savor every tender bite.
Prepare to create magic in your kitchen that will leave everyone asking for seconds.
What Makes Condensed Milk Cake So Simple
Ingredients for Sweet Condensed Milk Cake
Main Ingredients:Liquid Ingredients:Leavening and Finishing Ingredients:How to Bake Condensed Milk Cake at Home
Step 1: Warm Up the Oven
Set your oven to 350°F (175°C) and lightly grease a 9-inch round cake pan with butter or cooking spray.
Step 2: Whip the Eggs
Grab a large mixing bowl and gently beat the eggs until they become slightly frothy and light.
Step 3: Blend in the Butter
Add softened butter to the eggs and mix thoroughly until the ingredients are completely combined and smooth.
Step 4: Pour in the Sweet Magic
Stir in the sweetened condensed milk, creating a rich and creamy base for your cake.
Step 5: Prepare the Dry Ingredients
Sift together the flour and baking powder to ensure no lumps remain. Gently fold this mixture into the wet ingredients.
Step 6: Add Moisture and Flavor
Stir these ingredients into the batter until it becomes completely smooth and has a silky consistency.
Step 7: Fill the Cake Pan
Transfer the batter into the prepared pan, using a spatula to spread it evenly and create a smooth top surface.
Step 8: Bake to Perfection
Place the pan in the preheated oven and bake for 30-35 minutes. The cake is ready when a toothpick inserted into the center comes out clean.
Step 9: Cool Down
Let the cake rest in the pan for 10 minutes, then carefully transfer to a wire rack to cool completely.
Step 10: Finish with a Flourish
Optional: Dust the top with powdered sugar for an elegant and sweet final touch before serving.
Tips for Moist and Rich Condensed Milk Cake
Creative Swaps for Condensed Milk Cake
Pairings for Slices of Condensed Milk Cake
Storing Condensed Milk Cake Best
FAQs
The combination of softened butter, eggs, condensed milk, and whole milk creates a smooth, rich texture that ensures the cake is moist and velvety.
All-purpose flour works best for this recipe. Substituting with other flours may change the cake’s texture and rise, so it’s recommended to stick with the original ingredient.
Insert a toothpick into the center of the cake. If it comes out clean without any wet batter, the cake is fully baked and ready to be removed from the oven.
Print
Condensed Milk Cake Recipe
- Total Time: 50 minutes
- Yield: 8 1x
Description
Sweet condensed milk cake brings comfort straight from Brazilian kitchens, offering a delightful blend of simplicity and rich flavor. Creamy texture and subtle sweetness make this dessert a perfect companion for afternoon coffee or special gatherings you’ll savor with pure joy.
Ingredients
Main Ingredients:
- 4 eggs
- 1 can (14 ounces/397 grams) sweetened condensed milk
- 1/2 cup (113 grams) unsalted butter, softened
Dry Ingredients:
- 1 cup (125 grams) all-purpose flour
- 1 teaspoon baking powder
Liquid and Flavoring Ingredients:
- 1/2 cup (120 milliliters) whole milk
- 1 teaspoon vanilla extract
- Powdered sugar (for dusting, optional)
Instructions
- Warm the oven to 350F(175C) and thoroughly coat a 9-inch round cake pan with grease to prevent sticking.
- Gently whisk eggs in a spacious mixing bowl until slightly frothy.
- Incorporate softened butter into the eggs, blending until completely uniform.
- Introduce sweetened condensed milk and mix thoroughly to create a creamy consistency.
- Sift flour and baking powder together, then delicately fold into the liquid mixture, ensuring no dry pockets remain.
- Pour whole milk and vanilla extract into the batter, stirring carefully until achieving a silky, smooth texture.
- Transfer the batter to the prepared pan, using a spatula to distribute evenly and create a level surface.
- Position the pan in the preheated oven and bake for 30-35 minutes, checking doneness by inserting a toothpick into the center – it should emerge clean and dry.
- Remove from oven and let the cake rest inside the pan for 10 minutes to stabilize its structure.
- Carefully release the cake onto a wire cooling rack, allowing it to reach room temperature.
- Optional: Dust the top with a light sprinkle of powdered sugar just before serving for an elegant finishing touch.
Notes
- Softening butter ensures smooth blending and prevents lumpy batter, so remove it from the refrigerator 30 minutes before starting.
- Use room temperature eggs for better incorporation and a more uniform cake texture that rises evenly.
- Consider adding a pinch of salt to enhance the cake’s overall flavor profile and balance the sweetness of condensed milk.
- For a gluten-free version, replace all-purpose flour with a 1:1 gluten-free baking blend to make the cake accessible to more dietary needs.
- Prep Time: 15 minutes
- Cook Time: 35 minutes
- Category: Desserts
- Method: Baking
- Cuisine: American
Nutrition
- Serving Size: 8
- Calories: 356kcal
- Sugar: 34g
- Sodium: 150mg
- Fat: 18g
- Saturated Fat: 11g
- Unsaturated Fat: 6g
- Trans Fat: 0.5g
- Carbohydrates: 39g
- Fiber: 1g
- Protein: 7g
- Cholesterol: 110mg
Jess Martinez
Contributing Recipe Writer & Nutrition Consultant
Expertise
Southwestern and Latin American cooking, Nutritional analysis and healthy recipe planning, Cultural food traditions, Modifying traditional dishes for better health
Education
Santa Fe Community College
Certificate in Culinary Arts
Focused on mastering the flavors and cooking methods of traditional Southwestern cuisine.
Jess’s love for bold, homegrown flavors led her straight into the world of Southwestern cooking and cultural nutrition.
After completing her Certificate in Culinary Arts at Santa Fe Community College, she made it her mission to show that good-for-you food can still taste incredible.
At saltytart.com, Jess shares vibrant, health-conscious recipes with roots in tradition but a fresh, modern twist. When she’s not testing new recipes, you’ll find her at local growers’ markets, tending her herb garden, or digging into food history books.