The Perfect Crispy Fried Mac And Cheese Balls Recipe For Parties
Mac and cheese reaches new heights of deliciousness with these crispy fried mac and cheese balls that promise pure comfort.
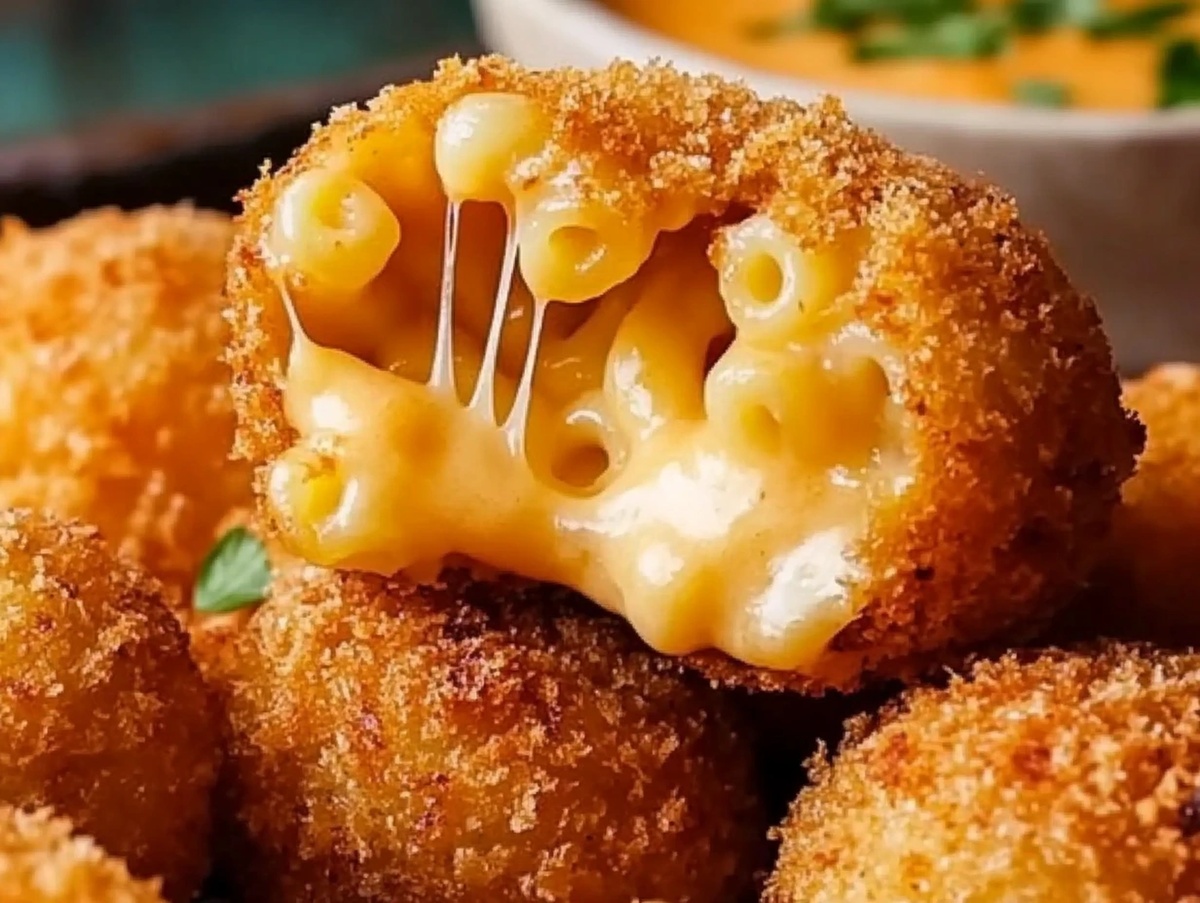
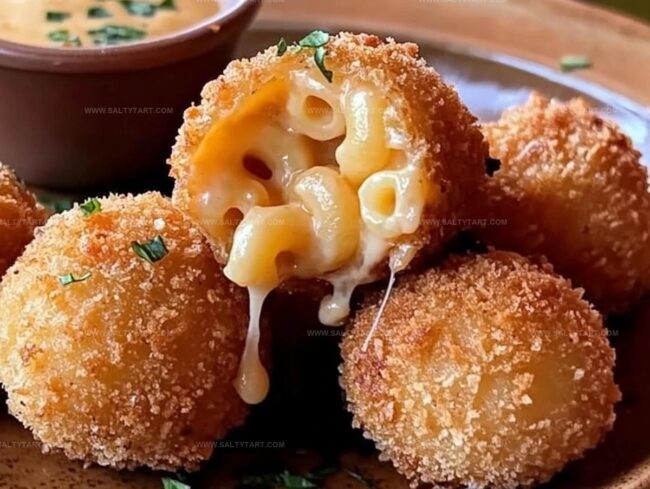
Crunchy golden exteriors give way to molten cheesy centers that melt in your mouth.
Perfectly bite-sized morsels work magic as crowd-pleasing appetizers or game-day snacks.
Homemade recipes often intimidate, but this straightforward approach breaks down complex cooking into simple steps.
Unexpected twists make these cheese balls irresistible for anyone seeking a playful spin on classic comfort food.
cheese lovers will swoon over the combination of creamy interior and crackling exterior that delivers maximum flavor in every single bite.
Prepare to impress everyone at your next gathering with these addictive little treasures.
Ingredients Checklist For Crispy Fried Mac And Cheese Balls
Base Ingredients:Binding and Coating Ingredients:Cooking and Serving Ingredients:Stepwise Instructions To Make Crispy Fried Mac And Cheese Balls
Step 1: Whip Up Cheesy Macaroni Base
Create a rich cheese sauce by melting butter in a saucepan. Whisk in flour and cook until it turns a light golden color.
Slowly pour in milk, stirring continuously until the mixture becomes thick and creamy. Add:Stir until the cheese melts completely and creates a smooth sauce.
Season with salt and pepper. Combine the sauce with cooked macaroni, ensuring every noodle gets coated.
Transfer the mixture to a baking dish and chill in the refrigerator for at least 2 hours until it becomes firm and set.
Step 2: Craft Perfect Cheese Spheres
After the mac and cheese has cooled and solidified, scoop out small portions.
Roll these into compact balls about the size of a golf ball. Make sure they hold together firmly.
Step 3: Create a Crispy Coating
Set up a breading station with three separate containers. Roll each cheese ball in:Ensure each ball gets an even, complete coating.
Press the breadcrumbs gently to help them stick.
Step 4: Fry to Golden Perfection
Heat vegetable oil in a deep skillet or fryer until it reaches 350°F.
Carefully lower the coated mac and cheese balls into the hot oil. Fry in small batches for 2-3 minutes, rotating to achieve an even golden-brown color.
The exterior should be crispy and the inside warm and gooey.
Step 5: Drain and Serve
Remove the fried balls with a slotted spoon and place on a paper towel-lined plate to drain excess oil.
Serve immediately while hot and crispy. Pair with your favorite dipping sauces like tangy marinara, cool ranch, or spicy mayo for an extra flavor kick.
Cooking Tips To Perfect Crispy Fried Mac And Cheese Balls
Flavor Variations To Try With Mac And Cheese Balls
Pairing Suggestions To Serve With Mac And Cheese Balls
Cool, tangy ranch complements the crispy, cheesy exterior of mac and cheese balls, cutting through their rich flavor with a refreshing kick.
Hoppy, light-bodied IPAs or wheat beers provide a crisp contrast to the deep-fried snack, cleansing the palate between bites.
Robust tomato-based sauce with a hint of heat creates a perfect dipping companion, enhancing the cheesy, crunchy texture of the balls.
Crisp, acidic wines like Prosecco or Sauvignon Blanc offer a bright, effervescent counterpoint to the heavy, indulgent appetizer.
Storage Advice To Keep Mac And Cheese Balls Fresh
FAQs
Yes, you can make the mac and cheese mixture and shape the balls up to 2 days ahead. Keep them refrigerated in an airtight container until ready to coat and fry.
Cheddar and Parmesan are ideal, but you can experiment with other melting cheeses like Gruyère or Monterey Jack for different flavor profiles.
Ensure the mac and cheese mixture is thoroughly chilled before coating and shaping. A firm, cold base helps the balls maintain their structure during frying.
Crispy Fried Mac And Cheese Balls Irresistible Snack Bites
Print
Crispy Fried Mac And Cheese Balls Recipe
- Total Time: 2 hours 45 minutes
- Yield: 6 1x
Description
Crispy mac and cheese balls elevate comfort food to a delightful appetizer that delights party guests. Golden-brown crunchy exterior gives way to creamy, cheesy goodness you’ll crave again and again.
Ingredients
Main Ingredients:
- 2 cups elbow macaroni, cooked and drained
- 2 cups shredded cheddar cheese
- 1/2 cup grated Parmesan cheese
Binding and Coating Ingredients:
- 2 tablespoons unsalted butter
- 2 tablespoons all-purpose flour
- 1 cup milk
- 1 cup all-purpose flour
- 2 large eggs, beaten
- 1 1/2 cups seasoned breadcrumbs
Seasoning and Frying Ingredients:
- Salt to taste
- Pepper to taste
- Vegetable oil, for frying
Instructions
- Craft a luxurious cheese sauce by melting butter in a saucepan over medium heat, gradually incorporating flour and whisking until a golden roux develops, approximately 12 minutes.
- Slowly introduce milk, continuously stirring to prevent lumps, allowing the mixture to thicken and transform into a silky base.
- Incorporate cheddar and Parmesan cheeses, stirring until completely melted and creating a smooth, glossy sauce. Season with salt and pepper for enhanced flavor.
- Combine the cheese sauce with cooked macaroni, ensuring each pasta piece is thoroughly coated with the creamy mixture.
- Transfer the mac and cheese into a baking dish, then refrigerate for a minimum of 2 hours to solidify and develop a firm texture.
- Once chilled, carefully form uniform spherical portions, rolling the mixture into compact balls approximately 1-inch in diameter.
- Establish a three-stage coating station: first dredge each ball in flour, creating a delicate base layer.
- Dip the floured balls into beaten eggs, allowing excess to drip off, then generously roll in breadcrumbs for a crisp exterior.
- Heat vegetable oil in a deep skillet to 350°F, monitoring temperature for optimal frying conditions.
- Carefully lower the breaded mac and cheese balls into the hot oil, frying in small batches for 2-3 minutes until achieving a golden-brown, crispy exterior.
- Remove fried balls using a slotted spoon, placing them on paper towels to drain excess oil and maintain crispiness.
- Serve immediately alongside preferred dipping sauces like marinara, ranch, or spicy mayo for an indulgent appetizer experience.
Notes
- Chill the mac and cheese mixture thoroughly to ensure the balls hold their shape during frying and prevent them from falling apart.
- Use cold mac and cheese straight from the refrigerator for easier shaping and more stable balls that maintain their structure when coated and fried.
- Experiment with different cheese blends like sharp cheddar, smoked gouda, or blue cheese to create unique flavor profiles and add depth to the classic recipe.
- For a gluten-free version, substitute regular flour and breadcrumbs with gluten-free alternatives like almond flour or gluten-free panko crumbs to accommodate dietary restrictions.
- Prep Time: 2 hours 30 minutes
- Cook Time: 15 minutes
- Category: Appetizer, Snacks
- Method: Frying
- Cuisine: American
Nutrition
- Serving Size: 6
- Calories: 422 kcal
- Sugar: 2 g
- Sodium: 450 mg
- Fat: 24 g
- Saturated Fat: 11 g
- Unsaturated Fat: 12 g
- Trans Fat: 0.5 g
- Carbohydrates: 35 g
- Fiber: 1.5 g
- Protein: 18 g
- Cholesterol: 75 mg


Mike Reynolds
Founder & Recipe Developer
Expertise
Farm-to-table cuisine, Seasonal recipe development, Sustainable cooking techniques, Food photography
Education
Asheville-Buncombe Technical Community College (A-B Tech)
Associate Degree in Culinary Arts
Mike studied culinary arts with a strong focus on farm-to-table principles and sustainable cooking. His training emphasized the importance of fresh, local ingredients and environmentally responsible practices in the kitchen.
Mike’s food journey began deep in the Blue Ridge Mountains, where weekends at farmers’ markets and home-cooked meals sparked a lifelong obsession with simple, seasonal eating.
After earning his Associate Degree in Culinary Arts from Asheville-Buncombe Technical Community College, he set out to bring farm-to-table cooking into everyday kitchens, without the fuss.
Mike’s philosophy is all about keeping it fresh, unfussy, and full of heart. When he’s not crafting new single-serving recipes, he’s hiking mountain trails, chatting with local farmers, or experimenting with wild ingredients in his backyard kitchen.