
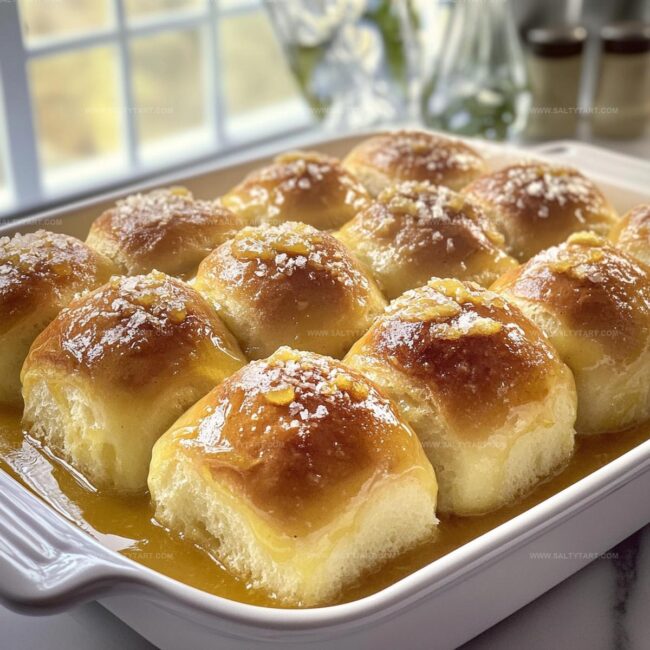
Fluffy Easter Honey Butter Dinner Rolls Recipe: A Sweet Treat
Soft and pillowy Easter honey butter dinner rolls have been my weekend baking obsession lately.
Generations of family recipes inspired this delightful creation with a sweet twist.
Every baker dreams of crafting those perfectly golden, melt-in-your-mouth breads that make everyone smile.
Warm kitchens filled with the aroma of freshly baked rolls create magical moments.
honey adds a delicate sweetness that transforms ordinary bread into something extraordinary.
You’ll find this recipe surprisingly simple, with just a few ingredients and straightforward steps.
Prepare to impress everyone at your next gathering with these irresistible rolls that promise to steal the show.
Why Easter Honey Butter Rolls Are Irresistible
Ingredients for Easter Honey Butter Rolls
Bread Base:Liquid and Binding Ingredients:Leavening and Activation:Finishing Touch:How to Bake Easter Honey Butter Rolls
Step 1: Awaken the Yeast
Mix warm milk, sugar, and yeast in a bowl. Watch the mixture become bubbly and fragrant, letting it sit until it develops a frothy top, which takes about 5-10 minutes.
Step 2: Blend the Dough Ingredients
Grab a large mixing bowl and whisk together flour and salt. Add these ingredients:Stir everything until the ingredients are fully combined and create a shaggy dough.
Step 3: Knead and Develop Texture
Transfer the dough to a lightly floured surface. Use your hands to knead the dough, working it thoroughly for 8-10 minutes.
The dough should transform into a smooth, stretchy, and elastic texture.
Step 4: Allow First Rise
Place the kneaded dough into a greased bowl.
Cover with a damp kitchen towel. Find a cozy, warm spot in your kitchen and let the dough rest and expand, roughly 1 hour, until it doubles in size.
Step 5: Shape the Rolls
Gently deflate the risen dough by pressing down. Divide the dough into equal portions and roll each piece into soft, round balls.
Arrange these rolls in a greased baking dish, leaving a little space between them.
Step 6: Bake to Golden Perfection
Preheat the oven to 375F (190C).
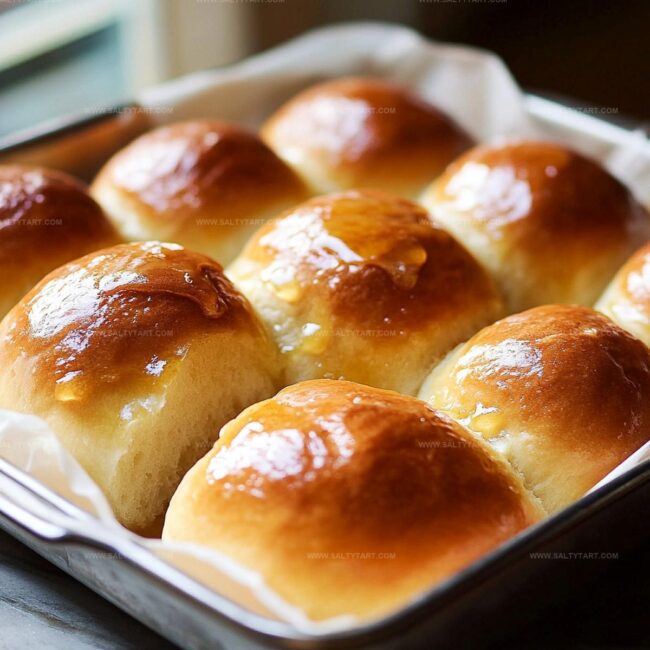
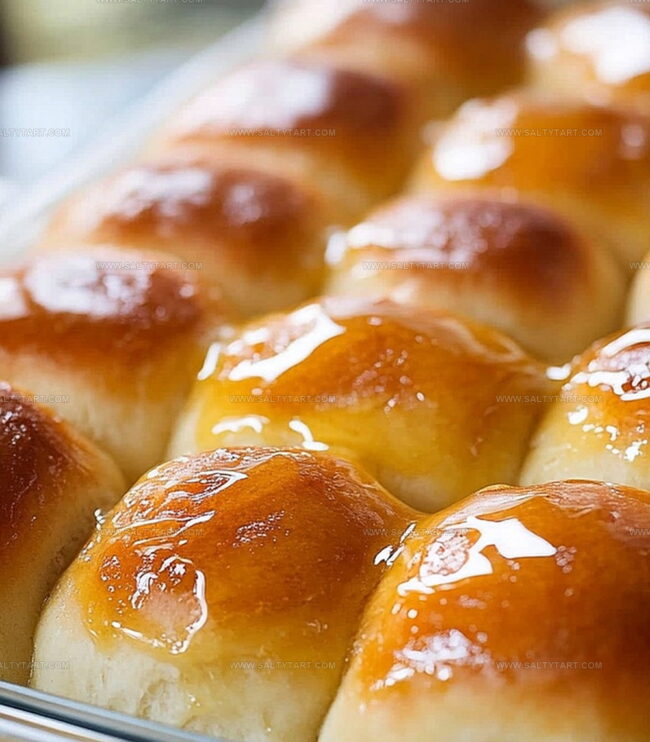
Slide the baking dish into the oven and bake for 20-25 minutes. The rolls should turn a beautiful golden brown.
Once out of the oven, brush the warm rolls with a mixture of melted butter and honey for extra shine and flavor.
Tips for Easter Honey Butter Rolls
Variations for Honey Butter Dinner Rolls
Perfect Pairings with Honey Butter Rolls
Pair Honey Butter Rolls with Complementary Flavors
Roasted turkey, glazed ham, or herb-crusted chicken will beautifully highlight the rolls’ sweet and buttery profile.
Creamy mashed potatoes, roasted spring vegetables, or tangy coleslaw will create delightful flavor contrasts.
Crisp Sauvignon Blanc, light Pinot Noir, or sparkling apple cider will wonderfully complement the rolls’ sweet honey notes.
Serve alongside lemon meringue pie, carrot cake, or berry trifle to continue the festive Easter meal experience.
How to Store Easter Dinner Rolls Properly
FAQs
Honey adds natural sweetness and helps activate the yeast, creating a richer flavor and softer texture in the dinner rolls.
Yes, you can substitute instant yeast. Use the same amount, but skip the activation step and mix it directly with dry ingredients.
Fresh yeast should become frothy within 5-10 minutes when mixed with warm milk and sugar. If it doesn’t foam, the yeast is likely expired and won’t work properly.
All-purpose flour is ideal for this recipe, providing the right texture and structure for soft, fluffy dinner rolls.
Print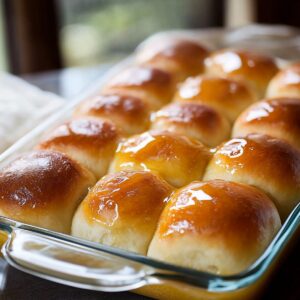
Easter Honey Butter Dinner Rolls Recipe
- Total Time: 1 hour 40 minutes
- Yield: 12 1x
Description
Golden, pillowy Easter honey butter dinner rolls bring warmth to your holiday table, promising delightful comfort with each tender bite. Rich with sweet honey and smooth butter, these rolls will elevate your celebration and invite family to savor each delicious moment.
Ingredients
Main Ingredients:
- 4 cups all-purpose flour
- 2 1/4 teaspoons active dry yeast
- 1 cup warm milk (110°F/43°C)
- 2 large eggs
Wet and Sweet Ingredients:
- 1/2 cup unsalted butter (melted)
- 1/3 cup honey
- 1/4 cup granulated sugar
Seasoning:
- 1 teaspoon salt
Instructions
- Awaken the yeast by whisking warm milk, sugar, and yeast in a mixing bowl. Allow the mixture to become frothy and bubbling (5-10 minutes).
- Create the dough foundation by combining flour and salt in a large mixing vessel. Incorporate melted butter, eggs, honey, and the activated yeast mixture. Blend thoroughly until a cohesive mixture forms.
- Transform the dough through vigorous kneading on a lightly dusted surface. Work the mixture for 8-10 minutes until achieving a silky, stretchy consistency that springs back when touched.
- Nurture dough development by transferring it to a lightly oiled bowl. Cover with a damp cloth and position in a draft-free, warm environment. Allow the dough to expand and rise until it doubles in volume (approximately 1 hour).
- Prepare rolls by gently deflating the risen dough. Divide into uniform portions and roll each into smooth, round spheres. Arrange the rolls closely together in a greased baking dish, allowing slight contact between them.
- Preheat the oven to 375F (190C). Bake the rolls for 20-25 minutes, watching for a rich golden-brown exterior. During the final moments of baking, brush the surface with a luxurious blend of melted butter and honey for a glossy, sweet finish.
Notes
- Ensure milk is lukewarm (not hot) to activate yeast properly without killing it.
- Choose high-protein bread flour for a softer, more elastic texture in rolls.
- Proof yeast carefully by watching for foamy surface, indicating active fermentation.
- Incorporate honey sparingly to maintain delicate sweetness without overpowering other flavors.
- Experiment with different flour blends like whole wheat or gluten-free for dietary variations.
- Allow rolls to cool slightly before serving to prevent burning and maintain optimal moisture.
- Store leftover rolls in airtight container to preserve softness for 2-3 days at room temperature.
- Prep Time: 1 hour 15 minutes
- Cook Time: 25 minutes
- Category: Breakfast, Lunch, Dinner, Snacks
- Method: Baking
- Cuisine: American
Nutrition
- Serving Size: 12
- Calories: 201 kcal
- Sugar: 5 g
- Sodium: 105 mg
- Fat: 7 g
- Saturated Fat: 4 g
- Unsaturated Fat: 3 g
- Trans Fat: 0 g
- Carbohydrates: 31 g
- Fiber: 1 g
- Protein: 5 g
- Cholesterol: 28 mg
Mike Reynolds
Founder & Recipe Developer
Expertise
Farm-to-table cuisine, Seasonal recipe development, Sustainable cooking techniques, Food photography
Education
Asheville-Buncombe Technical Community College (A-B Tech)
Associate Degree in Culinary Arts
Mike studied culinary arts with a strong focus on farm-to-table principles and sustainable cooking. His training emphasized the importance of fresh, local ingredients and environmentally responsible practices in the kitchen.
Mike’s food journey began deep in the Blue Ridge Mountains, where weekends at farmers’ markets and home-cooked meals sparked a lifelong obsession with simple, seasonal eating.
After earning his Associate Degree in Culinary Arts from Asheville-Buncombe Technical Community College, he set out to bring farm-to-table cooking into everyday kitchens, without the fuss.
Mike’s philosophy is all about keeping it fresh, unfussy, and full of heart. When he’s not crafting new single-serving recipes, he’s hiking mountain trails, chatting with local farmers, or experimenting with wild ingredients in his backyard kitchen.