
Juicy Easy Cheeseburger Sliders Recipe for Family Fun Night
Quick and irresistible cheeseburger sliders will become your go-to party snack in minutes.
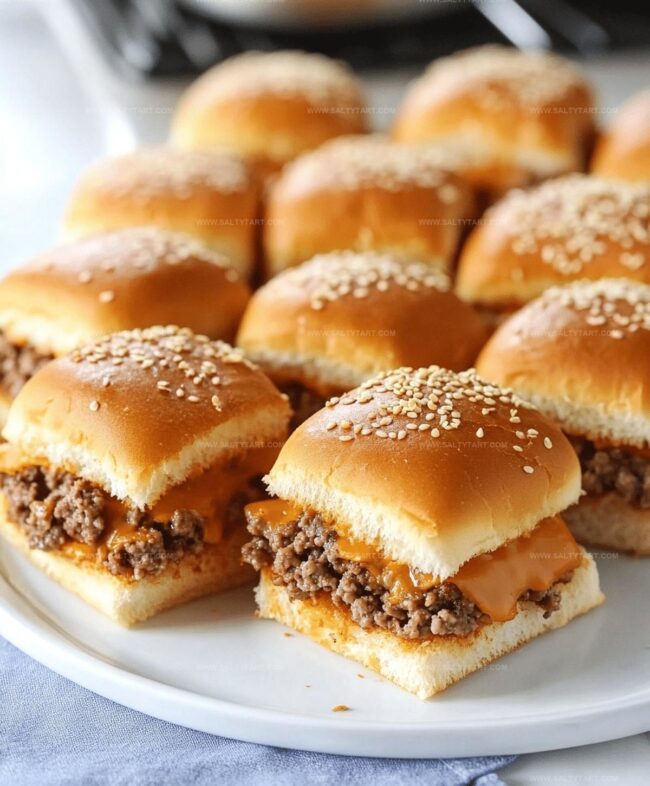
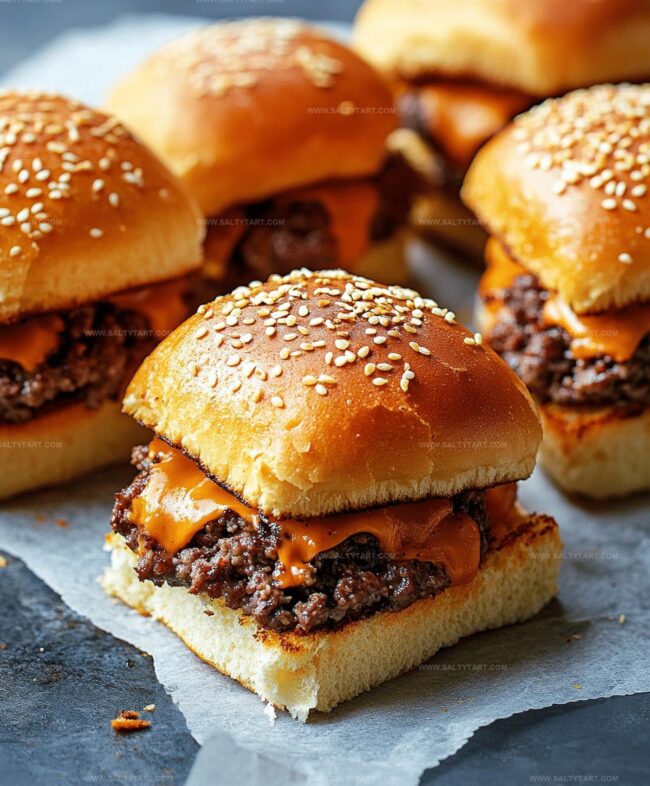
Miniature beef patties nestled between soft buns promise pure deliciousness.
Mini burgers pack incredible flavor into bite-sized portions.
Crafting these delectable treats requires minimal kitchen skills and basic ingredients.
Weekend gatherings or game nights suddenly feel more exciting with these crowd-pleasing morsels.
Casual entertaining just got simpler and more delicious.
Dive into this simple recipe and watch everyone’s faces light up with pure culinary joy.
What Makes Cheeseburger Sliders Shine
What You Need For Cheeseburger Sliders
For the Meat Base:For the Seasonings:For the Bun and Topping Components:How To Cook Cheeseburger Sliders
Step 1: Warm Up The Oven
Crank the oven to a cozy 350°F (175°C) to get ready for some slider magic.
Step 2: Sizzle The Meat
In a skillet, cook ground beef with these flavor boosters:Brown the meat thoroughly and drain any extra grease to keep things lean and delicious.
Step 3: Build The Slider Base
Spread the seasoned beef evenly across the bottom halves of slider buns on a baking tray. Make sure each mini burger gets an equal amount of meaty goodness.
Step 4: Add Cheesy Goodness
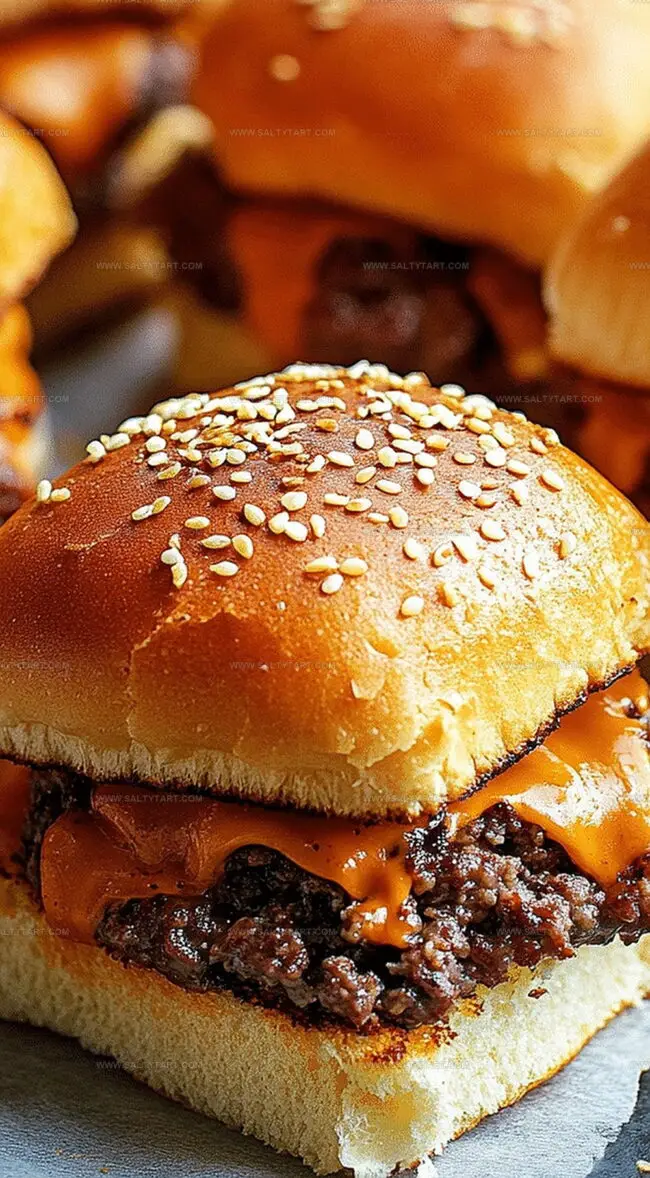
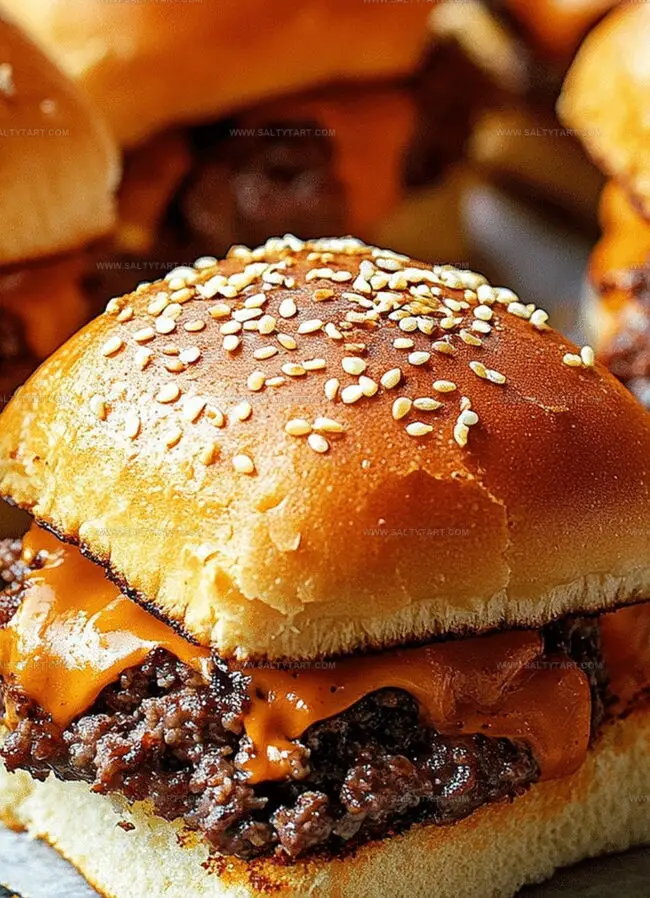
Layer cheese slices directly on top of the beef. Choose your favorite melty cheese for maximum flavor explosion.
Step 5: Complete The Slider Sandwich
Place the top bun halves on the cheese to complete each mini burger.
Step 6: Butter And Beautify
Brush the tops of the buns with melted butter for a golden, glossy finish.
Sprinkle sesame seeds on top if you want extra crunch and visual appeal.
Step 7: Bake To Perfection
Slide the tray into the preheated oven and bake for 10-12 minutes.
Watch for golden-brown buns and completely melted cheese.
Step 8: Serve And Devour
Pull out your hot, bubbling sliders and serve immediately.
These mini burgers are best enjoyed fresh and warm, straight from the oven.
Handy Insights For Cheeseburger Sliders
Taste Tweaks For Cheeseburger Sliders
Best Pairings With Cheeseburger Sliders
Keeping Cheeseburger Sliders Fresh Longer
FAQs
Yes, you can substitute ground beef with ground turkey, chicken, or lamb for a unique flavor profile and different protein option.
American, cheddar, or pepper jack cheese are excellent choices. They melt well and provide great flavor for cheeseburger sliders.
Absolutely! You can prepare them ahead of time, refrigerate, and reheat in the oven for about 10 minutes before serving.
Add some diced jalapeños to the ground beef mixture or sprinkle red pepper flakes on top before baking for an extra kick.
Print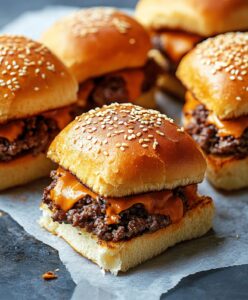
Easy Cheeseburger Sliders Recipe
- Total Time: 27 minutes
- Yield: 12 1x
Description
Savory cheeseburger sliders deliver miniature burger perfection for casual gatherings. Packed with juicy beef, melted cheese, and classic toppings, these compact delights will satisfy your craving for handheld comfort.
Ingredients
- 1 lb ground beef
- 6 slices of cheddar cheese
- 12 slider buns
- 1 small onion, diced
- 2 tablespoons melted butter
- 1/2 teaspoon garlic powder
- 1/2 teaspoon salt
- 1/4 teaspoon black pepper
- Sesame seeds (optional)
Instructions
- Prepare the oven at 350F (175C), ensuring the rack is positioned in the center for even heating.
- Heat a skillet over medium-high and brown the ground beef with finely chopped onions, seasoning with garlic powder, salt, and pepper until meat is fully cooked and crumbly.
- Carefully drain excess fat from the beef mixture to prevent soggy sliders.
- Arrange slider bun bottoms on a lined baking tray, creating a stable base for assembling.
- Distribute the seasoned beef evenly across the bun bottoms, creating a uniform meat layer.
- Cover the beef with cheese slices, ensuring complete coverage for maximum melting potential.
- Crown the sliders with the remaining bun tops to complete the sandwich structure.
- Gently brush the top of each bun with melted butter for a golden, glossy finish.
- Optional: Sprinkle sesame seeds over the buttered buns for added texture and visual appeal.
- Transfer the tray to the preheated oven and bake for 10-12 minutes until cheese melts completely and buns turn a light golden brown.
- Remove from oven, let cool for 2-3 minutes, then serve immediately while warm and crisp.
Notes
- Choose lean ground beef to reduce excess grease and create a healthier version of sliders.
- Try different cheese types like sharp cheddar, pepper jack, or Swiss for unique flavor profiles.
- Customize sliders for dietary needs by using ground turkey, plant-based meat alternatives, or gluten-free buns to accommodate various preferences.
- Prep sliders ahead of time and refrigerate before baking, making them perfect for game day or quick party appetizers.
- Prep Time: 15 minutes
- Cook Time: 12 minutes
- Category: Lunch, Dinner, Snacks
- Method: Baking
- Cuisine: American
Nutrition
- Serving Size: 12
- Calories: 321 kcal
- Sugar: 2 g
- Sodium: 570 mg
- Fat: 20 g
- Saturated Fat: 9 g
- Unsaturated Fat: 11 g
- Trans Fat: 0.5 g
- Carbohydrates: 18 g
- Fiber: 1 g
- Protein: 17 g
- Cholesterol: 55 mg
Jess Martinez
Contributing Recipe Writer & Nutrition Consultant
Expertise
Southwestern and Latin American cooking, Nutritional analysis and healthy recipe planning, Cultural food traditions, Modifying traditional dishes for better health
Education
Santa Fe Community College
Certificate in Culinary Arts
Focused on mastering the flavors and cooking methods of traditional Southwestern cuisine.
Jess’s love for bold, homegrown flavors led her straight into the world of Southwestern cooking and cultural nutrition.
After completing her Certificate in Culinary Arts at Santa Fe Community College, she made it her mission to show that good-for-you food can still taste incredible.
At saltytart.com, Jess shares vibrant, health-conscious recipes with roots in tradition but a fresh, modern twist. When she’s not testing new recipes, you’ll find her at local growers’ markets, tending her herb garden, or digging into food history books.