Irresistible Garlic Cheese Fingers Recipe for Snack Lovers
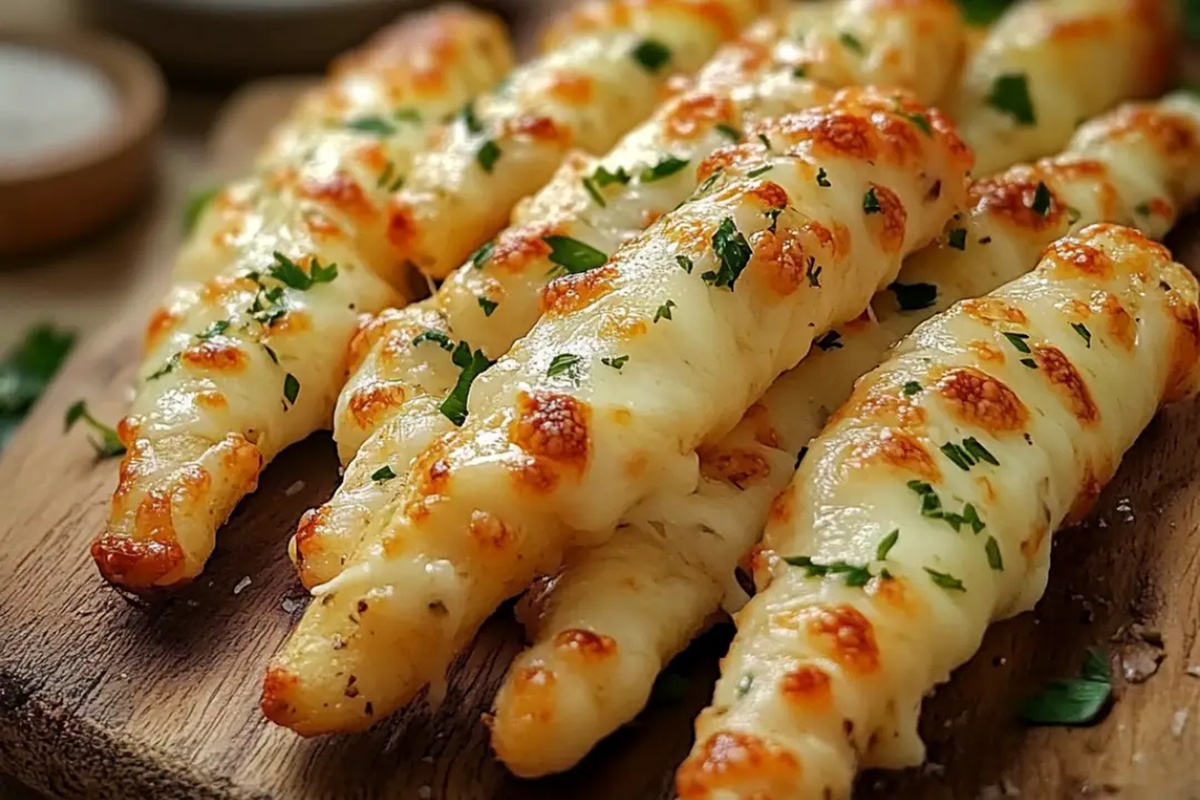
Crispy, golden edges tempt you with a delectable garlic cheese fingers recipe that promises pure comfort.
Melted cheese cascades over perfectly seasoned dough, creating an irresistible appetizer.
Warm from the oven, these savory treats deliver a burst of flavor in every bite.
cheese lovers will swoon over the rich, garlicky essence that makes this dish shine.
Each piece offers a delightful crunch and creamy interior that beckons you closer.
The simple ingredients transform into a crowd-pleasing snack that disappears faster than you can serve them.
Prepare to become the hero of your next gathering with this mouthwatering creation.
What Matches With Garlic Cheese Fingers Best
How To Store Cheese Fingers and Keep Fresh
FAQs
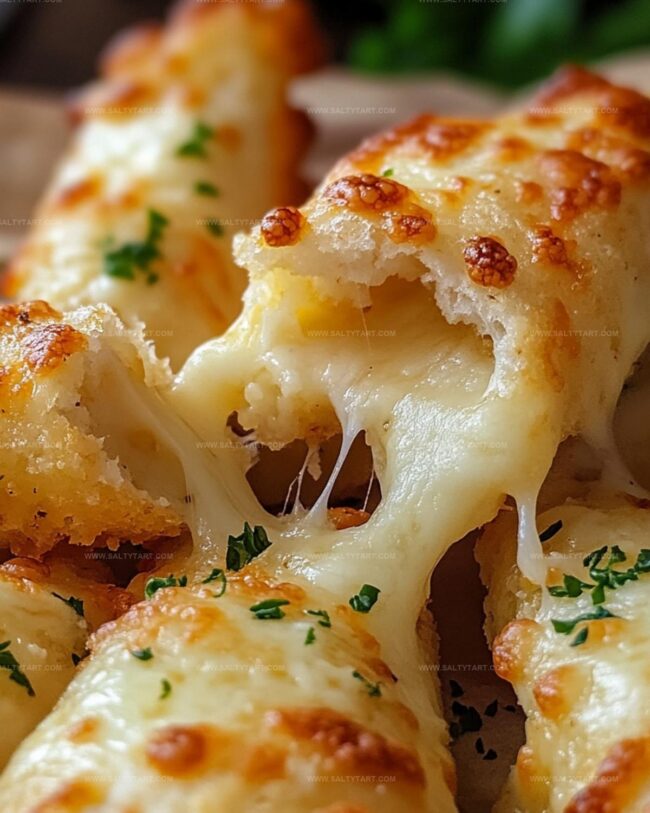
Mozzarella is perfect because it melts smoothly and provides a creamy, stretchy texture that creates delicious cheese pulls.
Yes, you can bake the tortillas at 400F (200C) for about 10-12 minutes instead of using an air fryer, ensuring the cheese melts and edges become crispy.
Absolutely! The simple ingredients and cheesy flavor make it a hit with children, and it’s quick to prepare which kids will love.
Try adding a pinch of red pepper flakes or using roasted garlic for a deeper, more intense garlic flavor that enhances the overall taste.
Garlic Cheese Fingers That Everyone Reaches For
What You’ll Need To Make Garlic Cheese Fingers
Base Ingredients:Flavor Enhancers:Cooking Essentials:Stepwise Directions For Garlic Cheese Fingers
Step 1: Create Tortilla Base
Take one tortilla and generously spread half of the garlic butter across its entire surface. Sprinkle a layer of shredded mozzarella cheese evenly over the buttered tortilla, covering it completely.
Step 2: Build Layered Cheese Fingers
Place the second tortilla directly on top of the cheese-covered first tortilla. Spread the remaining garlic butter over the top surface of this tortilla.
Sprinkle another layer of mozzarella cheese on top.
Step 3: Air Fry the Cheese Fingers
Preheat your air fryer to 400F (200C).
Carefully place the assembled tortilla stack inside the air fryer basket. Cook for approximately 5 minutes until the cheese begins melting and the edges turn crispy and golden.
Step 4: Broil for Golden Finish
Transfer the partially cooked cheese fingers to an oven-safe dish. Place under the broiler for an additional 5 minutes.
Watch carefully to achieve a perfectly golden and bubbly top without burning.
Step 5: Slice and Serve
Remove from the broiler and allow the cheese fingers to cool slightly.
Using a sharp knife, cut into strips or wedge-shaped pieces. Serve immediately while hot and crispy for the best flavor and texture.
Smart Details When Baking Cheese Fingers At Home
Toppings and Mix-Ins For Cheese Fingers
Print
Garlic Cheese Fingers Recipe
- Total Time: 20 minutes
- Yield: 2 1x
Description
Crispy garlic cheese fingers deliver a mouthwatering blend of melted cheese and zesty garlic, perfect for snack enthusiasts. Homemade comfort arrives quickly, tempting you with irresistible flavors that promise pure culinary satisfaction.
Ingredients
Main Ingredients:
- 1 cup mozzarella cheese, shredded
- 2 low-carb tortillas
Cheese and Bread Base:
- 1/4 cup (57 grams) butter, very soft
Herbs and Seasonings:
- 1 tablespoon minced garlic
- 1 tablespoon parsley, chopped
Instructions
- Craft a zesty garlic-herb butter by thoroughly blending softened butter with finely minced garlic and chopped parsley until the mixture becomes uniform and aromatic.
- Lay one tortilla flat and generously coat with half the prepared garlic butter, ensuring complete and even coverage across the surface.
- Distribute the first portion of mozzarella cheese evenly over the buttered tortilla, creating a consistent cheese layer.
- Carefully position the second tortilla directly on top of the cheese-covered base, creating a sandwich-like preparation.
- Apply the remaining garlic butter to the top tortilla’s exterior, spreading meticulously to achieve complete coverage.
- Sprinkle the final portion of mozzarella across the top layer, allowing for thorough cheese distribution.
- Preheat the air fryer to 400F (200C) for optimal cooking temperature.
- Gently transfer the prepared tortilla stack into the air fryer basket, positioning it centrally for even heat circulation.
- Cook for approximately 5 minutes, monitoring until cheese begins melting and tortilla edges turn crisp and golden.
- Transfer the partially cooked dish to an oven-safe plate and activate the broiler setting.
- Broil for an additional 5 minutes, watching carefully to achieve a bubbling, perfectly bronzed surface.
- Remove from heat and allow brief cooling to prevent immediate burning.
- Slice into elegant strips or triangular wedges for serving and enjoy while warm and crispy.
Notes
- Select soft, fresh tortillas for the best texture and crispiness when air frying.
- Use room temperature butter to easily blend with garlic and parsley for smooth, even coating.
- Consider adding red pepper flakes or dried herbs like oregano for extra flavor complexity.
- Try different cheese blends like cheddar or pepper jack for unique taste variations.
- Prep Time: 10 minutes
- Cook Time: 10 minutes
- Category: Appetizer, Snacks
- Method: Air Frying
- Cuisine: Italian
Nutrition
- Serving Size: 2
- Calories: 475 kcal
- Sugar: 1 g
- Sodium: 600 mg
- Fat: 38 g
- Saturated Fat: 22 g
- Unsaturated Fat: 14 g
- Trans Fat: 0.5 g
- Carbohydrates: 6 g
- Fiber: 2 g
- Protein: 24 g
- Cholesterol: 90 mg
Jess Martinez
Contributing Recipe Writer & Nutrition Consultant
Expertise
Southwestern and Latin American cooking, Nutritional analysis and healthy recipe planning, Cultural food traditions, Modifying traditional dishes for better health
Education
Santa Fe Community College
Certificate in Culinary Arts
Focused on mastering the flavors and cooking methods of traditional Southwestern cuisine.
Jess’s love for bold, homegrown flavors led her straight into the world of Southwestern cooking and cultural nutrition.
After completing her Certificate in Culinary Arts at Santa Fe Community College, she made it her mission to show that good-for-you food can still taste incredible.
At saltytart.com, Jess shares vibrant, health-conscious recipes with roots in tradition but a fresh, modern twist. When she’s not testing new recipes, you’ll find her at local growers’ markets, tending her herb garden, or digging into food history books.