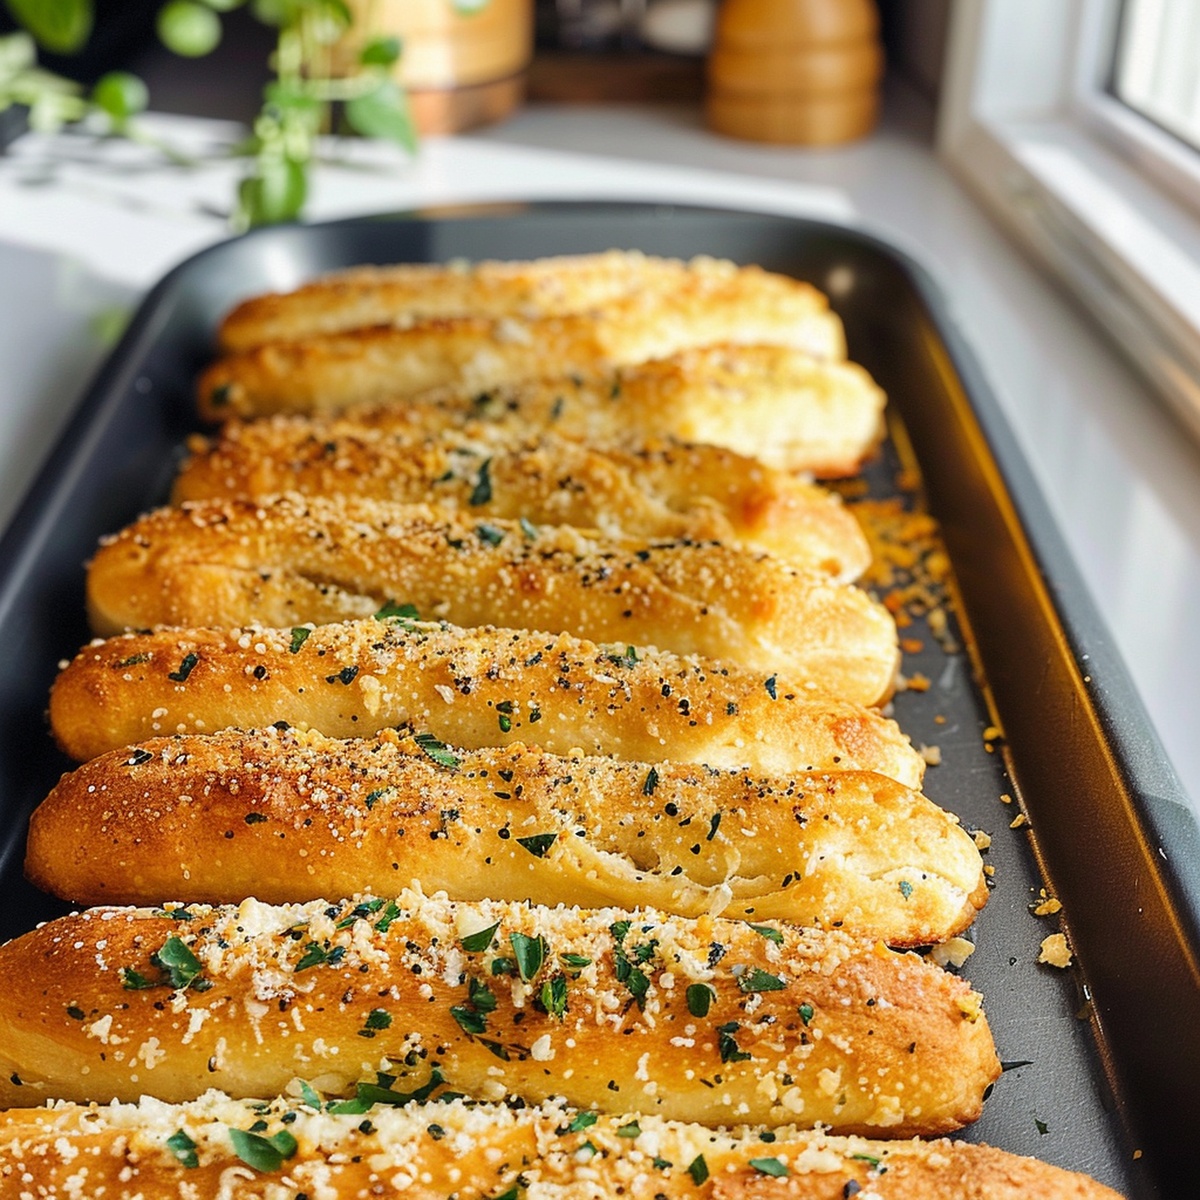
Irresistibly Buttery Garlic Parmesan Breadsticks Recipe
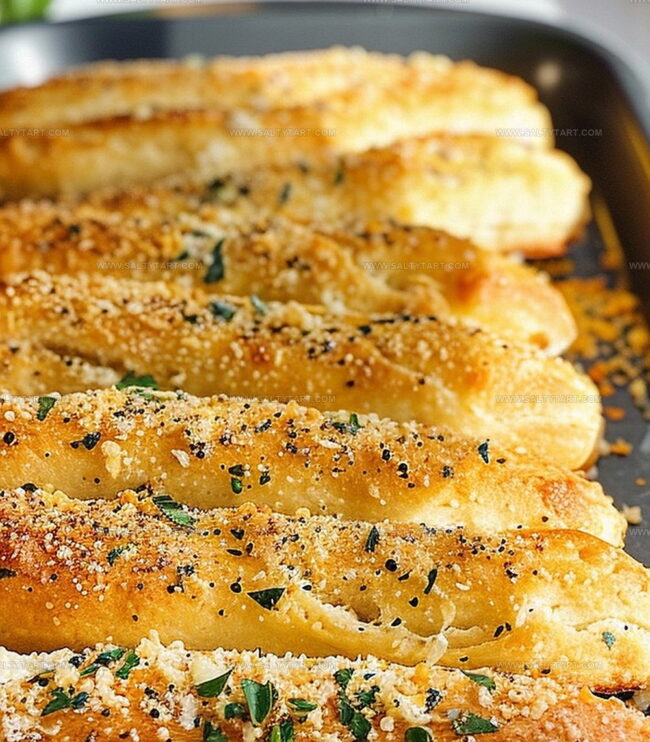
Crispy, golden garlic parmesan breadsticks dance with flavor in this irresistible recipe that promises pure comfort.
Warm ovens and fresh ingredients await your culinary adventure.
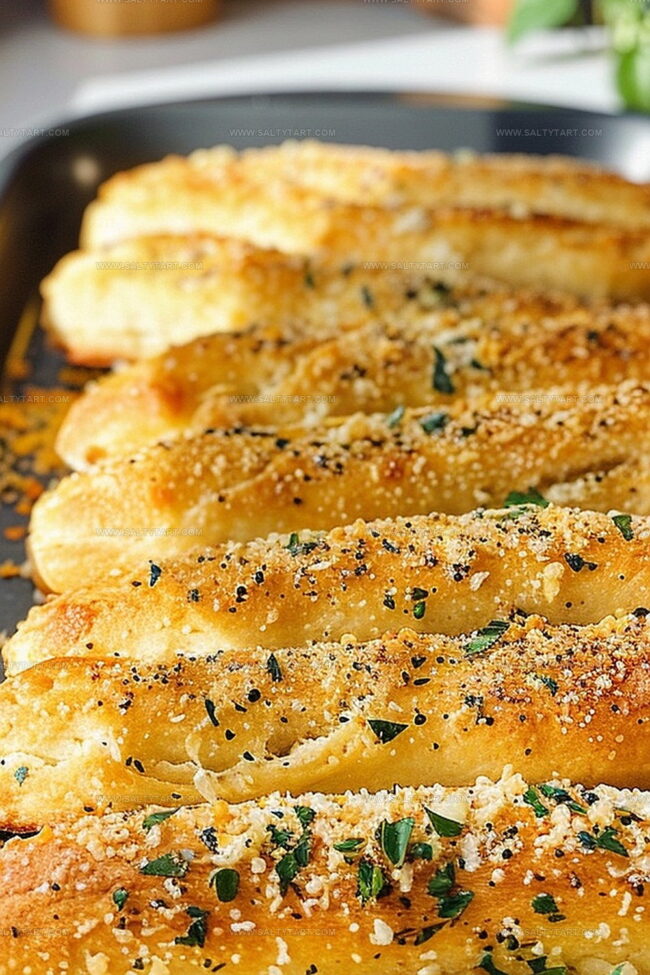
buttery edges and a delicate cheese coating make these sticks impossible to resist.
Homemade magic happens when simple pantry staples merge into something extraordinary.
Soft inside and perfectly crunchy outside, each breadstick tells a story of deliciousness.
Fragrant herbs and rich parmesan create a symphony of taste that will have everyone asking for seconds.
You can become the kitchen hero with this simple yet impressive recipe that guarantees smiles around the table.
Why Garlic Parmesan Breadsticks Are a Favorite
Ingredients for Garlic Parmesan Breadsticks
Bread Base:Yeast Activation:Flavor and Moisture Enhancers:How to Make Garlic Parmesan Breadsticks
Step 1: Kickstart the Yeast Activation
Grab a small bowl and combine warm water, yeast, and sugar. Gently stir the mixture and let it sit until it becomes wonderfully frothy and bubbly, which takes about 5 minutes.
Step 2: Mix the Dough Base
In a large mixing bowl, blend flour and salt. Pour in the frothy yeast mixture and melted butter.
Stir everything together until a cohesive dough starts to form.
Step 3: Develop Dough Texture
Transfer the dough to a flour-dusted surface.
Knead the dough thoroughly for 5-7 minutes, working it until it becomes smooth and elastic.
Step 4: Allow Dough to Rise
Place the dough in an oil-coated bowl.
Cover with a damp cloth and let it rest in a cozy, warm spot. Wait patiently until the dough doubles in size, which typically takes around 1 hour.
Step 5: Shape Breadstick Beauties
Gently deflate the risen dough. Roll it into long, slender ropes about 1 inch thick.
Arrange these ropes on a greased baking sheet.
Step 6: Prepare Flavor Enhancers
Ingredients for topping:Combine the melted butter and garlic powder in a small bowl.
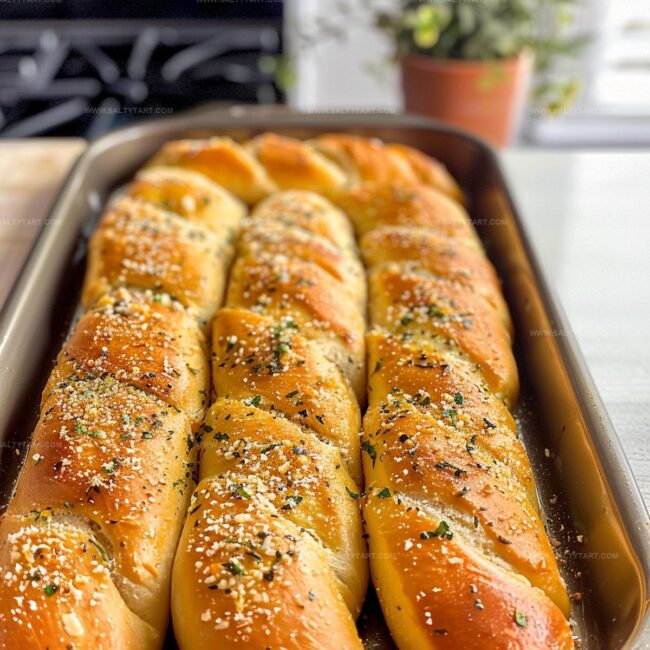
Step 7: Bake and Brown
Preheat the oven to 375F (190C). Brush each breadstick generously with the garlic butter mixture.
Sprinkle Parmesan cheese over the top. Bake for 15-20 minutes until they turn a gorgeous golden brown.
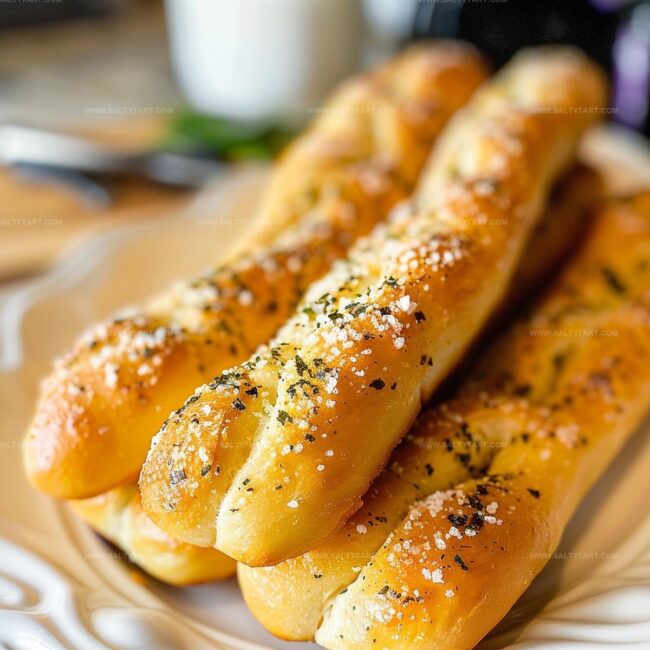
Step 8: Serve and Enjoy
Remove breadsticks from the oven and let them cool slightly. Serve warm and watch them disappear!
Tips to Nail Garlic Parmesan Breadsticks
Variations on Garlic Parmesan Breadsticks
Pairings for Garlic Parmesan Breadsticks
Storing Garlic Parmesan Breadsticks Well
FAQs
Yes, you can prepare the dough up to 24 hours in advance. Cover it tightly and refrigerate after the first rise, then shape and bake when ready.
If the yeast mixture doesn’t become frothy, it might be expired or the water was too hot or cold. Use fresh yeast and ensure water is around 110°F for best results.
The dough should become smooth and elastic, and when you gently stretch a small piece, it should form a thin “window” without tearing immediately.
Print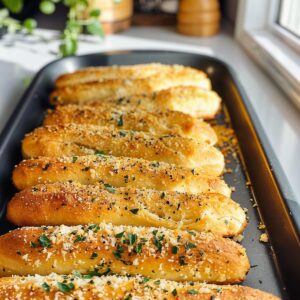
Garlic Parmesan Breadsticks Recipe
- Total Time: 1 hour 35 minutes
- Yield: 12 1x
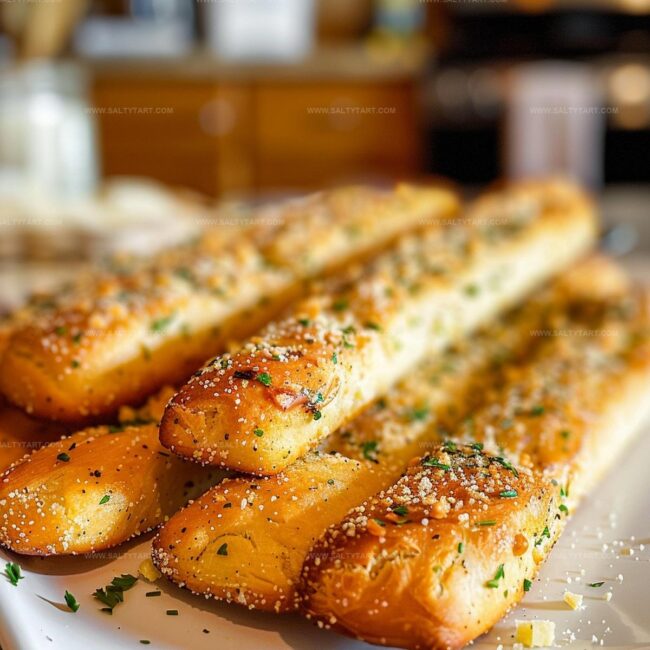
Description
Scrumptious garlic parmesan breadsticks deliver a flavor explosion straight from Italian kitchens. Cheesy, herbed dough creates crisp edges and buttery centers that invite eager appetites to savor each delightful bite.
Ingredients
Main Ingredients:
- 3 cups all-purpose flour
- 1 cup warm water (110°F/43°C)
- 1/2 cup freshly grated Parmesan cheese
Dough Enhancers and Seasonings:
- 2 1/4 teaspoons active dry yeast
- 1 tablespoon sugar
- 1 teaspoon salt
- 2 teaspoons garlic powder
- 1 teaspoon dried oregano (optional)
Butter and Topping:
- 4 tablespoons unsalted butter (melted, plus more for brushing)
Instructions
- Prepare the yeast activation liquid by combining tepid water with yeast and sugar, allowing the mixture to become foamy and fragrant for approximately 5 minutes.
- Combine flour and salt in a spacious mixing vessel, then incorporate the activated yeast liquid and melted butter, stirring until a cohesive dough forms.
- Transfer the dough onto a lightly dusted work surface and methodically knead for 5-7 minutes, developing a smooth and elastic texture.
- Relocate the dough to a lightly oiled container, drape with a moist cloth, and position in a draft-free warm environment to expand and double in volume, roughly 1 hour.
- Deflate the risen dough by gently pressing, then subdivide and roll into slender cylindrical shapes approximately 1 inch in diameter.
- Arrange the formed dough cylinders on a greased baking surface, ensuring slight separation between each breadstick.
- Heat the oven to 375F (190C) while preparing a garlic-infused butter mixture to brush across the raw dough surfaces.
- Generously coat each unbaked breadstick with the garlic butter blend, ensuring comprehensive coverage.
- Bake in the preheated oven for 15-20 minutes until the breadsticks transform into a rich golden-brown color with crisp edges.
- Remove from oven and allow a brief cooling period before serving to allow the texture to settle and flavors to harmonize.
Notes
- Swap active dry yeast with instant yeast by reducing liquid slightly and skipping the activation step.
- Ensure water temperature is warm (100-110°F) to activate yeast properly without killing it.
- Add extra flavor by incorporating herbs like rosemary, thyme, or basil into the dough for gourmet variation.
- Transform breadsticks into gluten-free version by using a cup-for-cup gluten-free flour blend and adding xanthan gum for better texture.
- Prep Time: 1 hour 15 minutes
- Cook Time: 20 minutes
- Category: Appetizer, Snacks
- Method: Baking
- Cuisine: Italian
Nutrition
- Serving Size: 12
- Calories: 140
- Sugar: 2 g
- Sodium: 210 mg
- Fat: 5 g
- Saturated Fat: 3 g
- Unsaturated Fat: 2 g
- Trans Fat: 0 g
- Carbohydrates: 20 g
- Fiber: 1 g
- Protein: 5 g
- Cholesterol: 10 mg
Mike Reynolds
Founder & Recipe Developer
Expertise
Farm-to-table cuisine, Seasonal recipe development, Sustainable cooking techniques, Food photography
Education
Asheville-Buncombe Technical Community College (A-B Tech)
Associate Degree in Culinary Arts
Mike studied culinary arts with a strong focus on farm-to-table principles and sustainable cooking. His training emphasized the importance of fresh, local ingredients and environmentally responsible practices in the kitchen.
Mike’s food journey began deep in the Blue Ridge Mountains, where weekends at farmers’ markets and home-cooked meals sparked a lifelong obsession with simple, seasonal eating.
After earning his Associate Degree in Culinary Arts from Asheville-Buncombe Technical Community College, he set out to bring farm-to-table cooking into everyday kitchens, without the fuss.
Mike’s philosophy is all about keeping it fresh, unfussy, and full of heart. When he’s not crafting new single-serving recipes, he’s hiking mountain trails, chatting with local farmers, or experimenting with wild ingredients in his backyard kitchen.