Timeless Homemade Grandmothers Pie Crust Recipe: Flaky Perfection
Crafting a delectable grandmothers pie crust recipe brings back memories of warm kitchen conversations and flaky, golden edges.
Generations of bakers have treasured this simple technique passed down through whispered culinary secrets.
Perfectly tender and crisp, each bite tells a story of love and tradition.
Mixing just a few ingredients creates magic that transforms ordinary flour into something extraordinary.
Soft hands kneading dough become a connection to cherished family moments.
Rolling out memories feels like embracing comfort itself.
You’ll want to savor every crumbly, buttery morsel of this timeless classic.
FAQs
Cold butter creates flaky layers by staying solid and creating pockets of fat that separate the dough when baking, resulting in a tender, light crust.
The mixture should look like coarse crumbs with small pea-sized butter pieces, which helps create a flaky texture when baked.
Yes, you can prepare the dough and refrigerate it for up to 2 days before using, or freeze it for up to 3 months for later use.
Add ice water very gradually, one tablespoon at a time, until the dough just starts to come together without becoming too wet or sticky.
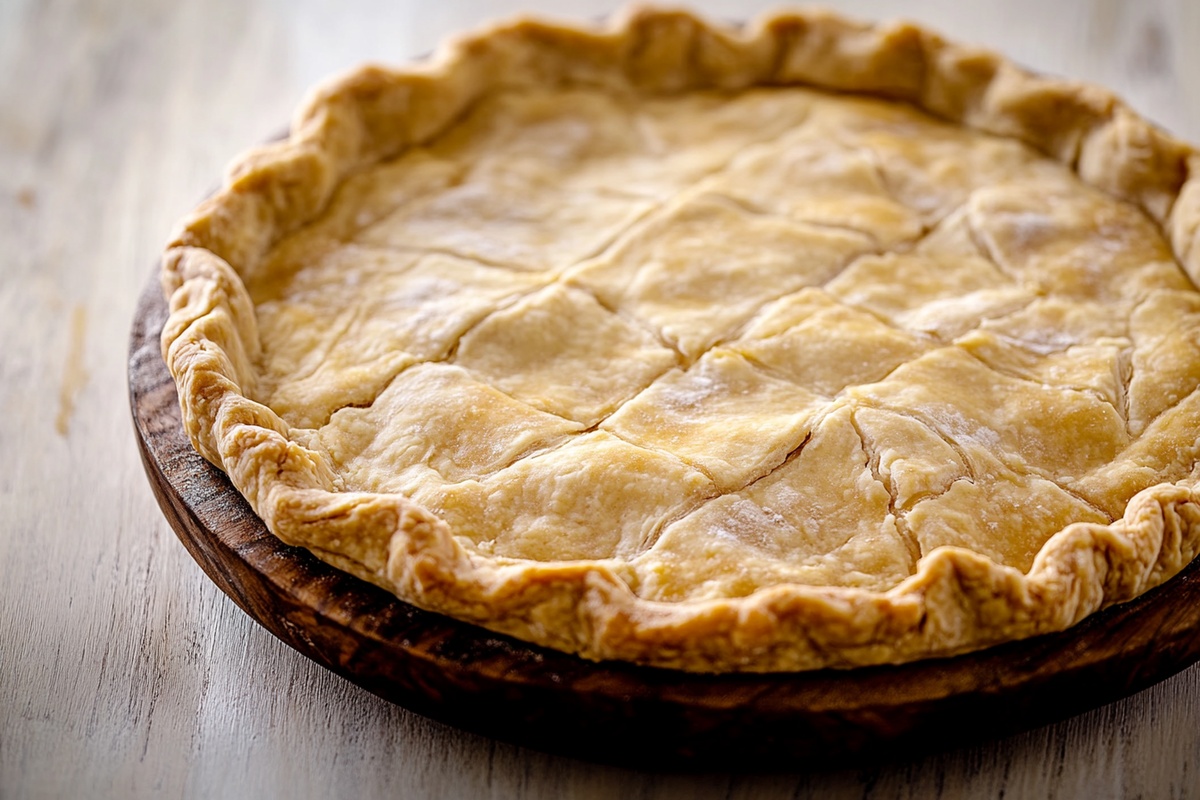
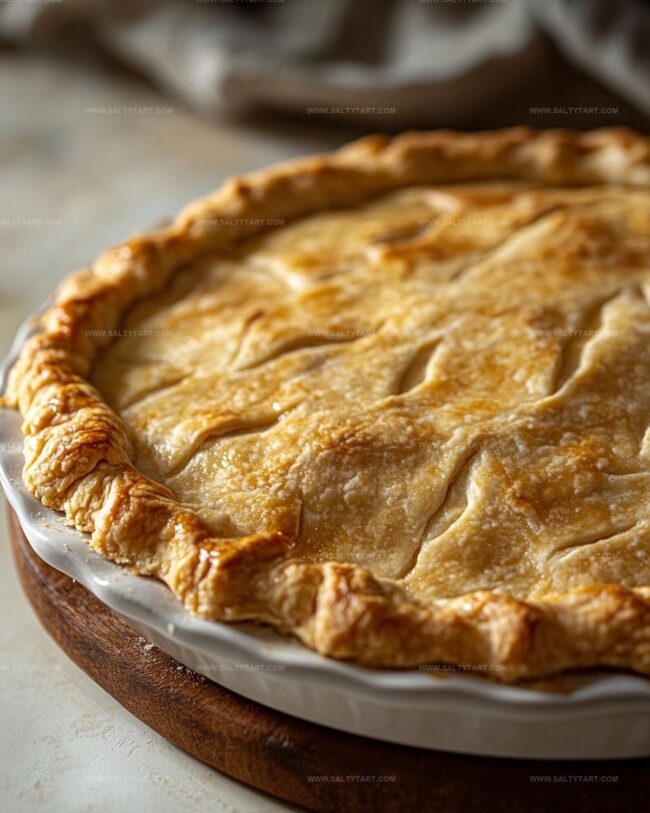
Grandma’s Pie Crust — Flaky and Reliable
Ingredients to Prepare Grandma’s Pie Crust
Dry Ingredients:Fat Ingredient:Liquid Ingredient:How to Make Grandma’s Pie Crust
Step 1: Blend Dry Ingredients
Grab a spacious mixing bowl and combine flour, salt, and sugar if desired. Thoroughly mix these dry components until evenly distributed.
Step 2: Incorporate Butter
Drop cold, cubed butter into the flour mixture. Use a pastry cutter or nimble fingers to break down butter, creating a texture resembling rough breadcrumbs with tiny butter pockets.
Step 3: Add Liquid Binder
Gradually introduce ice-cold water, one tablespoon at a time. Softly stir with a fork, allowing the dough to slowly form.
Be cautious not to oversaturate the mixture.
Step 4: Shape and Chill Dough
Transfer dough onto a flour-dusted surface.
Gently knead a few times to unite the ingredients. Divide into two equal round discs.
Wrap each in plastic film and refrigerate for minimum 30 minutes.
Step 5: Prepare Pie Crust
Remove chilled dough and roll out on floured surface to match your pie pan’s dimensions.
If preparing a standalone crust, preheat oven to 375°F. Bake until edges turn golden brown, approximately 15-20 minutes.
Secrets to Perfect Flaky Pie Crust
Variations on Traditional Pie Crust
Pairing Ideas for Pie Crust-Based Desserts
Serve this buttery, flaky pie crust alongside rich vanilla bean ice cream or a dollop of freshly whipped cream to complement its delicate texture.
Enjoy a warm cup of Earl Grey tea or a robust coffee to balance the pie crust’s subtle, rich butter notes and cleanse the palate.
Top the pie with fresh berries like strawberries or raspberries to add a bright, tangy contrast to the crust’s rich, golden flavor profile.
Sprinkle chopped toasted almonds or pecans around the pie crust to introduce a delightful crunch that elevates the overall eating experience.
Best Storage for Pie Crust Dough
Print
Grandmothers Pie Crust Recipe
- Total Time: 40 minutes
- Yield: 8 1x
Description
Cherished grandmother’s pie crust recipe whispers generations of family love and culinary tradition. Flaky, buttery layers promise homemade comfort that connects hearts around the dinner table.
Ingredients
Flour and Base Ingredients:
- 2 1/2 cups (300 grams) all-purpose flour
- 1 tablespoon (12.5 grams) sugar
Dry Seasoning:
- 1 teaspoon (6 grams) salt
Fat and Liquid Ingredients:
- 1 cup (227 grams) unsalted butter, cold and cubed
- 1/4 cup (60 milliliters) ice water (more if needed)
Instructions
- Sift flour and salt into a spacious mixing vessel, ensuring even distribution of dry ingredients.
- Incorporate cold, diced butter into the flour mixture, utilizing a pastry blender or fingertips to create a textured consistency resembling rough breadcrumbs.
- Gradually introduce ice-cold water, one tablespoon at a time, delicately folding with a fork until the dough begins to cohesively bind.
- Transfer the fragile dough onto a lightly dusted work surface, gently kneading just enough to establish a unified mass.
- Partition the dough into two symmetrical discs, individually enveloping each with plastic wrap to prevent moisture loss.
- Refrigerate the wrapped dough for a minimum of 30 minutes, allowing gluten to relax and butter to solidify.
- When ready to use, remove one disc and roll out on a flour-covered surface to achieve a thin, even layer matching your pie pan’s dimensions.
- For a pre-baked crust, heat the oven to 375°F (190°C) and bake for 15-20 minutes until achieving a golden, crisp exterior.
Notes
- Keep butter extremely cold to ensure a flaky, tender crust that crumbles perfectly when baked.
- Minimize handling the dough to prevent gluten development, which can make the crust tough and chewy.
- Use a mix of butter and shortening for an even more tender and flaky texture that melts in your mouth.
- Experiment with whole wheat or gluten-free flour alternatives for different dietary needs without compromising the crust’s delicate structure.
- Prep Time: 20 minutes
- Cook Time: 20 minutes
- Category: Desserts
- Method: Baking
- Cuisine: American
Nutrition
- Serving Size: 8
- Calories: 262 kcal
- Sugar: 1 g
- Sodium: 150 mg
- Fat: 20 g
- Saturated Fat: 12 g
- Unsaturated Fat: 8 g
- Trans Fat: 0.2 g
- Carbohydrates: 19 g
- Fiber: 1 g
- Protein: 3 g
- Cholesterol: 55 mg
Mike Reynolds
Founder & Recipe Developer
Expertise
Farm-to-table cuisine, Seasonal recipe development, Sustainable cooking techniques, Food photography
Education
Asheville-Buncombe Technical Community College (A-B Tech)
Associate Degree in Culinary Arts
Mike studied culinary arts with a strong focus on farm-to-table principles and sustainable cooking. His training emphasized the importance of fresh, local ingredients and environmentally responsible practices in the kitchen.
Mike’s food journey began deep in the Blue Ridge Mountains, where weekends at farmers’ markets and home-cooked meals sparked a lifelong obsession with simple, seasonal eating.
After earning his Associate Degree in Culinary Arts from Asheville-Buncombe Technical Community College, he set out to bring farm-to-table cooking into everyday kitchens, without the fuss.
Mike’s philosophy is all about keeping it fresh, unfussy, and full of heart. When he’s not crafting new single-serving recipes, he’s hiking mountain trails, chatting with local farmers, or experimenting with wild ingredients in his backyard kitchen.