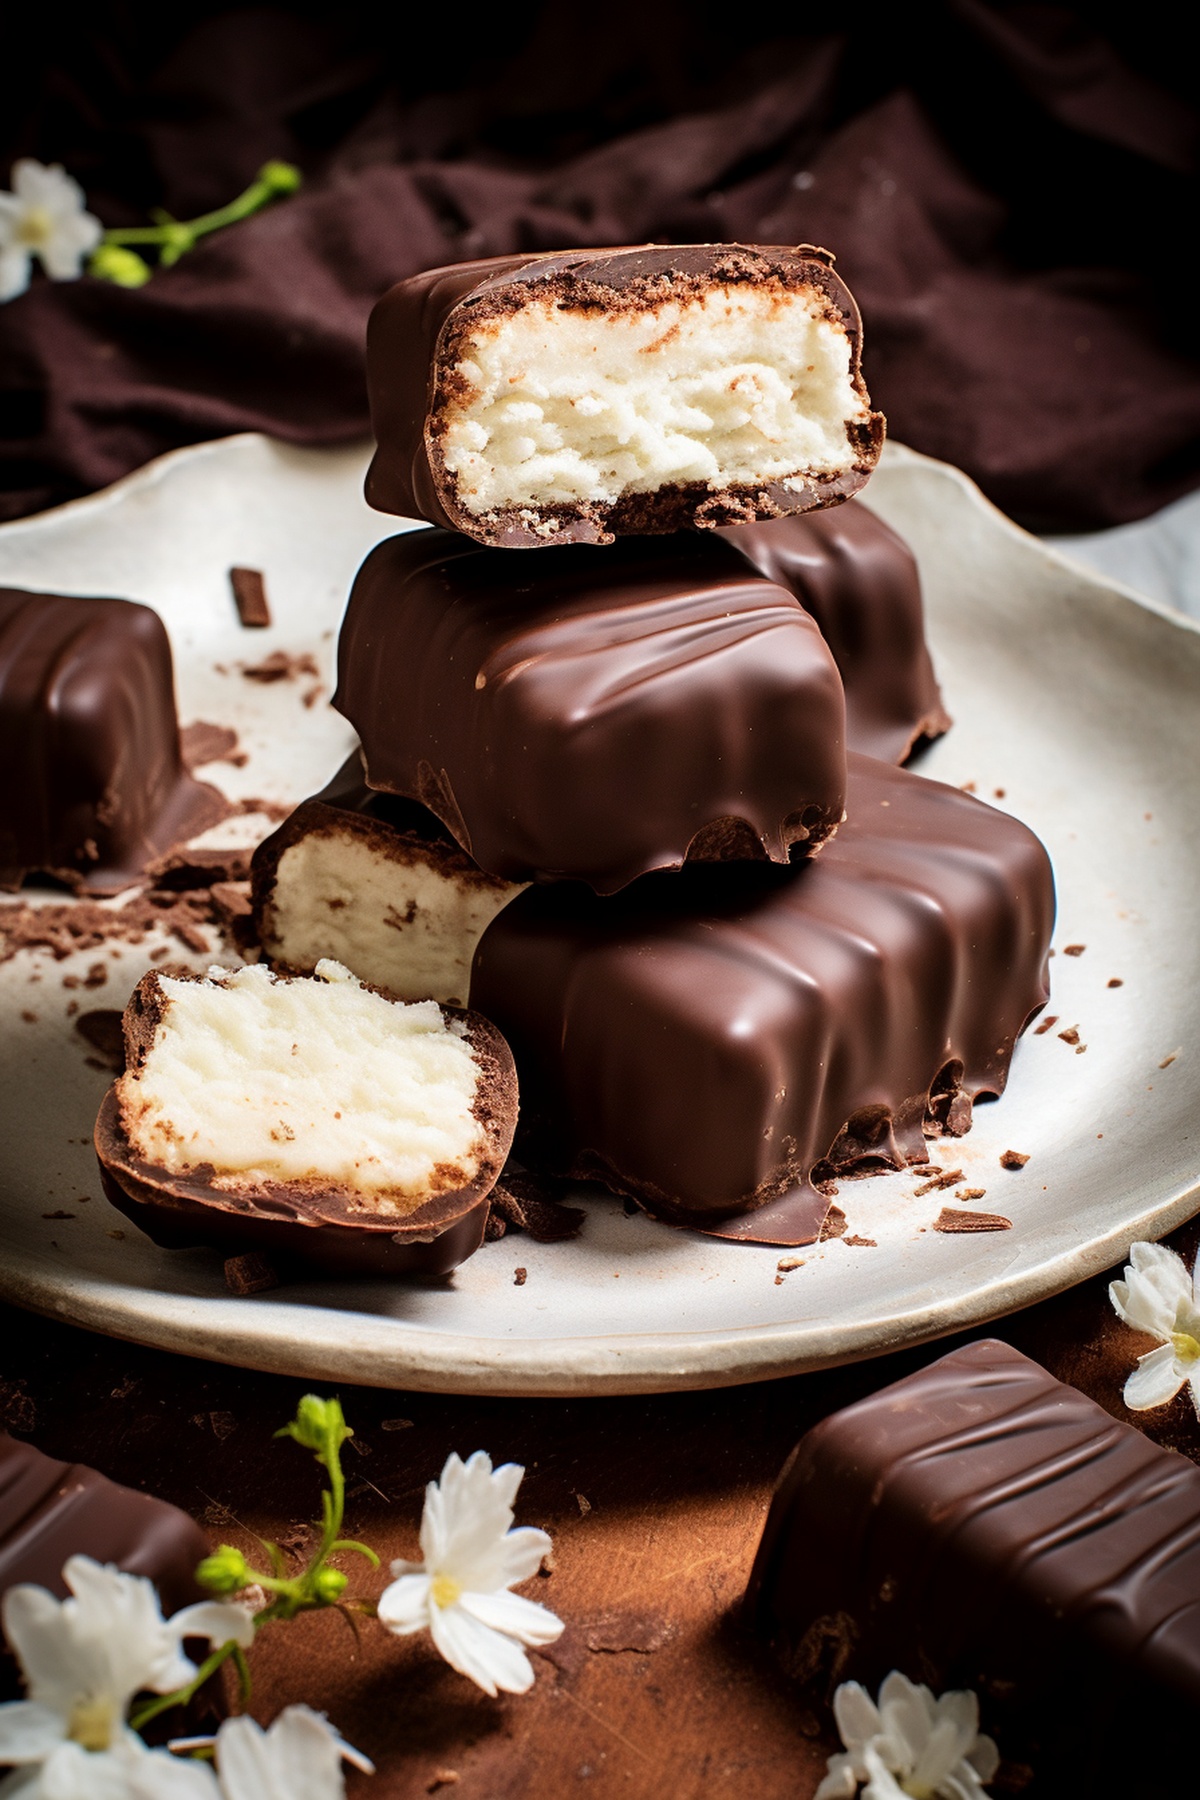
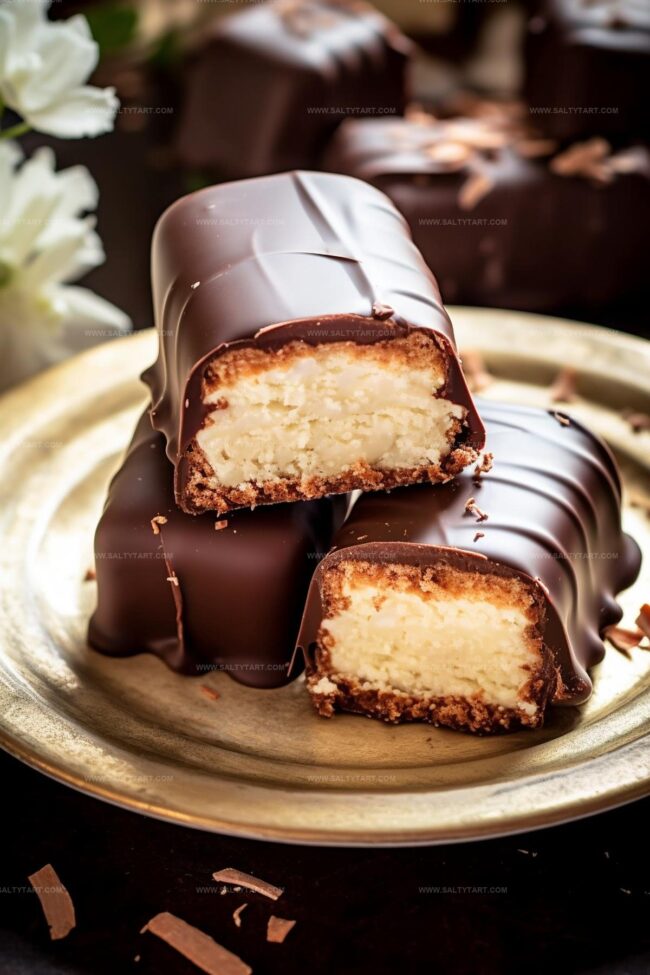
Easy Homemade Bounty Bars (Mounds Bars) Recipe for Sweet Lovers
Crafting delectable homemade bounty bars can transport you straight to tropical paradise with minimal effort.
Sweet coconut dreams emerge from simple ingredients waiting in your kitchen.
Chocolate lovers recognize this classic treat as an irresistible indulgence.
Each bite promises a creamy, rich experience that beats store-bought versions.
Minimal cooking skills work perfectly for creating these delightful confections.
Coconut and chocolate combine in a magical dance of flavors that will make everyone smile.
Whip up these bars and watch everyone’s eyes light with pure joy.
Why Homemade Bounty Bars (Mounds Bars) Are Irresistible Treats

Ingredients for Homemade Bounty Bars (Mounds Bars)
How to Make Homemade Bounty Bars (Mounds Bars)
Step 1: Mix Coconut Base
Grab a mixing bowl and combine shredded coconut, sweetened condensed milk, and confectioners’ sugar. Stir the ingredients until they form a sticky, cohesive mixture that holds together nicely.
Step 2: Shape Coconut Bars
Wet your hands slightly to prevent sticking. Carefully mold the coconut mixture into rectangular bars about 2-3 inches long.
Make sure each bar is compact and uniform in shape.
Step 3: Chill Initial Bars
Place the shaped coconut bars on a tray and refrigerate for one hour.
This chilling helps the bars firm up and makes them easier to handle during the chocolate coating process.
Step 4: Prepare Chocolate Coating
Melt dark chocolate using a double boiler or microwave.
Stir gently until the chocolate becomes smooth, glossy, and completely liquid. For best results, avoid overheating.
Step 5: Dip and Cover
Carefully dip each chilled coconut bar into the melted chocolate. Use a fork or dipping tool to ensure complete coverage.
Gently tap to remove excess chocolate.
Step 6: Set Chocolate Coating
Place the chocolate-covered bars on a wire rack or parchment paper.
Allow them to set at room temperature or quickly chill in the refrigerator for about 30 minutes.
Step 7: Serve and Enjoy
Remove the bars from the refrigerator and let them sit for a few minutes before serving.
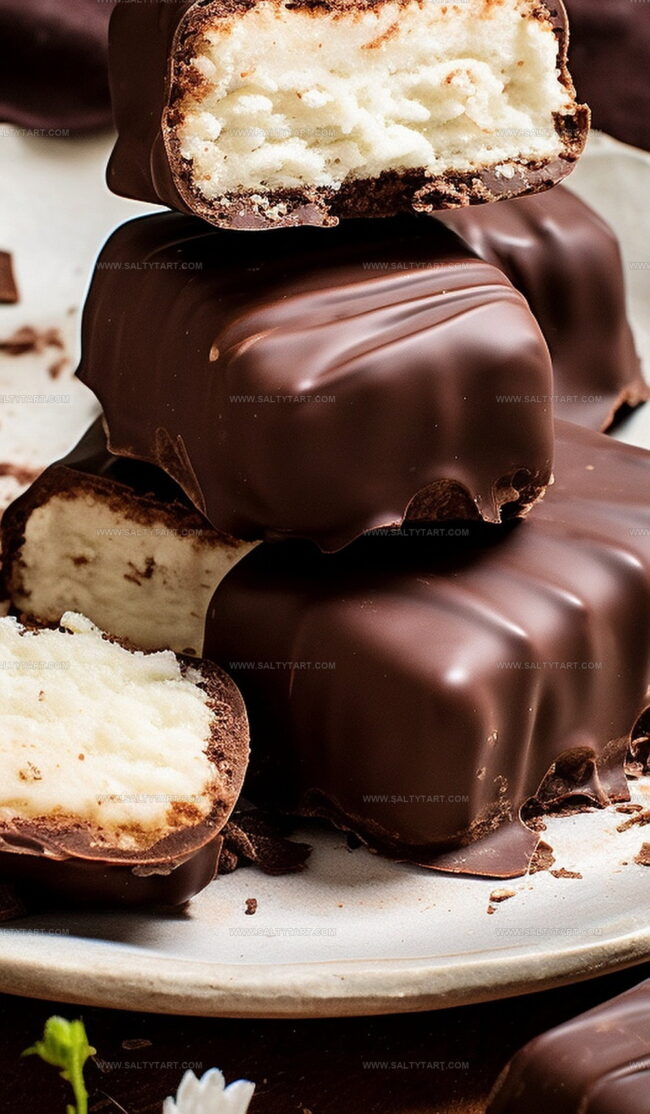
These homemade coconut chocolate bars are perfect for a sweet treat or dessert.
Tips for Perfect Homemade Bounty Bars
Variations of Homemade Bounty Bars to Try
Pairings for Homemade Bounty Bars

Storage Tips for Homemade Bounty Bars
FAQs
Yes, but you’ll need to add some extra sugar to achieve the right sweetness level.
Stored in an airtight container in the refrigerator, they can last up to 7-10 days.
No special equipment is needed. Just a mixing bowl, baking sheet, and basic kitchen tools will work perfectly.
Absolutely! You can substitute dark chocolate with milk chocolate for a sweeter coating that matches the original Bounty bar flavor.
Print
Homemade Bounty Bars (Mounds Bars) Recipe
- Total Time: 1 hour 45 minutes
- Yield: 12 1x
Description
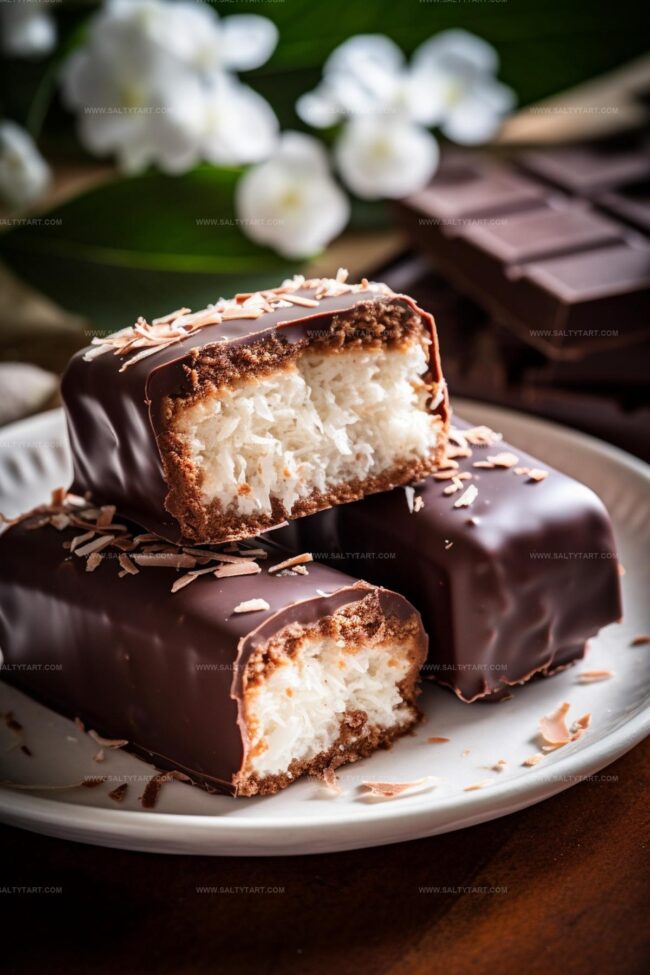
Homemade bounty bars bring tropical coconut bliss to chocolate lovers everywhere. Silky coconut filling dipped in rich dark chocolate creates an irresistible sweet treat for quick and easy dessert indulgence.
Ingredients
- 12 oz quality dark chocolate (in chip or chunk form)
- 3 cups sweetened shredded coconut
- 2/3 cup (160 ml) sweetened condensed milk
- 1/2 cup (60 g) confectioners’ sugar
Instructions
- Blend shredded coconut, sweetened condensed milk, and confectioners’ sugar in a mixing bowl until a cohesive, slightly sticky mixture forms.
- Dampen hands to prevent sticking and carefully shape the mixture into uniform rectangular bars, approximately 2-3 inches long.
- Refrigerate the coconut bars for 1 hour to firm up their structure and make them easier to handle.
- Melt dark chocolate using a double boiler or microwave, stirring until smooth and glossy at approximately 100-110°F.
- Gently submerge each coconut bar into the melted chocolate, ensuring complete and even coverage using a dipping fork or utensil.
- Transfer chocolate-coated bars onto a wire rack or parchment-lined baking sheet, allowing excess chocolate to drip off.
- Refrigerate the chocolate-covered bars for 30 minutes until the chocolate sets completely and becomes firm.
- Remove from refrigerator and let sit at room temperature for 5-10 minutes before serving to achieve optimal texture and flavor.
Notes
- Maintain consistent moisture by keeping hands slightly damp when shaping coconut bars to prevent sticking and achieve smooth, uniform shapes.
- Chill coconut mixture thoroughly before dipping in chocolate to ensure structural integrity and easier handling during coating process.
- Use high-quality dark chocolate with at least 70% cocoa content for richer flavor and smoother melting characteristics.
- Experiment with alternative sweeteners like honey or maple syrup for dietary modifications, adjusting liquid ratios to maintain desired consistency.
- Prep Time: 15 minutes
- Cook Time: 1 hour 30 minutes
- Category: Snacks, Desserts
- Method: Refrigerating
- Cuisine: American
Nutrition
- Serving Size: 12
- Calories: 234
- Sugar: 21 g
- Sodium: 22 mg
- Fat: 15 g
- Saturated Fat: 12 g
- Unsaturated Fat: 2 g
- Trans Fat: 0 g
- Carbohydrates: 23 g
- Fiber: 3 g
- Protein: 2 g
- Cholesterol: 10 mg
Mike Reynolds
Founder & Recipe Developer
Expertise
Farm-to-table cuisine, Seasonal recipe development, Sustainable cooking techniques, Food photography
Education
Asheville-Buncombe Technical Community College (A-B Tech)
Associate Degree in Culinary Arts
Mike studied culinary arts with a strong focus on farm-to-table principles and sustainable cooking. His training emphasized the importance of fresh, local ingredients and environmentally responsible practices in the kitchen.
Mike’s food journey began deep in the Blue Ridge Mountains, where weekends at farmers’ markets and home-cooked meals sparked a lifelong obsession with simple, seasonal eating.
After earning his Associate Degree in Culinary Arts from Asheville-Buncombe Technical Community College, he set out to bring farm-to-table cooking into everyday kitchens, without the fuss.
Mike’s philosophy is all about keeping it fresh, unfussy, and full of heart. When he’s not crafting new single-serving recipes, he’s hiking mountain trails, chatting with local farmers, or experimenting with wild ingredients in his backyard kitchen.