
Quick & Zesty Homemade Garlic Butter Cheese Bombs Recipe
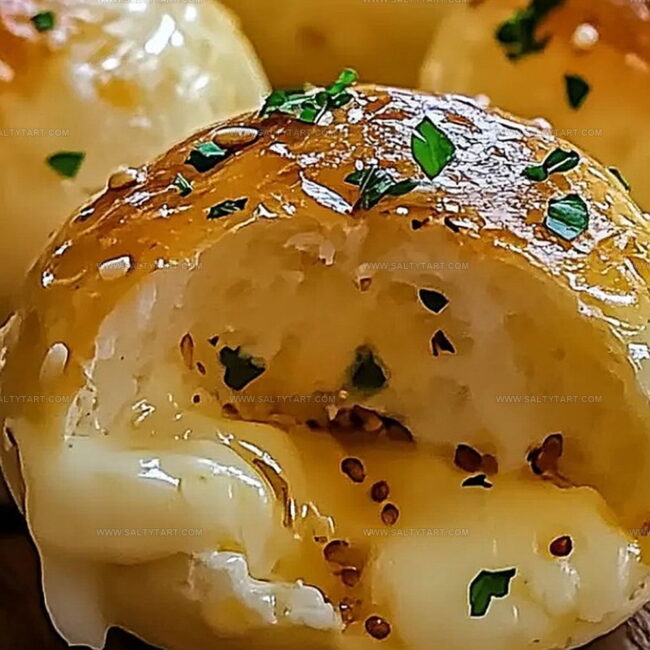
Warm, golden bread pockets stuffed with garlic butter cheese bombs burst with irresistible flavor and comfort.
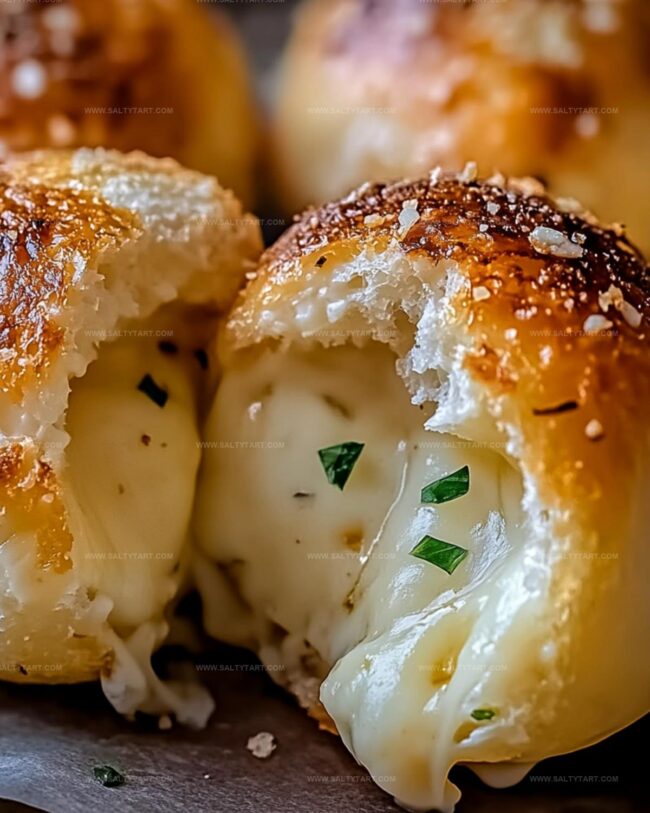
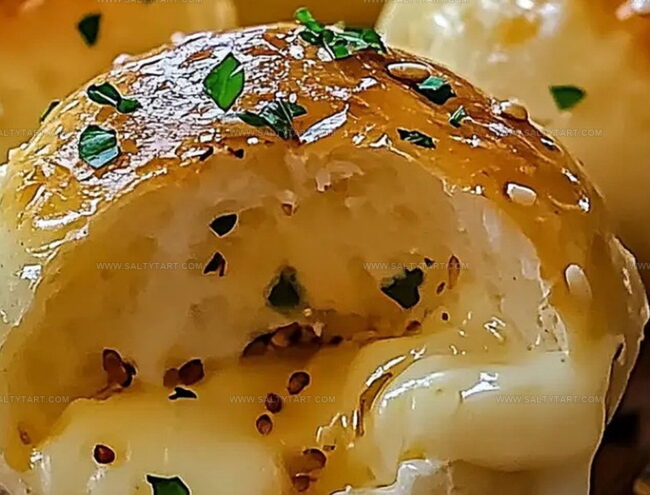
Melted cheese oozes from soft, pillowy dough that cradles each delectable bite.
These savory treats promise to become an instant crowd-pleaser at any gathering.
Buttery, garlicky goodness combines with sharp cheese for a mouthwatering experience.
Simple ingredients transform into something magical with just a few easy steps.
The aroma alone will draw everyone to the kitchen, eager to sample these delightful morsels.
Prepare to fall in love with this easy-to-make snack that elevates any meal or gathering.
What Makes Homemade Garlic Butter Cheese Bombs So Good
Ingredients Needed to Prepare Garlic Butter Cheese Bombs
Main Ingredients:Seasoning and Flavor Enhancers:Finishing Touches:How to Bake Homemade Garlic Butter Cheese Bombs
Step 1: Create Soft Dough
Mix all dry ingredients in a large mixing bowl. Gradually incorporate Greek yogurt until a smooth, pliable dough emerges.
Gently knead the mixture to achieve a soft, cohesive texture.
Step 2: Shape Cheesy Parcels
Divide the dough into 12 equal portions.
Flatten each piece into a small circle. Place a cube of mozzarella right in the center of each piece.
Carefully seal the edges, forming perfect round balls, ensuring no cheese can escape.
Step 3: Whip Up Flavor-Packed Butter
Combine ingredients for the magical garlic coating:Stir until all ingredients are well integrated.
Step 4: Prepare for Baking
Preheat the oven to 375 degrees Fahrenheit. Line a baking sheet with parchment paper.
Arrange the dough balls with the sealed side facing down, leaving space between each bomb.
Step 5: Brush and Enhance
Generously coat each dough ball with the prepared garlic butter mixture.
Make sure every surface gets a delicious butter bath.
Step 6: Bake to Golden Perfection
Slide the baking sheet into the oven.
Bake for 12-15 minutes until the bombs turn a beautiful golden brown. For an extra flavor kick, sprinkle Parmesan cheese during the final 5 minutes of baking.
Step 7: Serve and Savor
Remove the cheese bombs from the oven. Allow them to cool slightly.
Serve warm and watch everyone’s eyes light up with excitement. These gooey, garlic-infused delights are best enjoyed immediately!
Helpful Tips for Garlic Butter Cheese Bombs
Flavor Changes to Try with Garlic Butter Cheese Bombs
Foods That Pair Well with Garlic Butter Cheese Bombs
Proper Storage Techniques for Garlic Butter Cheese Bombs
FAQs
No, these bombs are surprisingly easy to prepare. The recipe requires basic ingredients and simple steps, making it beginner-friendly even for novice home cooks.
Mozzarella is ideal because it melts beautifully and creates a stretchy, gooey center. Choose a fresh, high-quality mozzarella for the best results.
Yes, you can prepare the dough in advance. Cover and refrigerate the dough for up to 24 hours before shaping and baking the bombs. This makes meal preparation more convenient.
Print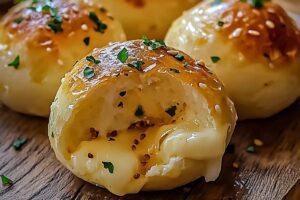
Homemade Garlic Butter Cheese Bombs Recipe
- Total Time: 35 minutes
- Yield: 12 1x
Description
Cheesy garlic butter bombs deliver explosive flavor straight from your kitchen. Crispy pastry pockets ooze with melted cheese and aromatic garlic, promising a delightful bite you won’t forget.
Ingredients
Cheese and Dairy:
- 12 small cubes mozzarella cheese
- 1 cup plain Greek yogurt
- Optional: grated Parmesan cheese for topping
Dry Ingredients:
- 2 cups all-purpose flour
- 2 teaspoons baking powder
- 1/2 teaspoon salt
Wet Ingredients and Seasonings:
- 4 tablespoons unsalted butter (melted)
- 2 cloves garlic (minced)
- 1 tablespoon chopped parsley
Instructions
- Create a pliable dough by blending flour, baking powder, and salt in a spacious mixing bowl. Gently incorporate Greek yogurt until a cohesive, soft mixture forms. Delicately knead the dough until it achieves a smooth consistency.
- Portion the dough into 12 uniform segments. Gently flatten each piece, positioning a mozzarella cube at the center. Carefully seal the edges, molding each into a compact, seamless sphere.
- Craft a fragrant garlic butter by whisking melted butter with finely minced garlic and chopped parsley in a small mixing vessel.
- Heat the oven to 375F (190C). Arrange the dough spheres on a parchment-lined baking sheet, ensuring the sealed side faces downward. Liberally coat each ball with the prepared garlic butter mixture.
- Roast in the preheated oven for 12-15 minutes until they transform into a rich, golden-brown hue. For an enhanced flavor profile, sprinkle Parmesan cheese during the final 5 minutes of baking.
- Extract from the oven and allow a brief cooling period. Serve while still warm, revealing the molten cheese and aromatic garlic interior.
Notes
- Ensure dough is not too sticky by adding flour gradually, creating a smooth, manageable texture that prevents cheese leakage during baking.
- Seal dough balls completely to prevent cheese from oozing out, using gentle pinching and rolling techniques to create a secure closure.
- Try different cheese varieties like cheddar or fontina for unique flavor profiles, keeping the same cheese-to-dough ratio for consistent results.
- Make these gluten-free by substituting regular flour with almond or coconut flour, maintaining the soft, pillowy texture while accommodating dietary restrictions.
- Prep Time: 20 minutes
- Cook Time: 15 minutes
- Category: Appetizer, Snacks
- Method: Baking
- Cuisine: American
Nutrition
- Serving Size: 12
- Calories: 140 kcal
- Sugar: 1 g
- Sodium: 150 mg
- Fat: 7 g
- Saturated Fat: 4 g
- Unsaturated Fat: 3 g
- Trans Fat: 0 g
- Carbohydrates: 14 g
- Fiber: 1 g
- Protein: 6 g
- Cholesterol: 20 mg
Jess Martinez
Contributing Recipe Writer & Nutrition Consultant
Expertise
Southwestern and Latin American cooking, Nutritional analysis and healthy recipe planning, Cultural food traditions, Modifying traditional dishes for better health
Education
Santa Fe Community College
Certificate in Culinary Arts
Focused on mastering the flavors and cooking methods of traditional Southwestern cuisine.
Jess’s love for bold, homegrown flavors led her straight into the world of Southwestern cooking and cultural nutrition.
After completing her Certificate in Culinary Arts at Santa Fe Community College, she made it her mission to show that good-for-you food can still taste incredible.
At saltytart.com, Jess shares vibrant, health-conscious recipes with roots in tradition but a fresh, modern twist. When she’s not testing new recipes, you’ll find her at local growers’ markets, tending her herb garden, or digging into food history books.