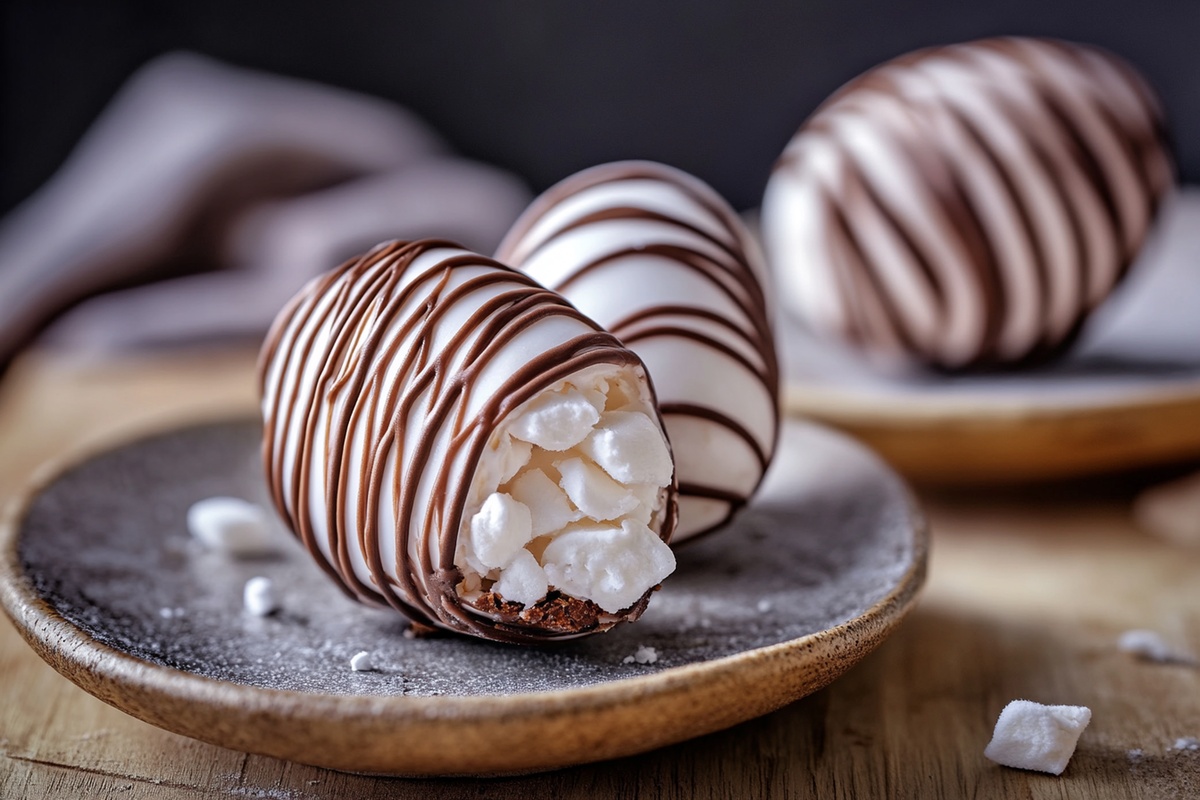
Magical Marshmallow-Filled Easter Eggs Recipe for Spring Joy
Sweet chocolate meets gooey marshmallow-filled Easter eggs in a delightful treat that sparks joy.
Crafting these delectable goodies feels like pure magic in your kitchen.
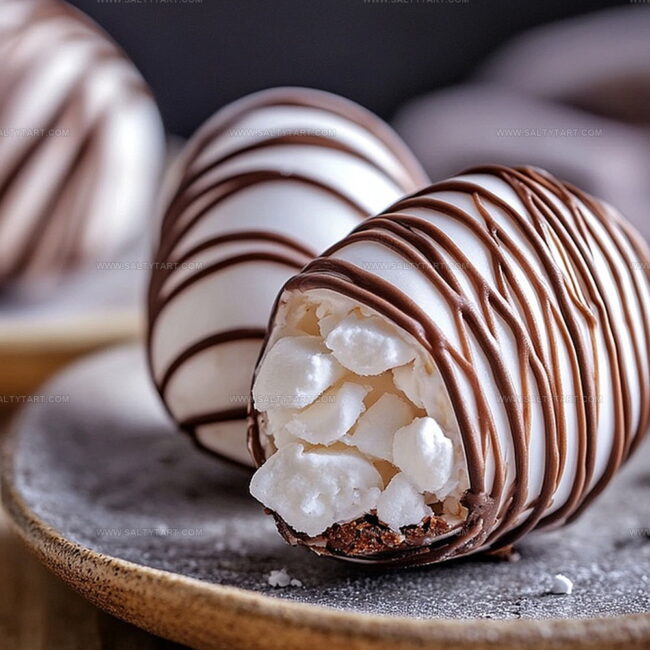
Chocolate shells cradle soft, pillowy marshmallow centers that melt beautifully.
Kids adore helping create these colorful confections during springtime celebrations.
Mixing ingredients becomes an exciting adventure for anyone who enjoys playful desserts.
Each bite promises a burst of creamy sweetness that dances across your taste buds.
Grab your apron and let the chocolatey fun begin – these eggs are about to become your new seasonal obsession.
Why Marshmallow-Filled Easter Eggs Are a Holiday Hit
Essential Ingredients for Marshmallow-Filled Easter Eggs
Main Ingredients:Flavoring Ingredients:Decoration and Finishing Ingredients:How to Make Marshmallow-Filled Easter Eggs Easily
Step 1: Prepare Chocolate Shell
Melt white chocolate in a microwave-safe bowl by heating in short 30-second bursts. Stir between each heating session until the chocolate becomes completely smooth and glossy.
Pour the melted chocolate into egg-shaped molds, making sure to coat the entire surface evenly. Gently tap the mold to eliminate any air bubbles.
Place the molds in the refrigerator and let them set for about 15 minutes until the chocolate hardens completely.
Step 2: Create Fluffy Marshmallow Filling
Gather the ingredients for the filling:Combine all ingredients in a mixing bowl.
Whisk the mixture thoroughly until it becomes smooth and develops a light, airy texture. The filling should look creamy and have a soft, pillowy consistency.
Step 3: Fill Chocolate Eggs
Carefully remove the set chocolate shells from the molds. If using pre-made chocolate egg shells, ensure they are clean and completely dry.
Use a small spoon or piping bag to fill each chocolate egg with the marshmallow mixture. Be gentle to avoid cracking the delicate chocolate shell.
Step 4: Add Decorative Touches
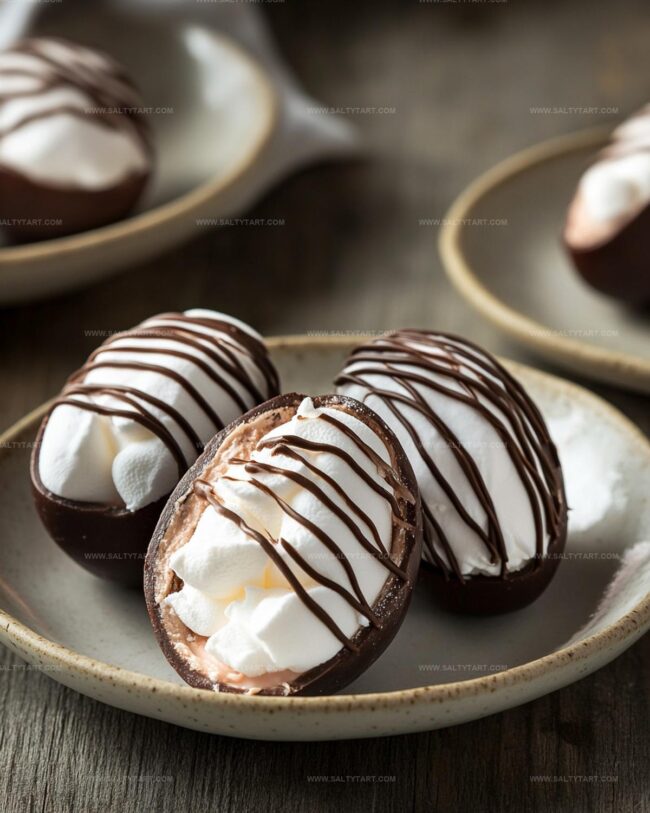
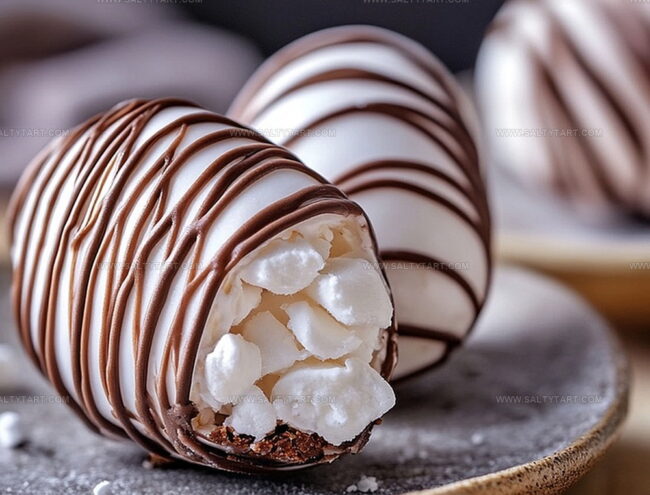
Drizzle melted dark chocolate over the filled eggs for an elegant finish. Sprinkle a light dusting of powdered sugar on top to create a festive, snow-like appearance.
This step adds both visual appeal and an extra layer of sweetness.
Step 5: Chill and Serve
Return the filled and decorated eggs to the refrigerator.
Let them chill for an additional 10 minutes to ensure the filling sets and the chocolate firms up. Serve these delightful treats cold for the best texture and flavor experience.
Tips to Nail Marshmallow-Filled Easter Eggs Every Time
Fun Variations on Marshmallow-Filled Easter Eggs
What Goes Well with Marshmallow-Filled Easter Eggs
Choose a sweet Moscato or Sauternes to complement the marshmallow’s sugary richness and enhance the chocolate’s creamy texture.
Brew a rich espresso or cappuccino to cut through the sweetness, providing a bold contrast that balances the delicate marshmallow filling.
Serve alongside toasted almond slices or candied pecans to add a crunchy texture and nutty depth that elevates the egg’s creamy profile.
Drizzle a raspberry or orange liqueur around the plate to introduce a bright, tangy note that harmonizes with the marshmallow’s sweetness.
How to Keep Marshmallow-Filled Easter Eggs Fresh
FAQs
Yes, you can substitute white chocolate with milk chocolate. Just ensure it melts smoothly and provides a good shell for the marshmallow filling.
The filling should be smooth and slightly airy, with a soft, creamy consistency that holds its shape when piped into the chocolate eggs.
You’ll need chocolate molds or pre-made chocolate egg shells, a microwave-safe bowl, and a whisk. A piping bag is helpful but optional.
You can make these eggs up to 2-3 days before serving. Store them in the refrigerator in an airtight container to maintain their texture and freshness.
Print
Marshmallow-Filled Easter Eggs Recipe
- Total Time: 40 minutes
- Yield: 12 1x
Description
Delightful Marshmallow-Filled Easter Eggs bring nostalgic charm to holiday celebrations with their creamy, sweet center nestled in rich chocolate. Chocolate lovers will adore this whimsical treat that delivers pure indulgence in each delectable bite.
Ingredients
Main Ingredients:
- 12 white chocolate egg molds or pre-made white chocolate egg shells
- 12 ounces (340 grams) white chocolate
- 1 cup marshmallow fluff
Filling Ingredients:
- 1/4 cup (60 milliliters) heavy cream
- 1/2 teaspoon vanilla extract
Decoration Ingredients:
- Powdered sugar for dusting
- Melted dark chocolate for drizzling
Instructions
- Carefully melt white chocolate in a microwave-safe bowl, stirring every 30 seconds until completely smooth and glossy.
- Gently coat chocolate molds with melted chocolate, tapping to eliminate air bubbles, then refrigerate for 15 minutes until firmly set.
- Whip marshmallow fluff with heavy cream and vanilla extract until the mixture becomes light and thoroughly blended.
- Extract hardened chocolate shells from molds or verify pre-made shells are pristine and moisture-free.
- Transfer marshmallow mixture into each chocolate egg shell using a piping bag or delicate spoon, ensuring even distribution.
- Enhance presentation by drizzling dark chocolate across the surface and lightly dusting with powdered sugar for an elegant finish.
- Return filled chocolate eggs to refrigerator for an additional 10 minutes to solidify and intensify flavors before serving.
Notes
- Tempering Technique: Melt white chocolate gradually in short microwave bursts to prevent scorching and ensure smooth, glossy texture.
- Air Bubble Prevention: Gently tap filled molds against the counter to release trapped air, creating perfectly smooth chocolate shells.
- Filling Consistency: Whisk marshmallow mixture until light and fluffy, but not too runny, to maintain structural integrity inside the chocolate egg.
- Dairy-Free Adaptation: Substitute heavy cream with coconut cream or almond milk for a vegan-friendly version of the marshmallow filling.
- Prep Time: 15 minutes
- Cook Time: 25 minutes
- Category: Desserts, Snacks
- Method: Chilling
- Cuisine: American
Nutrition
- Serving Size: 12
- Calories: 183
- Sugar: 18 g
- Sodium: 24 mg
- Fat: 11 g
- Saturated Fat: 7 g
- Unsaturated Fat: 3 g
- Trans Fat: 0 g
- Carbohydrates: 20 g
- Fiber: 0 g
- Protein: 1 g
- Cholesterol: 15 mg
Jess Martinez
Contributing Recipe Writer & Nutrition Consultant
Expertise
Southwestern and Latin American cooking, Nutritional analysis and healthy recipe planning, Cultural food traditions, Modifying traditional dishes for better health
Education
Santa Fe Community College
Certificate in Culinary Arts
Focused on mastering the flavors and cooking methods of traditional Southwestern cuisine.
Jess’s love for bold, homegrown flavors led her straight into the world of Southwestern cooking and cultural nutrition.
After completing her Certificate in Culinary Arts at Santa Fe Community College, she made it her mission to show that good-for-you food can still taste incredible.
At saltytart.com, Jess shares vibrant, health-conscious recipes with roots in tradition but a fresh, modern twist. When she’s not testing new recipes, you’ll find her at local growers’ markets, tending her herb garden, or digging into food history books.