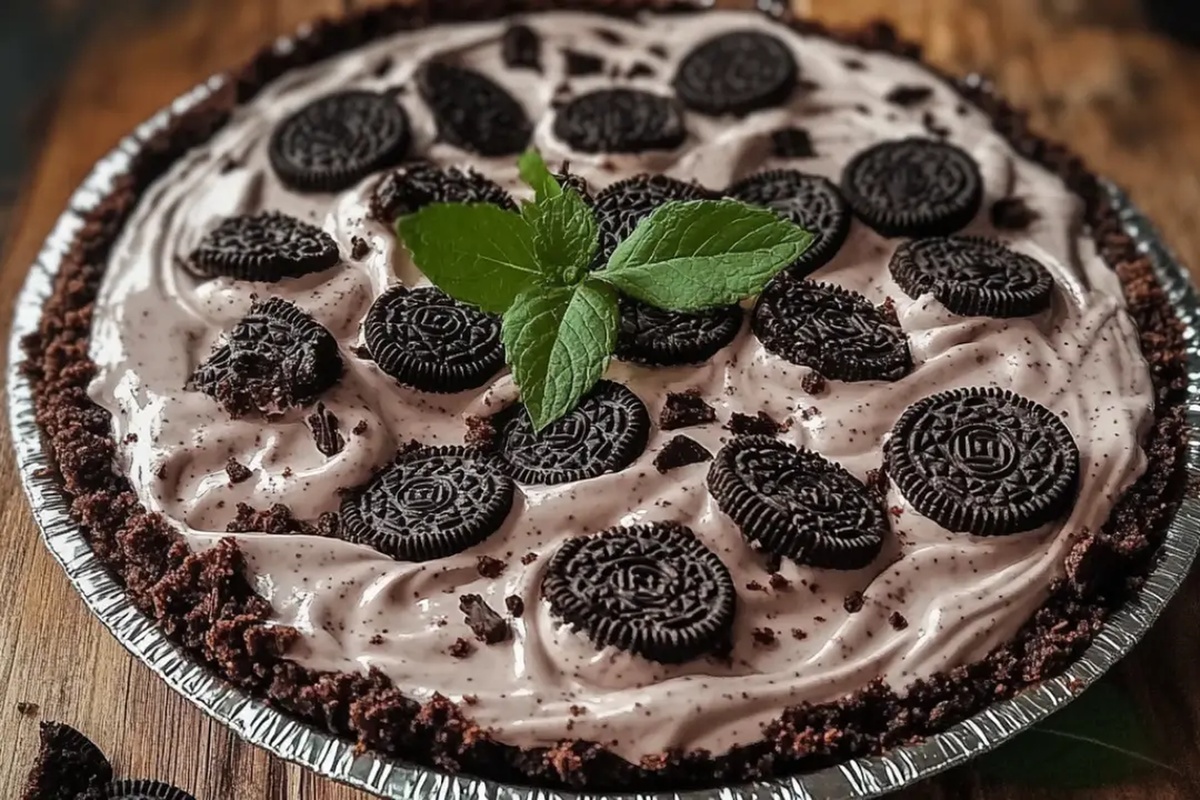
Dreamy No-Bake Oreo Mud Pie Recipe for Instant Sweet Bliss
Creamy, decadent desserts have a special place in every sweet tooth’s heart, and this no-bake Oreo mud pie recipe delivers pure indulgence.
Chocolate lovers will swoon over the rich, velvety layers that blend crunchy cookie crumbles with smooth, silky filling.
Each spoonful promises a delightful contrast of textures and intense chocolate flavor.
The simple preparation means you can whip up this crowd-pleasing treat in minutes without turning on the oven.
Oreo cookies create a perfect crunchy base that holds the luscious filling together.
Chilled and ready to serve, this mud pie transforms ordinary moments into extraordinary dessert experiences.
Prepare to dive into a slice of chocolatey paradise that will have everyone asking for seconds.
Why Oreo Mud Pie Is So Dreamy
Ingredient List for Oreo Mud Pie Recipe
Main Ingredients:Garnish:Preparation Ingredient:Steps for Making No-Bake Oreo Mud Pie
Step 1: Whip Up the Chocolate Base
In a spacious mixing bowl, combine milk and instant chocolate pudding mix. Whisk vigorously until the mixture transforms into a smooth, thick chocolate dream.
Keep whisking until no lumps remain and the pudding starts to thicken beautifully.
Step 2: Fold in Creamy Clouds
Gently introduce the thawed Cool Whip into the chocolate pudding.
Use a soft folding motion to blend the whipped topping, creating a luxurious, airy texture. Stir until the mixture looks perfectly smooth and combined.
Step 3: Crush Oreo Cookies
Grab a resealable plastic bag and toss in 12 Oreo cookies. Using a rolling pin, crush the cookies into fine, delightful crumbs.
Break them down until they reach a sandy, even consistency.
Step 4: Create the Muddy Layer
Sprinkle the crushed Oreo crumbs into the pudding mixture.
Stir gently to distribute the cookie pieces evenly. Transfer the entire mixture to a 9×13-inch pan, spreading it out smoothly with a spatula.
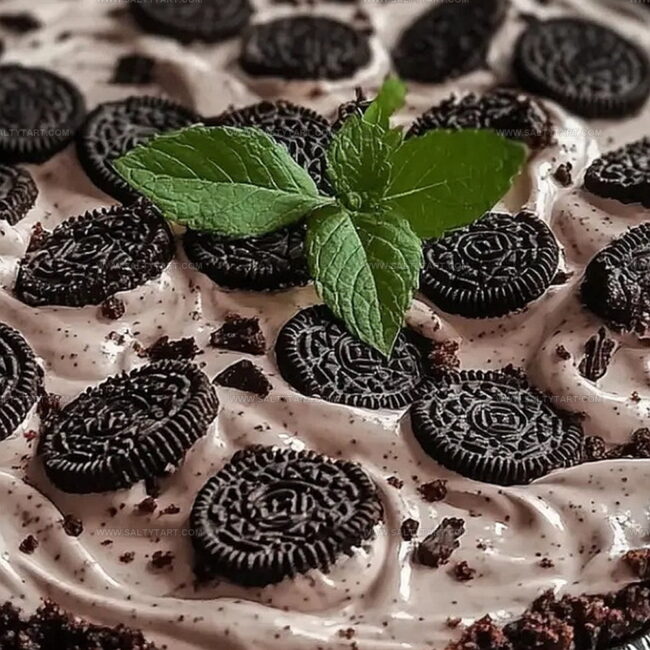
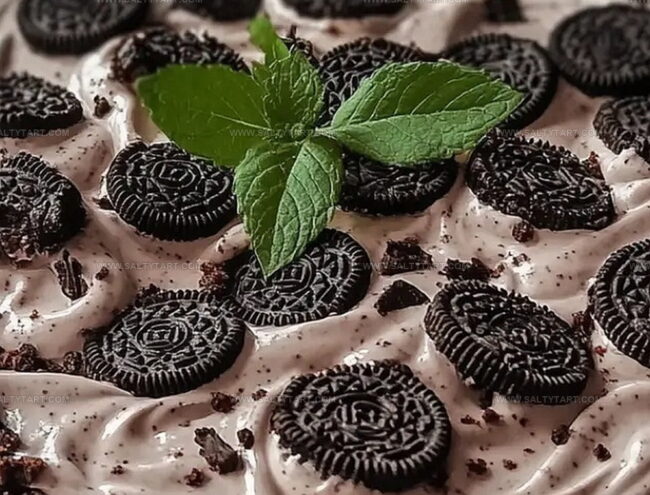
Step 5: Add Crunchy Topping
Take another 12 Oreo cookies and crush them into delectable crumbs. Generously shower these cookie crumbs over the top of the pie, creating a tempting, textured surface.
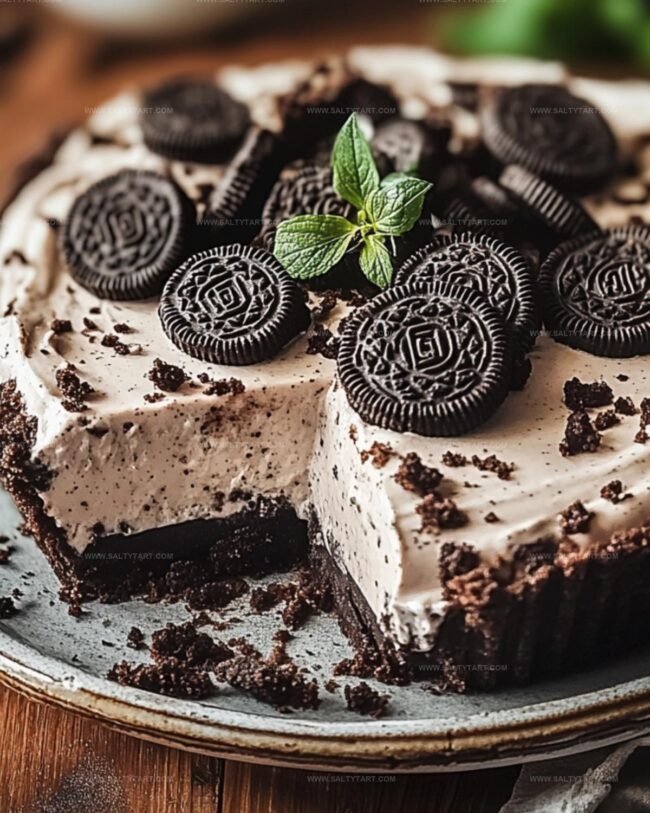
Step 6: Chill and Devour
Place the pie in the refrigerator and let it rest for at least 2 hours. This chilling time allows the pie to set and the flavors to meld together.
Once chilled, slice and serve this decadent, no-bake treat that’s sure to impress!
Notes for Creamy Oreo Mud Pie Success
Creative Twists for Oreo Mud Pie Fans
Sips and Sweets to Pair With Oreo Mud Pie
Storing Oreo Mud Pie for Chilly Days
FAQs
The key ingredients are instant chocolate pudding mix, milk, Cool Whip, and Oreo cookies. These create a creamy, chocolate dessert that’s quick and easy to make.
No, you don’t need an oven or any specialized baking tools. You’ll just need a mixing bowl, a rolling pin, a resealable bag for crushing cookies, and a 9×13-inch pan.
Yes, this pie is perfect for making in advance. It needs at least 2 hours of chilling time, so you can prepare it the day before serving and keep it refrigerated until ready to eat.
Print
No-Bake Oreo Mud Pie Recipe
- Total Time: 2 hours 15 minutes
- Yield: 8 1x
Description
Chocolate lovers rejoice with this no-bake Oreo mud pie, a creamy dessert that blends rich chocolate and classic cookie crunch. Cool layers of smooth filling and crushed Oreos create a delightful treat you’ll savor with each indulgent bite.
Ingredients
Main Ingredients:
- 18 ounces (510 grams) Oreo cookies
- 1 large box (6 ounces or 170 grams) instant chocolate pudding mix
- 3 cups (720 milliliters) milk
Topping/Binding Ingredients:
- 16 ounces (454 grams) Cool Whip, thawed
Instructions
- Whisk milk and instant chocolate pudding mix in a large mixing bowl until the mixture reaches a thick, creamy consistency, about 2 minutes.
- Incorporate thawed Cool Whip into the pudding mixture, folding gently until completely blended and smooth.
- Place 12 Oreo cookies in a sealed plastic bag and crush thoroughly using a rolling pin, creating fine crumbs.
- Blend crushed Oreo crumbs into the pudding mixture, ensuring even distribution.
- Transfer the combined mixture into a 9×13-inch pan, spreading evenly and smoothing the surface with a spatula.
- Crush an additional 12 Oreo cookies and generously sprinkle the crumbs across the top of the pie as a decorative and crunchy garnish.
- Refrigerate the pie for a minimum of 2 hours at 40°F to allow the dessert to set and develop a firm, creamy texture before serving.
Notes
- Crush Oreos thoroughly to prevent large chunks that might disrupt the smooth texture of the pie.
- Use an electric mixer for smoother pudding mixture, ensuring no lumps remain when combining ingredients.
- Try different Oreo flavors like mint or peanut butter for unique variations of the classic mud pie.
- For a lighter version, substitute regular Cool Whip with Greek yogurt or low-fat whipped topping to reduce calorie content.
- Prep Time: 15 minutes
- Cook Time: 2 hours
- Category: Desserts, Snacks
- Method: Rolling
- Cuisine: American
Nutrition
- Serving Size: 8
- Calories: 388
- Sugar: 32 g
- Sodium: 240 mg
- Fat: 20 g
- Saturated Fat: 11 g
- Unsaturated Fat: 8 g
- Trans Fat: 0.5 g
- Carbohydrates: 49 g
- Fiber: 1.5 g
- Protein: 4 g
- Cholesterol: 15 mg
Jess Martinez
Contributing Recipe Writer & Nutrition Consultant
Expertise
Southwestern and Latin American cooking, Nutritional analysis and healthy recipe planning, Cultural food traditions, Modifying traditional dishes for better health
Education
Santa Fe Community College
Certificate in Culinary Arts
Focused on mastering the flavors and cooking methods of traditional Southwestern cuisine.
Jess’s love for bold, homegrown flavors led her straight into the world of Southwestern cooking and cultural nutrition.
After completing her Certificate in Culinary Arts at Santa Fe Community College, she made it her mission to show that good-for-you food can still taste incredible.
At saltytart.com, Jess shares vibrant, health-conscious recipes with roots in tradition but a fresh, modern twist. When she’s not testing new recipes, you’ll find her at local growers’ markets, tending her herb garden, or digging into food history books.