Dreamy No-Bake Protein Balls Recipe for Energy Lovers
Craving a quick and nutritious snack that packs a punch?
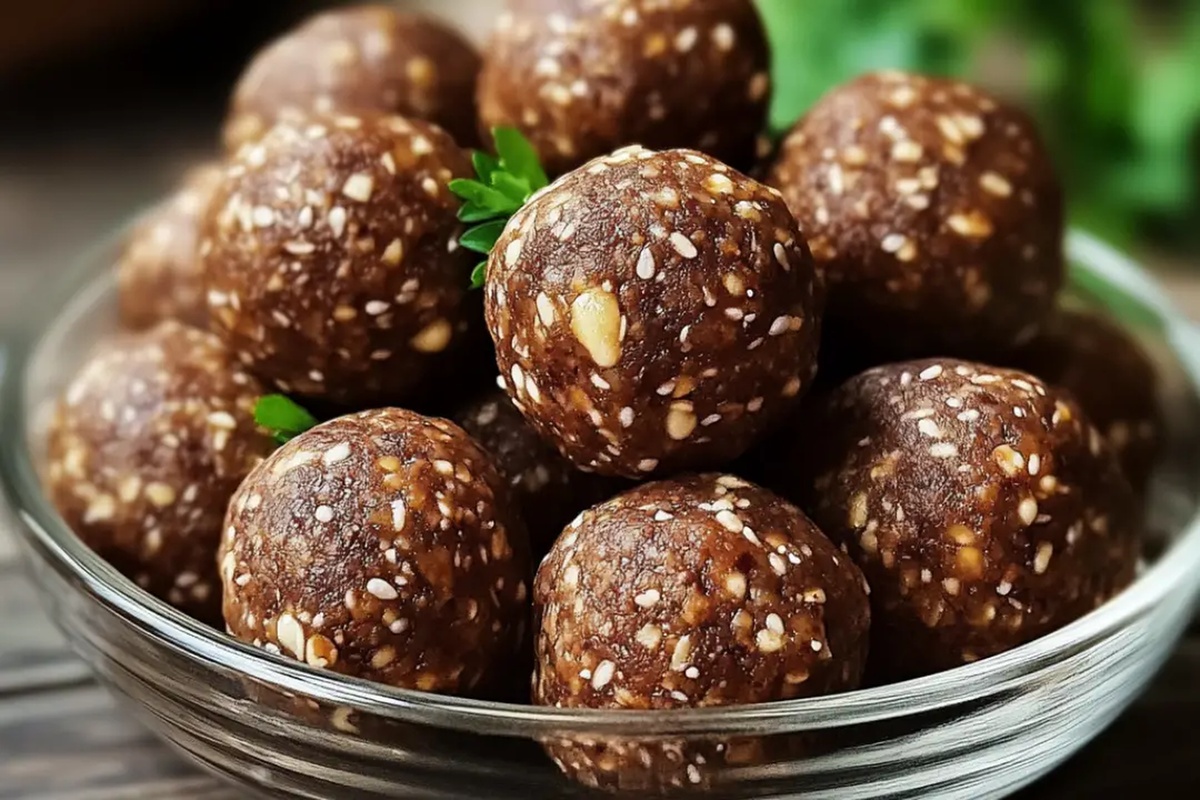
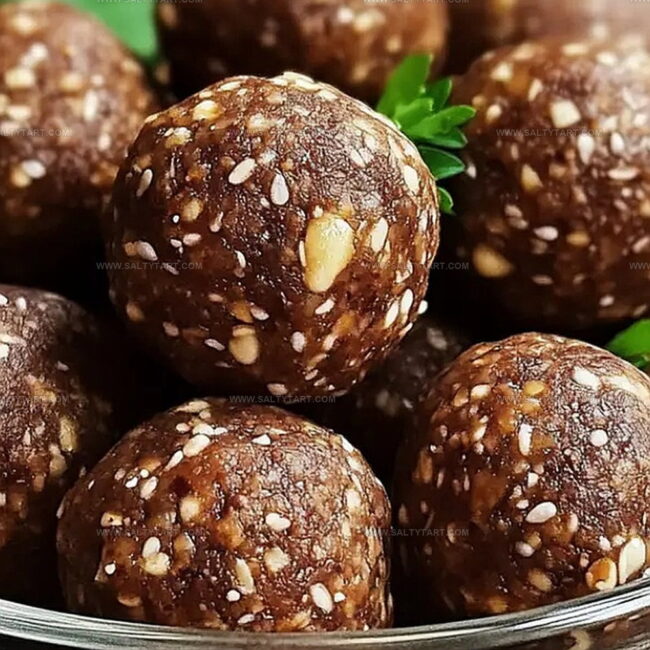
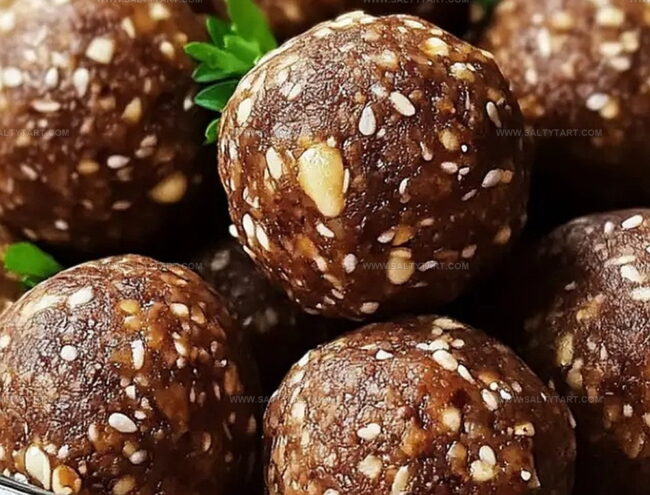
These no-bake protein balls burst with energy and flavor, delivering a delightful blend of wholesome ingredients.
Rolled in minutes, this protein balls recipe requires zero oven time and minimal effort.
The blend of oats, nuts, and protein powder creates a satisfying treat that curbs hunger and fuels your day.
Sweetened with natural honey and studded with chocolate chips, these protein-packed bites offer a guilt-free indulgence.
Each ball delivers a perfect balance of nutrients and taste, making them ideal for post-workout recovery or an afternoon pick-me-up.
Whip up a batch and discover your new favorite healthy snack that’s as delicious as it is nutritious.
Why No-Bake Protein Balls Are So Handy
Key Ingredients for No-Bake Protein Balls
Core Ingredients:Topping and Coating Options:Additional Kitchen Supplies:Steps for Shaping No-Bake Protein Balls
Step 1: Pulverize Almonds
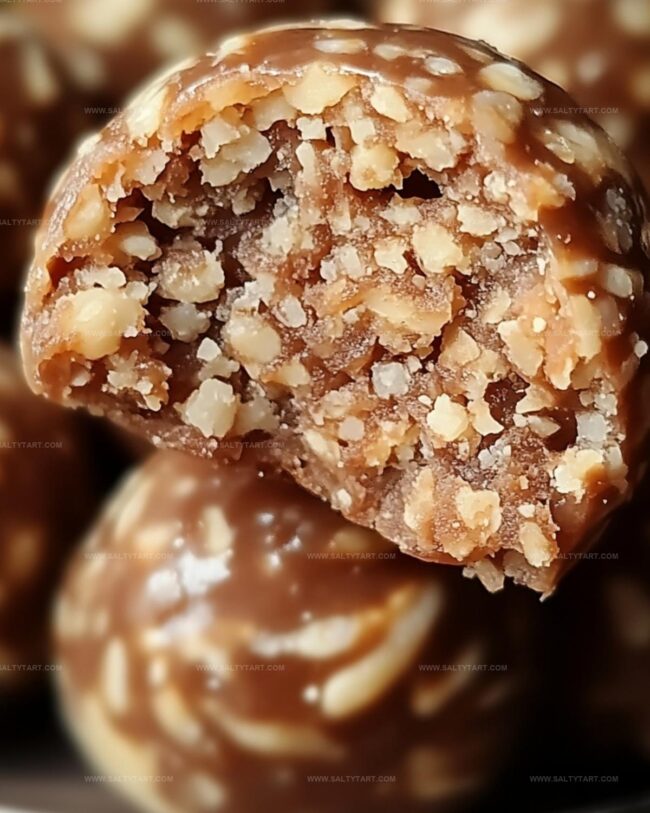
Grab your food processor or blender and transform the almonds into your preferred texture. Crush them until they become fine crumbs, chunky bits, or a delightful mix that suits your taste buds.
Step 2: Create Flavor Base
Toss in the dates, cacao powder, protein powder, and salt. Blend everything together until the mixture becomes a cohesive, clumpy delight that promises delicious bites ahead.
Step 3: Craft Protein Spheres
With clean hands, roll and shape the mixture into bite-sized spheres. Aim for about 20 perfectly portioned balls that promise a quick energy boost.
Step 4: Customize Your Treats
Explore fun topping options to elevate your protein balls:Step 5: Preserve and Enjoy
Store your protein balls in an airtight container in the refrigerator. They’ll stay fresh and ready for a quick snack for up to a week.
Grab and munch whenever hunger strikes or you need a nutritious pick-me-up.
Notes for No-Bake Protein Ball Lovers
Mix-Ins for Your Next Protein Ball Batch
What To Snack With Protein Balls Today
Keeping No-Bake Protein Balls Fresh Longer
FAQs
Yes, these no-bake protein balls are a nutritious snack packed with protein from almonds, protein powder, and dates. They provide energy, support muscle recovery, and offer natural sweetness without processed sugars.
Absolutely! You can swap protein powder types, use different nuts like walnuts or cashews, add chia seeds, or experiment with various coatings like shredded coconut or crushed nuts to suit your taste preferences.
When stored in an airtight container in the refrigerator, these protein balls will stay fresh for up to 7-10 days. They maintain their texture and flavor when properly chilled.
Print
No-Bake Protein Balls Recipe
- Total Time: 35 minutes
- Yield: 12 1x
Description
Protein-packed no-bake balls deliver a delightful energy boost for health-conscious snackers. Quick and simple ingredients combine to create a nutritious treat you’ll crave between meals.
Ingredients
Main Protein Ingredients:
- 2 cups almonds
- 2 tablespoons protein powder (store-bought or homemade with 5 seeds)
Binding and Sweetness Ingredients:
- 8 dates (pitted)
Flavor and Nutritional Enhancers:
- 1/4 cup cacao powder
- 1/2 teaspoon salt
Instructions
- Pulverize almonds in a food processor until achieving a textural consistency ranging from coarse chunks to fine granules, depending on personal preference.
- Incorporate dates, cacao powder, protein powder, and salt into the processor, blending thoroughly until the mixture begins to cohesively bind.
- Gently mold the consolidated mixture into approximately 20 uniform spheres, ensuring each ball provides 2-3 satisfying bites.
- Option to immediately consume protein spheres or refrigerate for later consumption.
- For enhanced presentation, puncture balls using a skewer or fork, allowing easy application of decorative toppings or powdered garnishes.
- To create a luxurious chocolate exterior, carefully melt chocolate and methodically dip each sphere, swiftly rolling in selected embellishments before chocolate solidifies.
- Transfer chocolate-coated protein spheres onto a parchment-lined surface, permitting complete chocolate crystallization at room temperature or in refrigerator.
Notes
- Customize almond texture by blending to your preferred consistency, from chunky to fine, for varied mouthfeel and crunch.
- Swap protein powder with plant-based alternatives like pea or hemp protein for vegan-friendly version, ensuring dietary flexibility.
- Use silicone molds or wet hands when shaping balls to prevent sticking and create uniform, professional-looking protein snacks.
- Try different coatings like shredded coconut, crushed nuts, or chia seeds to add extra nutrition and visual appeal.
- Prep Time: 15 minutes
- Cook Time: 20 minutes
- Category: Breakfast, Snacks, Desserts
- Method: Blending
- Cuisine: American
Nutrition
- Serving Size: 12
- Calories: 158
- Sugar: 7 g
- Sodium: 100 mg
- Fat: 11 g
- Saturated Fat: 1 g
- Unsaturated Fat: 9 g
- Trans Fat: 0 g
- Carbohydrates: 10 g
- Fiber: 3 g
- Protein: 5 g
- Cholesterol: 0 mg
Jess Martinez
Contributing Recipe Writer & Nutrition Consultant
Expertise
Southwestern and Latin American cooking, Nutritional analysis and healthy recipe planning, Cultural food traditions, Modifying traditional dishes for better health
Education
Santa Fe Community College
Certificate in Culinary Arts
Focused on mastering the flavors and cooking methods of traditional Southwestern cuisine.
Jess’s love for bold, homegrown flavors led her straight into the world of Southwestern cooking and cultural nutrition.
After completing her Certificate in Culinary Arts at Santa Fe Community College, she made it her mission to show that good-for-you food can still taste incredible.
At saltytart.com, Jess shares vibrant, health-conscious recipes with roots in tradition but a fresh, modern twist. When she’s not testing new recipes, you’ll find her at local growers’ markets, tending her herb garden, or digging into food history books.