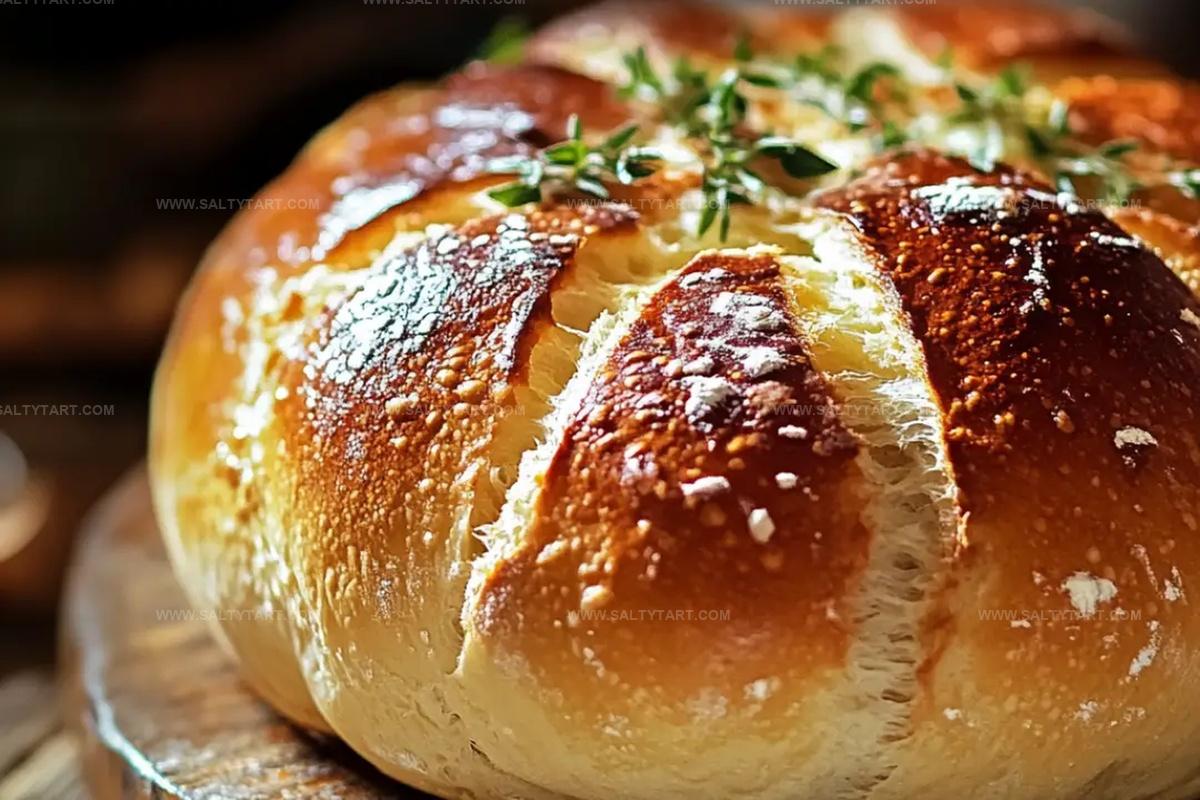
Fluffy No-Oven Stovetop Bread Recipe: A Cozy Kitchen Miracle
Bread-making takes an unexpected turn with this no-oven stovetop bread recipe that transforms simple ingredients into a golden, crusty delight.
Cooking without an oven sounds challenging, but this method proves anyone can create delicious bread with just a pan and a stove.
The technique brings out rich, warm flavors that rival traditional baking methods.
Home cooks will love how quickly this bread comes together, requiring minimal equipment and basic pantry staples.
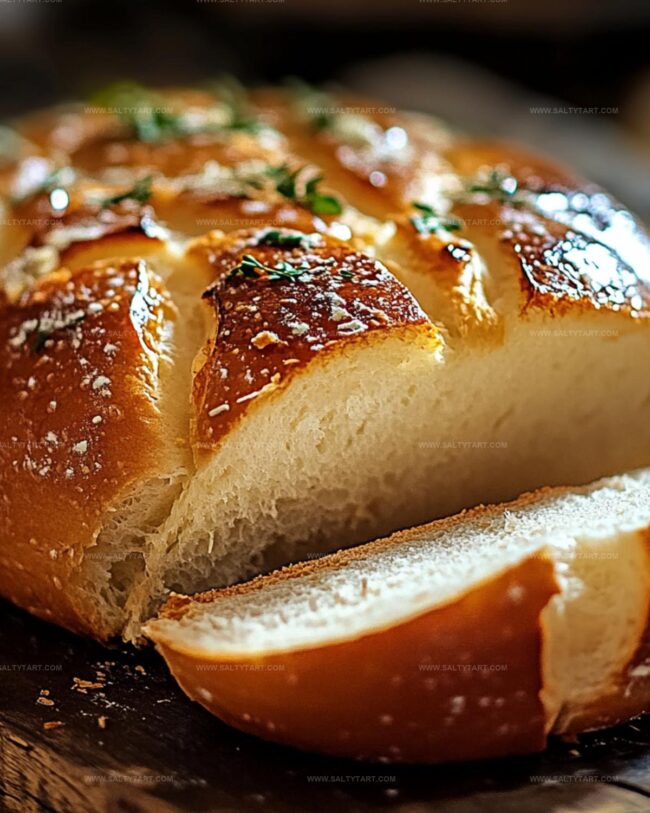
Each slice promises a perfect blend of crispy exterior and soft, tender interior.
Warm, freshly made bread is just minutes away, waiting to be slathered with butter or used for your favorite sandwich.
You’ll want to make this recipe again and again.
No-Oven Stovetop Bread That’s Surprisingly Easy

Ingredients Needed for No-Oven Stovetop Bread
Dry Ingredients:Liquid Ingredients:Cooking Ingredients:How to Cook No-Oven Stovetop Bread Without an Oven
Step 1: Mix Dry Ingredients
Grab a big mixing bowl and toss in your all-purpose flour, sugar, salt, and instant yeast. Give these dry ingredients a quick mix to combine them evenly.
Step 2: Create Dough Base
Pour in warm water and olive oil, stirring gently until everything comes together into a soft, slightly sticky dough. Don’t worry about making it perfect just yet.
Step 3: Knead and Transform
Move your dough onto a lightly floured countertop. Start pushing, folding, and rolling the dough with your hands.
Work it for about 8-10 minutes until it becomes smooth, stretchy, and feels like a soft pillow.
Step 4: Let Dough Rest and Rise
Place the kneaded dough in a greased bowl, covering it with a clean kitchen towel.
Find a cozy, warm spot in your kitchen and let it sit for about an hour. The dough will puff up and nearly double in size.
Step 5: Prepare Dough Portions
Gently press down the risen dough to release air bubbles. Divide the dough into small portions – you can make about 2-4 bread pieces depending on your preference.
Step 6: Shape Bread Rounds
Roll each dough portion into smooth, round or oval shapes. Make them look neat but don’t stress about perfection.
Step 7: Cook on Stovetop
Heat a non-stick skillet over low heat. Add a tiny drop of oil to prevent sticking.
Step 8: First Side Cooking
Place a dough portion in the pan, cover with a lid. Cook for 5-7 minutes until the bottom turns a beautiful golden brown.
Step 9: Flip and Finish
Carefully flip the bread and cook the other side for another 5-7 minutes. Keep the lid on to ensure even cooking.
Step 10: Repeat and Serve
Continue cooking remaining dough portions using the same method. Let the breads cool slightly, then slice and enjoy warm or at room temperature.
Tips to Perfect No-Oven Stovetop Bread
Variations to Try with No-Oven Stovetop Bread
What to Serve with No-Oven Stovetop Bread
Best Practices to Store No-Oven Stovetop Bread
FAQs
Yes, you can substitute whole wheat flour, but the bread will be denser and may require slightly more liquid. Start with a 50/50 mix to get used to the texture and adjust as needed.
No, any non-stick skillet or frying pan works well. Just ensure it has a tight-fitting lid and you cook on low heat to prevent burning.
The dough should become smooth, elastic, and no longer sticky. When you stretch a small piece, it should form a thin, translucent “window” without tearing easily.
Print
No-Oven Stovetop Bread Recipe
- Total Time: 3 hours 45 minutes
- Yield: 8 1x
Description
Homemade No-Oven Stovetop Bread delivers rustic comfort without traditional baking methods. Skillful techniques and simple ingredients merge to create a delightful loaf you can craft right on your stovetop, offering a quick and satisfying bread experience.
Ingredients
Main Ingredients:
- 2.5 cups (590 ml) all-purpose flour
- 3/4 cup (180 ml) warm water
- 2 tablespoons (30 ml) olive oil
Leavening Agents:
- 1 teaspoon instant yeast
Seasoning:
- 1 teaspoon sugar
- 1 teaspoon salt
Instructions
- In a spacious mixing vessel, amalgamate flour, sugar, salt, and instant yeast, creating a uniform dry mixture.
- Introduce warm water and olive oil into the dry ingredients, gently stirring until a cohesive dough emerges.
- Transfer the nascent dough onto a flour-dusted work surface, then vigorously knead for 8-10 minutes until achieving a silky, pliable texture.
- Nestle the kneaded dough into a lightly oiled bowl, drape with a pristine kitchen cloth, and allow to rest in a draft-free, warm environment for approximately 60 minutes or until volume doubles.
- Deflate the risen dough by pressing firmly, expelling trapped air bubbles.
- Partition the dough into 24 relatively uniform segments, molding each into petite rounds or gentle ovals.
- Warm a non-stick skillet over low heat (around 300°F), applying a gossamer layer of oil to prevent adherence.
- Position a single dough portion into the prepared pan, covering with a tight-fitting lid to trap steam.
- Cook for 5-7 minutes, monitoring the underside until it transforms into a golden-brown landscape.
- Gently invert the bread, continuing cooking for an additional 5-7 minutes under lid until achieving uniform coloration and complete doneness.
- Iterate the cooking process with remaining dough segments.
- Allow breads to cool momentarily before slicing, presenting either warm or at ambient temperature.
Notes
- Regulate heat carefully to prevent burning, as stovetop bread can quickly go from golden to charred due to direct pan contact.
- Check dough’s hydration by feeling its texture; slightly sticky dough creates softer, more tender bread with better rise.
- Use cast iron skillet for more even heat distribution and crispier exterior when cooking no-oven bread.
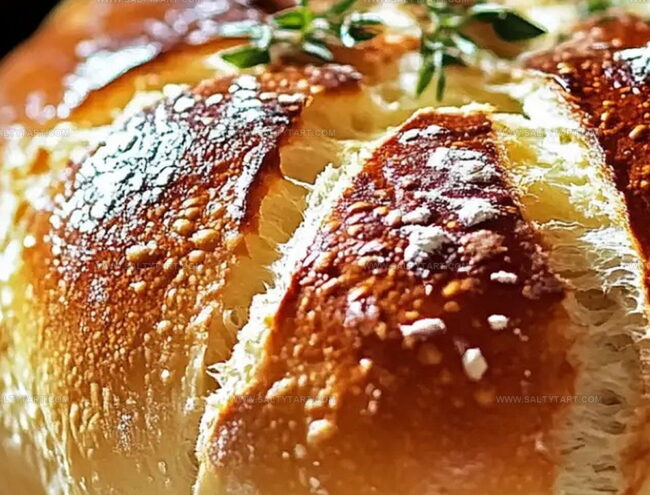
- Try adding herbs like rosemary or thyme directly into dough for enhanced flavor profile without changing core technique.
- Prep Time: 75 minutes
- Cook Time: 2 hours 30 minutes
- Category: Breakfast, Lunch, Dinner, Snacks
- Method: Frying
- Cuisine: American
Nutrition
- Serving Size: 8
- Calories: 137 kcal
- Sugar: 0.13 g
- Sodium: 138 mg
- Fat: 3.2 g
- Saturated Fat: 0.4 g
- Unsaturated Fat: 2.8 g
- Trans Fat: 0 g
- Carbohydrates: 23 g
- Fiber: 1 g
- Protein: 3.7 g
- Cholesterol: 0 mg
Jess Martinez
Contributing Recipe Writer & Nutrition Consultant
Expertise
Southwestern and Latin American cooking, Nutritional analysis and healthy recipe planning, Cultural food traditions, Modifying traditional dishes for better health
Education
Santa Fe Community College
Certificate in Culinary Arts
Focused on mastering the flavors and cooking methods of traditional Southwestern cuisine.
Jess’s love for bold, homegrown flavors led her straight into the world of Southwestern cooking and cultural nutrition.
After completing her Certificate in Culinary Arts at Santa Fe Community College, she made it her mission to show that good-for-you food can still taste incredible.
At saltytart.com, Jess shares vibrant, health-conscious recipes with roots in tradition but a fresh, modern twist. When she’s not testing new recipes, you’ll find her at local growers’ markets, tending her herb garden, or digging into food history books.