
Easy Oatmeal And Chia Bread Recipe: Wholesome Morning Magic
Baking fresh, hearty oatmeal and chia bread at home brings comfort and warmth to any kitchen.
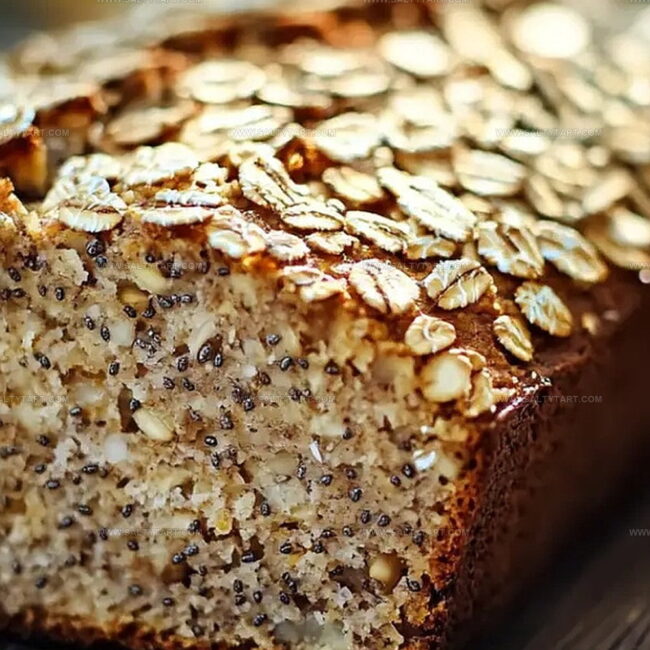
Wholesome ingredients combine to create a nutritious loaf that surprises with its rich, tender texture.
This simple recipe blends rolled oats and nutrient-packed chia seeds into a delightful bread that elevates your breakfast or snack time.
Each slice promises a perfect balance of wholesome goodness and satisfying flavor.
The nutty undertones and soft crumb make this bread a delectable addition to your baking repertoire.
Packed with fiber and nutrients, this bread offers a delicious way to nourish your body and delight your taste buds.
You’ll love how easily this bread comes together with minimal effort and maximum flavor.
Oatmeal and Chia Bread That’s Better Than Store-Bought
Ingredients That Give Oatmeal and Chia Bread Its Magic
Dry Ingredients:Wet Ingredients:Preparation Ingredients:Easy Instructions for Baking Oatmeal and Chia Bread
Step 1: Blend Dry Foundation
Grab a spacious mixing bowl and combine ground oats, chia seeds, baking powder, and a delicate sprinkle of salt. Thoroughly mix the dry ingredients until they’re perfectly integrated.
Step 2: Whisk Creamy Wet Components
In a separate bowl, energetically whisk eggs and yogurt until the mixture transforms into a smooth, velvety consistency with no lumps remaining.
Step 3: Marry Wet and Dry Mixtures
Slowly pour the wet ingredients into the dry mixture.
Gently fold and stir until the dough becomes uniform and all ingredients are evenly distributed. The texture should be cohesive and slightly thick.
Step 4: Prepare Baking Vessel
Select a loaf pan and either grease it generously or line with parchment paper. Transfer the dough into the prepared pan, using a spatula to spread and smooth the surface evenly.
Step 5: Bake to Golden Perfection
Preheat the oven to 350°F (180°C). Slide the pan into the oven and bake for 35-40 minutes.
Test doneness by inserting a toothpick into the center – if it emerges clean, your bread is ready.
Step 6: Rest and Slice
Remove the bread from the oven and let it cool completely inside the pan.
Once cooled, gently remove and slice into delectable pieces. Enjoy your homemade creation!
Tips to Nail Oatmeal and Chia Bread Every Time
Variations to Switch Up Oatmeal and Chia Bread Flavors
Best Foods to Serve Alongside Oatmeal and Chia Bread
How to Store Oatmeal and Chia Bread So It Stays Fresh
FAQs
Chia seeds add nutritional value and help bind the ingredients, creating a better texture. If you don’t have them, you can substitute with ground flaxseed or simply skip them.
Use rolled oats or ground oats for the best results. Steel-cut oats are too coarse, and instant oats might make the bread too dense and mushy.
Plain Greek yogurt is ideal, but regular plain yogurt also works well. Avoid flavored yogurts as they can alter the bread’s taste and texture.
Print
Oatmeal And Chia Bread Recipe
- Total Time: 55 minutes
- Yield: 8 1x
Description
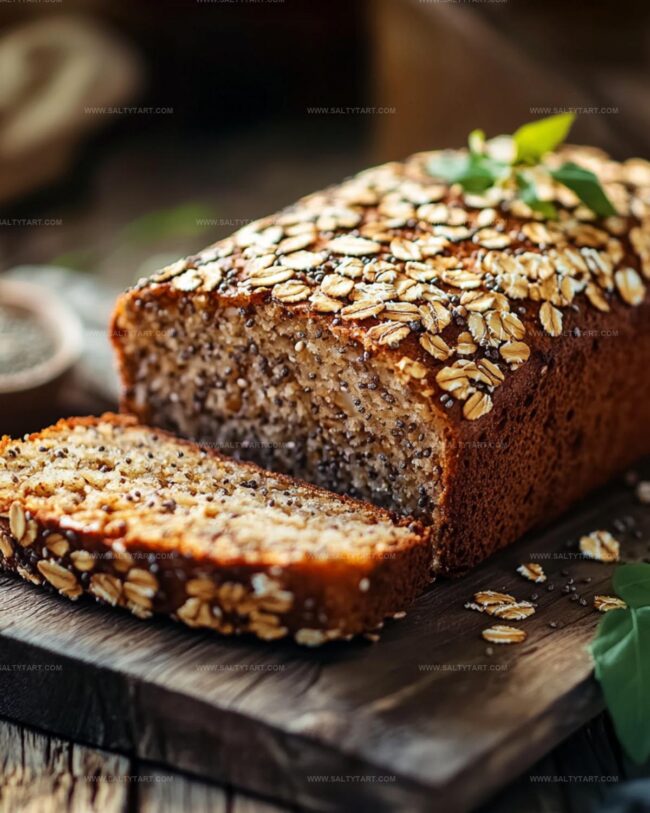
Hearty Oatmeal and Chia Bread blends wholesome grains into a nutritious, rustic loaf that celebrates simple ingredients. Packed with fiber and nutty flavor, this bread becomes your perfect companion for morning toast or midday snacking.
Ingredients
Main Ingredients:
- 2 cups (470 ml) ground oats
- 2 eggs
- 1 cup (240 ml) plain yogurt
Binding and Leavening Ingredients:
- 3 tablespoons (45 ml) chia seeds
- 1 teaspoon (5 ml) baking powder
Seasoning:
- 1 pinch salt
Instructions
- Grind oats into a fine powder using a food processor, ensuring a consistent, flour-like texture.
- Combine ground oats, chia seeds, baking powder, and salt in a spacious mixing bowl, creating a uniform dry mixture.
- Whisk eggs and yogurt together in a separate container until achieving a smooth, fully integrated liquid base.
- Progressively fold wet ingredients into dry mixture, stirring gently to form a cohesive, well-blended dough without overmixing.
- Coat a loaf pan with cooking spray or line with parchment paper, ensuring complete coverage to prevent sticking.
- Transfer dough into prepared pan, using a spatula to spread evenly and create a level surface.
- Heat oven to 350°F (180°C) and position rack in the middle for consistent baking.
- Bake bread for 35-40 minutes, rotating pan halfway through to promote even browning.
- Test bread’s doneness by inserting a toothpick into the center – it should emerge clean and dry.
- Remove bread from oven and let rest in pan for 10 minutes to stabilize structure.
- Carefully transfer bread to a wire rack and allow to cool completely before slicing to maintain optimal texture.
Notes
- Toast oats lightly before grinding to enhance nutty flavor and add depth to the bread’s taste profile.
- Use Greek yogurt for extra protein and creamier texture, which helps create a more tender crumb.
- Try adding herbs like rosemary or thyme for a savory twist, making the bread versatile for different meals.
- For gluten-free version, ensure oats are certified gluten-free and replace regular baking powder with gluten-free alternative.
- Prep Time: 15 minutes
- Cook Time: 40 minutes
- Category: Breakfast, Snacks
- Method: Baking
- Cuisine: American
Nutrition
- Serving Size: 8
- Calories: 168 kcal
- Sugar: 1 g
- Sodium: 115 mg
- Fat: 6 g
- Saturated Fat: 1.5 g
- Unsaturated Fat: 4.2 g
- Trans Fat: 0 g
- Carbohydrates: 20 g
- Fiber: 4 g
- Protein: 8 g
- Cholesterol: 55 mg
Jess Martinez
Contributing Recipe Writer & Nutrition Consultant
Expertise
Southwestern and Latin American cooking, Nutritional analysis and healthy recipe planning, Cultural food traditions, Modifying traditional dishes for better health
Education
Santa Fe Community College
Certificate in Culinary Arts
Focused on mastering the flavors and cooking methods of traditional Southwestern cuisine.
Jess’s love for bold, homegrown flavors led her straight into the world of Southwestern cooking and cultural nutrition.
After completing her Certificate in Culinary Arts at Santa Fe Community College, she made it her mission to show that good-for-you food can still taste incredible.
At saltytart.com, Jess shares vibrant, health-conscious recipes with roots in tradition but a fresh, modern twist. When she’s not testing new recipes, you’ll find her at local growers’ markets, tending her herb garden, or digging into food history books.