The Coziest Old Fashioned Apple Crisp Recipe for Sweet Comfort
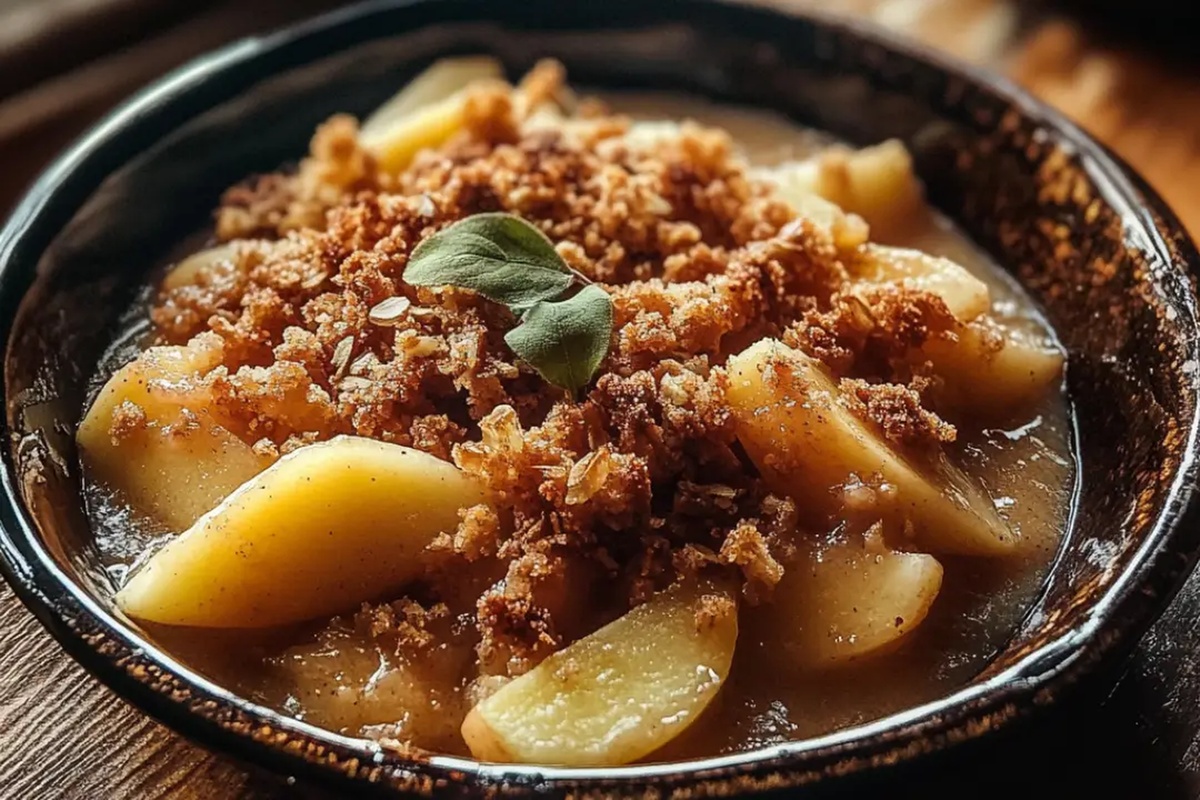
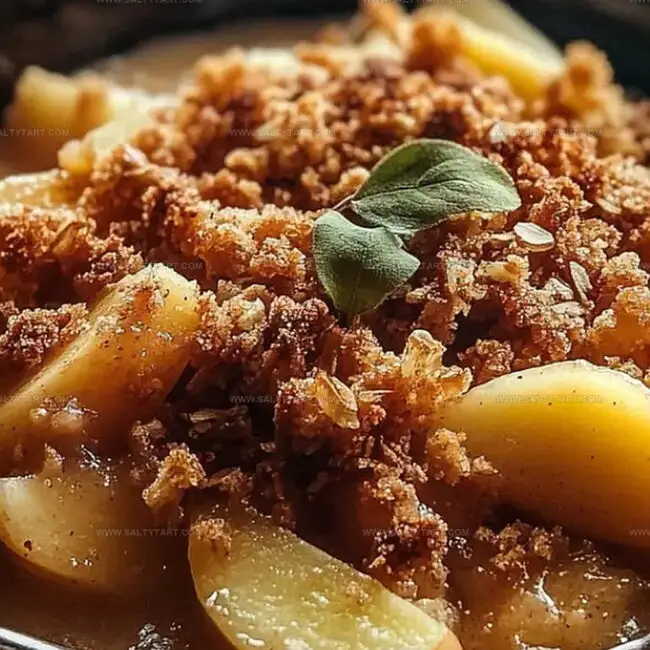
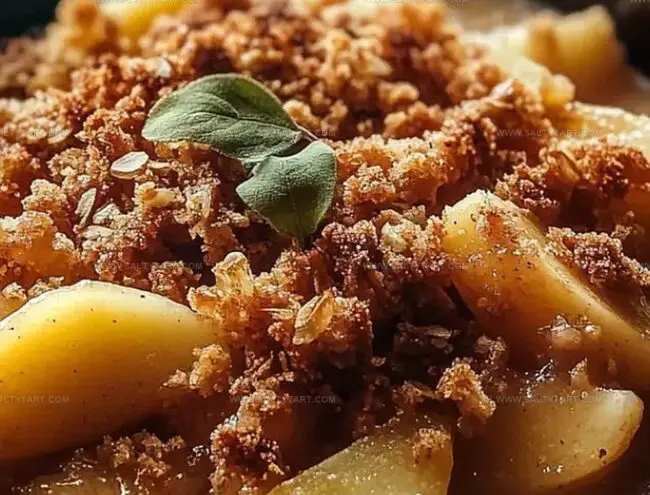
Autumn’s golden embrace brings comfort through this timeless old fashioned apple crisp recipe that speaks directly to the heart of homestyle baking.
crisp, tart apples nestled beneath a buttery, crumbly topping create a dessert that whispers nostalgia with every warm bite.
Sweet cinnamon and brown sugar mingle together, promising a symphony of flavors that dance across your palate.
Seasonal orchards provide the perfect canvas for this classic treat, where ripe, juicy apples transform into a bubbling, irresistible dessert.
The aroma of baked apples and caramelized oats will fill your kitchen with pure, comforting warmth.
Perfectly balanced between rustic simplicity and deeply satisfying flavor, this dessert invites you to savor a slice of pure, homemade happiness.
Grab a fork and let the first bite transport you to cherished memories of family gatherings and cozy afternoons.
Old Fashioned Apple Crisp Brings Sweet Memories
Ingredient List for Classic Apple Crisp Recipe
Fruit Base:Crumble Topping Dry Ingredients:Crumble Topping Wet Ingredients:Preparation Ingredient:Steps for Baking an Old Fashioned Apple Crisp
Step 1: Prepare Oven and Baking Dish
Get your oven warmed up to 350°F. Grab a 9 x 9 inch baking dish and give it a quick spray with nonstick cooking spray to prevent sticking.
Step 2: Slice and Arrange Apples
Peel and slice your fresh apples, then spread them evenly across the bottom of the prepared baking dish. Make sure they create a nice, cozy layer that will turn deliciously soft when baked.
Step 3: Create Magical Crumble Mixture
In a mixing bowl, combine:Whisk everything together until you have a beautiful, crumbly mixture that looks like little golden nuggets of deliciousness.
Step 4: Top and Drench with Butter
Sprinkle the crumble mixture generously over the apple layer.
Then pour melted butter across the top, allowing it to seep into every nook and cranny of the crumble.
Step 5: Bake to Golden Perfection
Slide the baking dish into the preheated oven.
Bake for 30-40 minutes until the apples become tender and the topping turns a gorgeous golden brown with crispy edges.
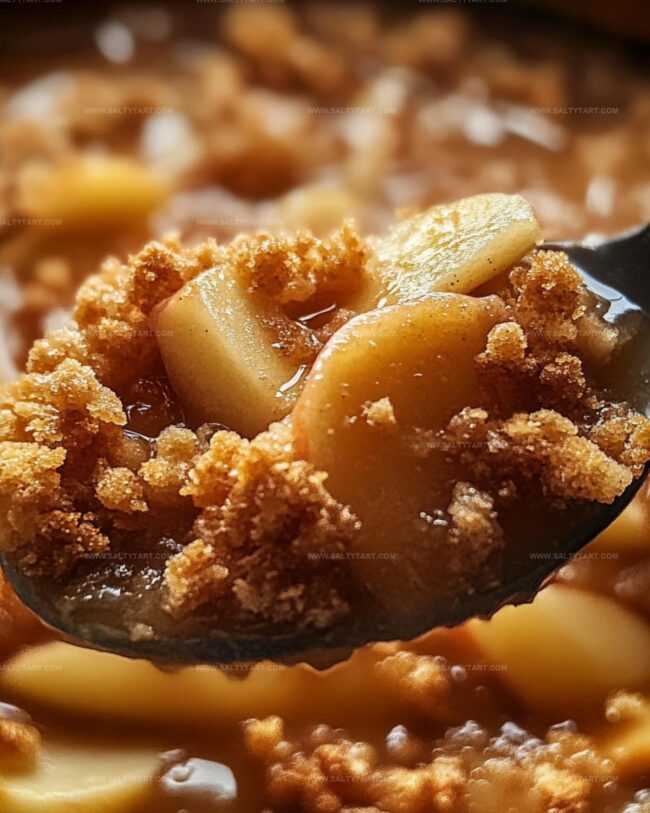
Step 6: Serve and Enjoy
Let the apple crisp cool just slightly so it sets.
Serve warm – bonus points if you add a scoop of vanilla ice cream on top. Each bite promises a heavenly combination of soft, spiced apples and crunchy, buttery topping.
Notes for Crunchy and Sweet Apple Crisp Topping
Swaps to Try for Classic Apple Crisp Fans
What Goes With a Warm Apple Crisp Dessert
How to Store Apple Crisp for Fresh Enjoyment
FAQs
Yes, you can use various apple varieties like Granny Smith, Honeycrisp, or Fuji. Each type will bring a slightly different flavor and texture to the crisp.
No, the recipe contains flour. To make it gluten-free, you can substitute the all-purpose flour with a gluten-free flour blend.
The crisp is ready when the apples are fork-tender and the topping turns golden brown, typically after 30-40 minutes of baking.
Print
Old Fashioned Apple Crisp Recipe
- Total Time: 55 minutes
- Yield: 6 1x
Description
Warm Midwestern kitchens come alive with classic Old Fashioned Apple Crisp, a nostalgic dessert blending sweet cinnamon-kissed apples and buttery crumbly topping. Comfort from your grandma’s recipe awaits in each spoonful, promising memories of autumn’s golden harvest.
Ingredients
Main Ingredients:
- 5 to 6 cups peeled and sliced apples
Dry Ingredients:
- 1 cup flour
- 3/4 cup sugar
- 1 teaspoon baking powder
- 1 teaspoon cinnamon
- 3/4 teaspoon salt
Wet Ingredients:
- 1 unbeaten egg
- 1/3 cup melted butter
Instructions
- Warm the oven to 350°F (175°C) and lightly coat a 9×9 inch baking dish with non-stick spray.
- Layer the peeled and sliced apples evenly across the bottom of the prepared dish.
- In a mixing bowl, thoroughly combine flour, sugar, baking powder, salt, cinnamon, and egg until a crumbly texture forms.
- Distribute the crumble mixture uniformly over the apple layer, ensuring complete coverage.
- Drizzle melted butter across the entire surface of the crumble topping.
- Transfer the dish to the preheated oven and bake for 35-40 minutes, checking for golden-brown topping and tender apples.
- Remove from oven and allow to rest for 10 minutes, permitting the dessert to set slightly.
- Serve warm, optionally accompanied by a scoop of vanilla ice cream for enhanced indulgence.
Notes
- Opt for tart apple varieties like Granny Smith or Honeycrisp for a balanced sweet-tangy flavor profile that cuts through the richness of the crisp.
- Consider reducing sugar in the topping if using sweeter apples to maintain a balanced dessert without overwhelming sweetness.
- Enhance texture by ensuring apple slices are uniform in thickness, allowing even baking and consistent tenderness throughout the dish.
- Transform this dessert into a gluten-free version by substituting all-purpose flour with almond flour or gluten-free baking blend for those with dietary restrictions.
- Prep Time: 15 minutes
- Cook Time: 40 minutes
- Category: Desserts
- Method: Baking
- Cuisine: American
Nutrition
- Serving Size: 6
- Calories: 235 kcal
- Sugar: 17 g
- Sodium: 240 mg
- Fat: 11 g
- Saturated Fat: 6 g
- Unsaturated Fat: 4 g
- Trans Fat: 0.2 g
- Carbohydrates: 34 g
- Fiber: 3 g
- Protein: 3 g
- Cholesterol: 55 mg
Jess Martinez
Contributing Recipe Writer & Nutrition Consultant
Expertise
Southwestern and Latin American cooking, Nutritional analysis and healthy recipe planning, Cultural food traditions, Modifying traditional dishes for better health
Education
Santa Fe Community College
Certificate in Culinary Arts
Focused on mastering the flavors and cooking methods of traditional Southwestern cuisine.
Jess’s love for bold, homegrown flavors led her straight into the world of Southwestern cooking and cultural nutrition.
After completing her Certificate in Culinary Arts at Santa Fe Community College, she made it her mission to show that good-for-you food can still taste incredible.
At saltytart.com, Jess shares vibrant, health-conscious recipes with roots in tradition but a fresh, modern twist. When she’s not testing new recipes, you’ll find her at local growers’ markets, tending her herb garden, or digging into food history books.