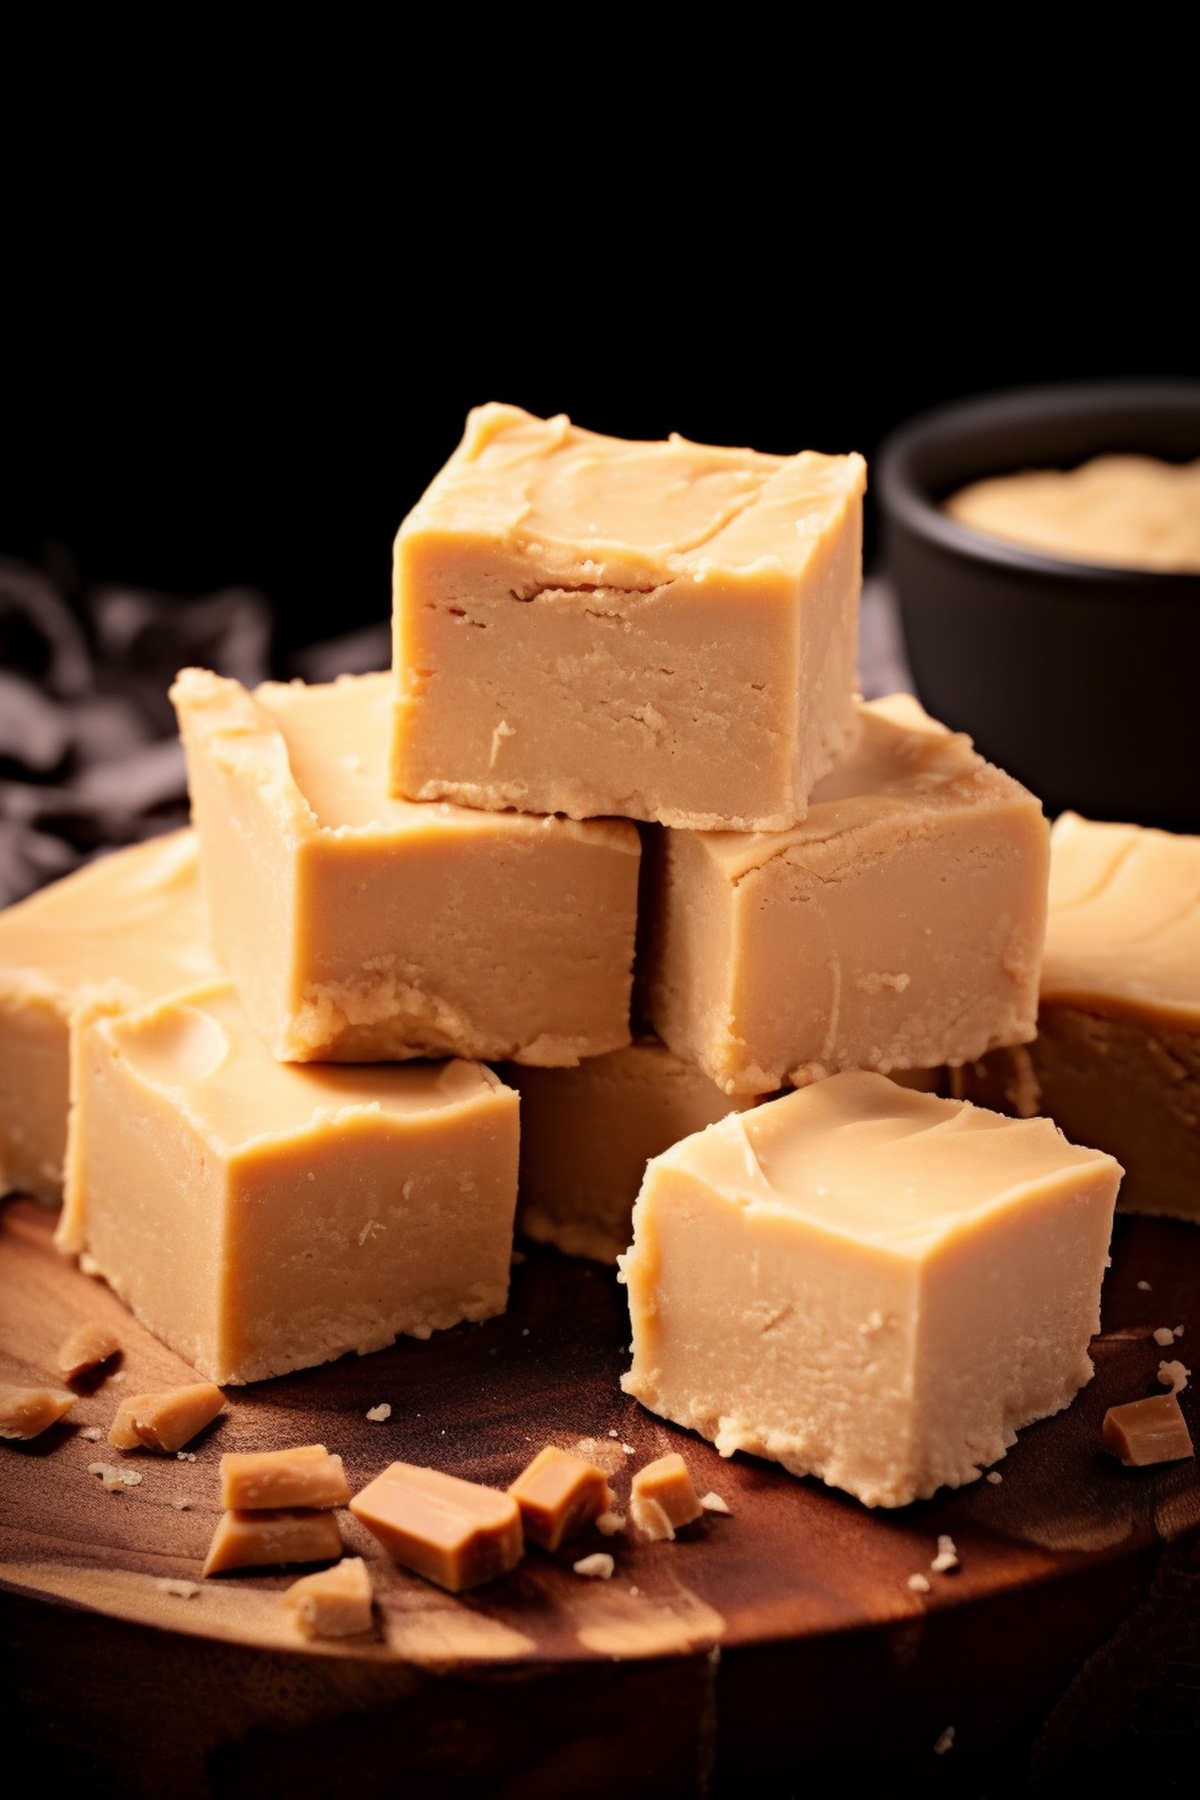
Dreamy Peanut Butter Fudge Recipe: Homemade Bliss in Every Bite
Creamy peanut butter fudge might just be the sweetest comfort you can whip up in minutes.
Sweet memories of childhood drift through kitchens when this treat emerges.
Chocolate and peanut butter create magic together, melting into a silky smooth experience.
Rich textures promise indulgence without complicated steps.
Simple ingredients blend seamlessly in one pan.
Quick preparation means delightful rewards await you soon.
This decadent dessert will make anyone smile with pure joy.
Why Peanut Butter Fudge Is an All-Time Favorite

Ingredients for Peanut Butter Fudge
Step-by-Step Peanut Butter Fudge Instructions
Step 1: Prepare the Baking Vessel
Line an 8-inch square pan with aluminum foil, ensuring complete coverage. Grease the foil generously with butter to prevent sticking.
The pan will serve as the resting place for your delectable peanut butter fudge.
Step 2: Create Sweet Liquid Base
Combine milk and sugar in a medium saucepan.
Bring the mixture to a rolling boil, then reduce heat and let it simmer for exactly 4 minutes. Stir occasionally to prevent burning and ensure smooth consistency.
Step 3: Blend Creamy Ingredients
Remove the saucepan from heat and add:Whisk the ingredients vigorously until they merge into a silky, uniform mixture. The texture should be glossy and free of lumps.
Step 4: Pour and Spread
Carefully transfer the warm mixture into the prepared pan. Use a spatula to spread the fudge evenly, ensuring a smooth surface.
Gently tap the pan to release any trapped air bubbles.
Step 5: Chill and Set
Place the pan in the refrigerator.
Allow the fudge to cool and solidify completely, which typically takes about 2-3 hours. Resist the temptation to check too frequently.
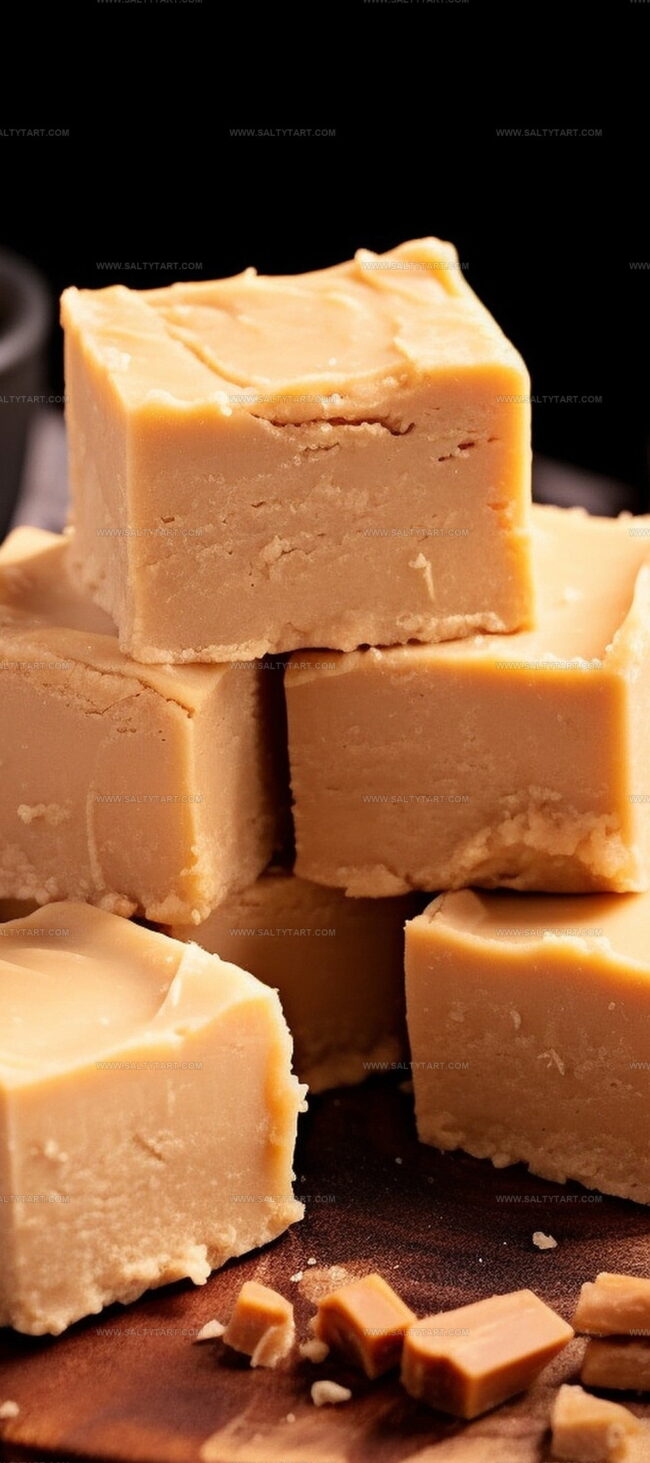
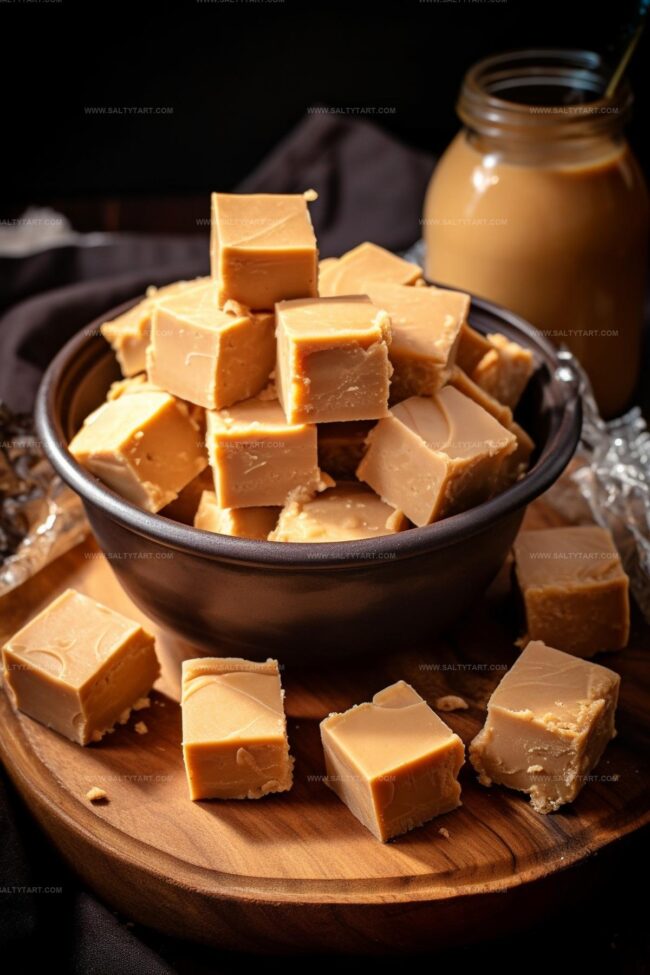
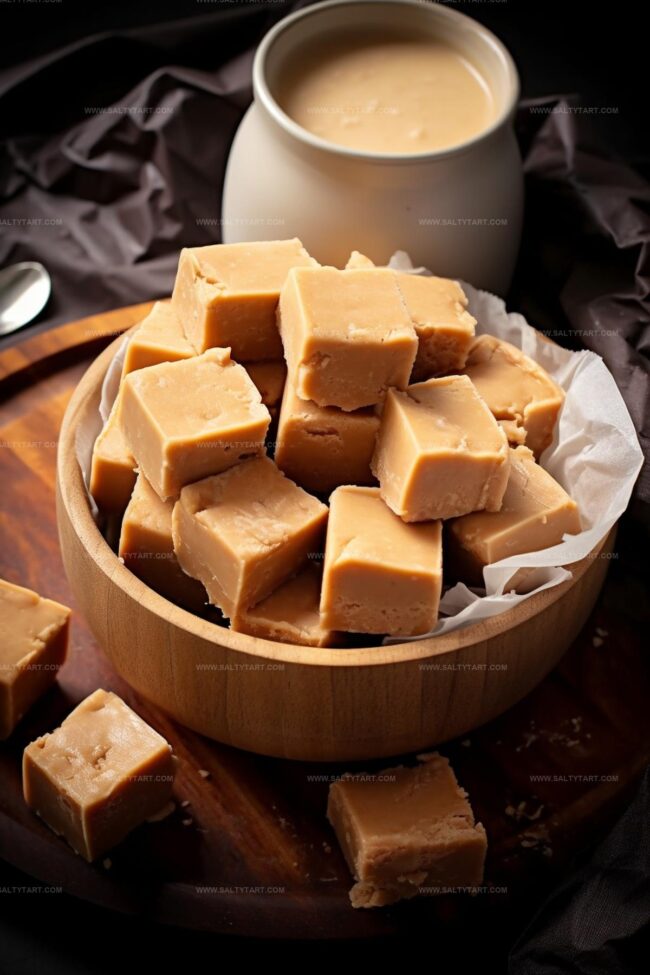
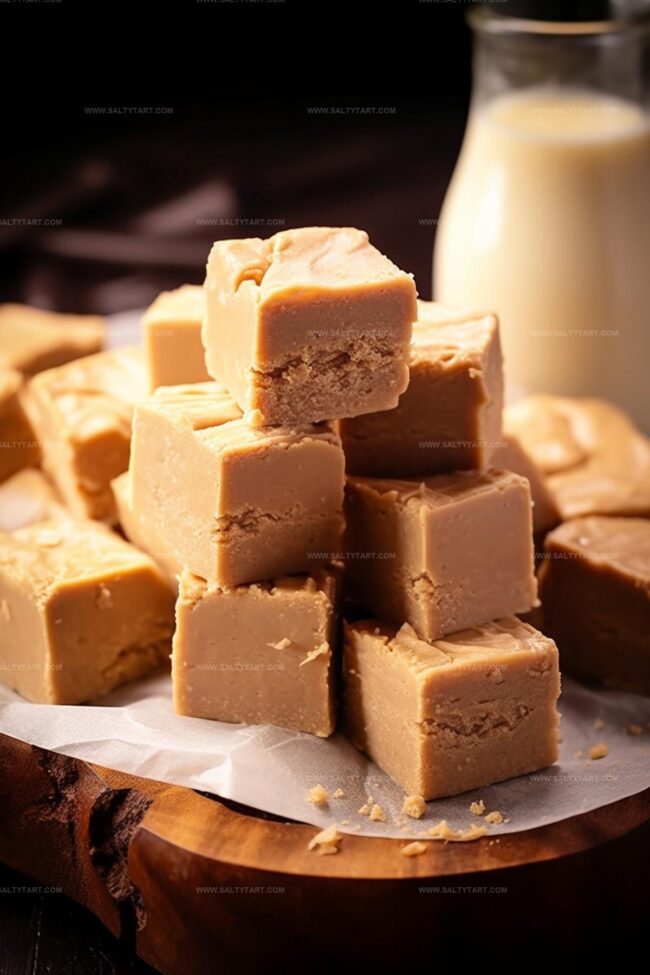
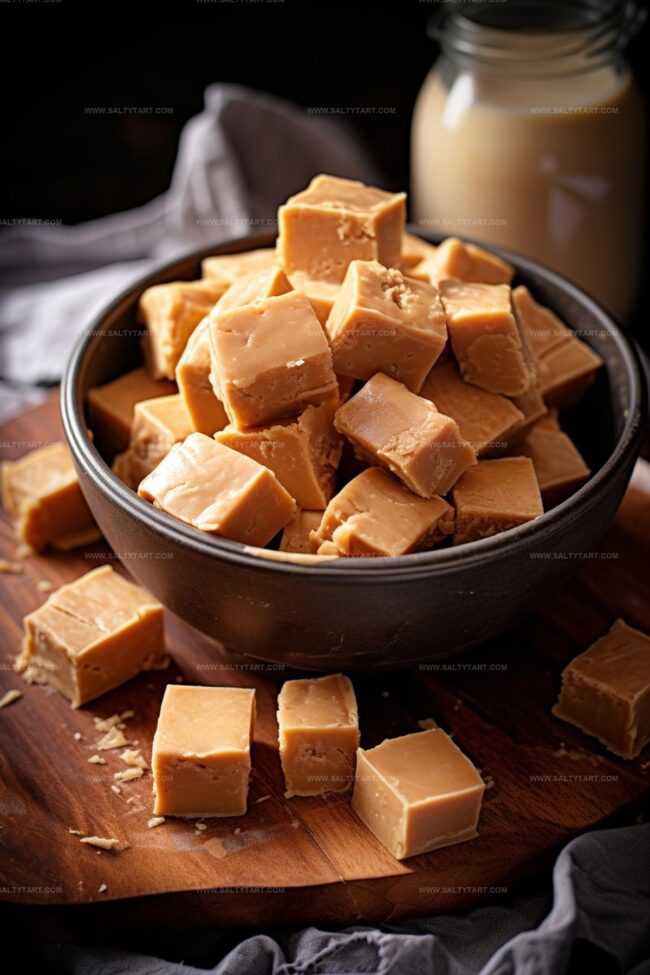
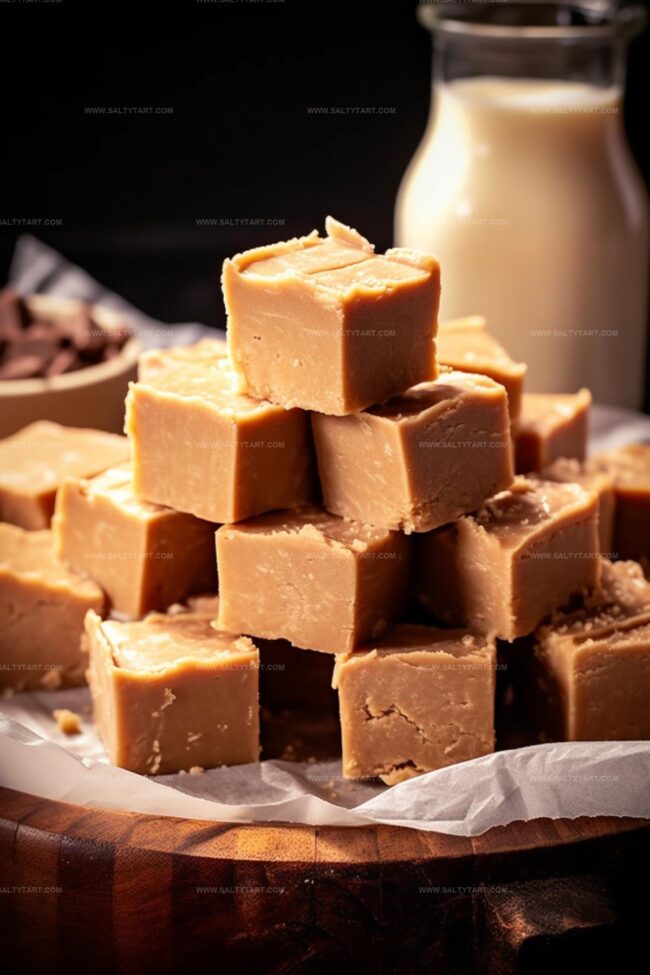
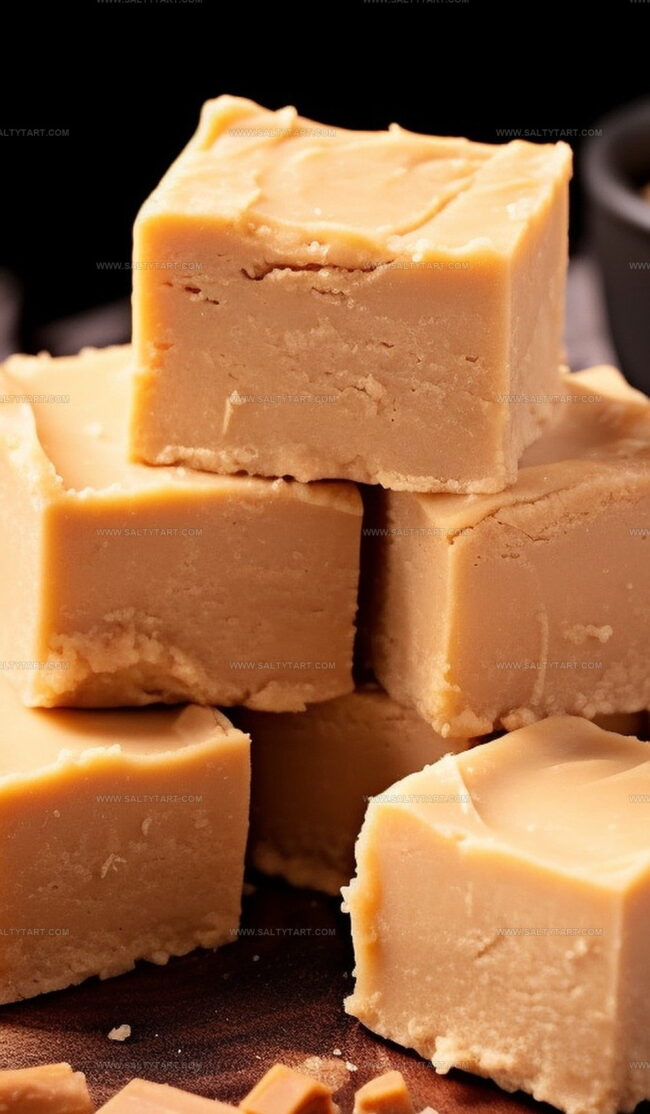
Step 6: Slice and Serve
Once the fudge has set firmly, remove from the refrigerator. Using a sharp knife, cut into uniform squares.
For clean cuts, wipe the knife between each slice with a warm, damp cloth.
Pro Tips for Smooth and Creamy Peanut Butter Fudge
Variations to Try with Peanut Butter Fudge
Pairings That Complement Peanut Butter Fudge
How to Store Peanut Butter Fudge Properly
FAQs
No, it’s surprisingly simple. With just a few ingredients and basic steps, anyone can create delicious peanut butter fudge at home.
Creamy, smooth peanut butter is ideal. Avoid natural or separated peanut butter as it might affect the fudge’s texture and consistency.
Traditional recipes require marshmallow cream for smooth texture and binding. Substituting it might change the final result and texture of the fudge.
When stored properly in an airtight container in the refrigerator, peanut butter fudge can last up to two weeks without losing its delicious flavor and texture.
Print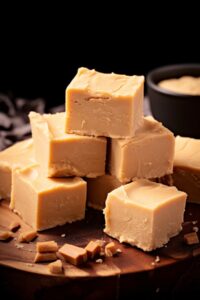
Peanut Butter Fudge
- Total Time: 19 minutes
- Yield: 16 1x
Description
Homemade peanut butter fudge delivers rich, creamy indulgence straight from grandma’s kitchen. Chocolate chips and smooth peanut butter combine for a classic sweet treat that melts perfectly in your mouth.
Ingredients
- Butter (for greasing foil)
- 2 cups (480 ml) granulated sugar
- 1–1/3 cups (320 ml) smooth peanut butter
- 1/2 cup (120 ml) whole milk
- 1 jar (7 oz/198 g) marshmallow cream
Instructions
- Prepare an 8-inch square pan by lining it with foil and generously greasing with butter to prevent sticking. Reserve the pan for later use.
- Combine milk and sugar in a medium saucepan. Bring the mixture to a rolling boil and maintain a steady simmer for precisely 4 minutes, stirring consistently to prevent scorching.
- Remove the saucepan from heat and swiftly incorporate peanut butter and marshmallow cream. Whisk vigorously until the mixture transforms into a smooth, homogeneous consistency with no visible streaks.
- Carefully transfer the molten fudge mixture into the prepared pan, using a spatula to spread evenly and eliminate any air pockets.
- Refrigerate the pan for approximately 2-3 hours, or until the fudge becomes completely firm and solid to the touch.
- Once fully chilled and set, remove from refrigerator and slice into uniform squares using a sharp, clean knife, wiping the blade between cuts for precise edges.
Notes
- Adapt the fudge for gluten-free diets by confirming all ingredients are certified gluten-free, especially marshmallow cream and vanilla extract.
- Experiment with different nut butters like almond or cashew for unique flavor variations and dietary alternatives.
- Prevent crystallization by avoiding stirring the sugar and milk mixture during initial boiling and using a candy thermometer to monitor precise temperature.
- Store fudge in an airtight container between parchment paper layers in the refrigerator for up to two weeks to maintain optimal texture and freshness.
- Prep Time: 15 minutes
- Cook Time: 4 minutes
- Category: Desserts, Snacks
- Method: Simmering
- Cuisine: American
Nutrition
- Serving Size: 16
- Calories: 187
- Sugar: 20 g
- Sodium: 67 mg
- Fat: 9 g
- Saturated Fat: 3 g
- Unsaturated Fat: 5 g
- Trans Fat: 0.1 g
- Carbohydrates: 24 g
- Fiber: 1 g
- Protein: 5 g
- Cholesterol: 8 mg
Mike Reynolds
Founder & Recipe Developer
Expertise
Farm-to-table cuisine, Seasonal recipe development, Sustainable cooking techniques, Food photography
Education
Asheville-Buncombe Technical Community College (A-B Tech)
Associate Degree in Culinary Arts
Mike studied culinary arts with a strong focus on farm-to-table principles and sustainable cooking. His training emphasized the importance of fresh, local ingredients and environmentally responsible practices in the kitchen.
Mike’s food journey began deep in the Blue Ridge Mountains, where weekends at farmers’ markets and home-cooked meals sparked a lifelong obsession with simple, seasonal eating.
After earning his Associate Degree in Culinary Arts from Asheville-Buncombe Technical Community College, he set out to bring farm-to-table cooking into everyday kitchens, without the fuss.
Mike’s philosophy is all about keeping it fresh, unfussy, and full of heart. When he’s not crafting new single-serving recipes, he’s hiking mountain trails, chatting with local farmers, or experimenting with wild ingredients in his backyard kitchen.