Irresistible Pillsbury Biscuit Garlic Butter Cheese Bombs Recipe
Pillsbury biscuits turn into mouthwatering garlic butter cheese bombs that’ll make your taste buds dance with excitement.
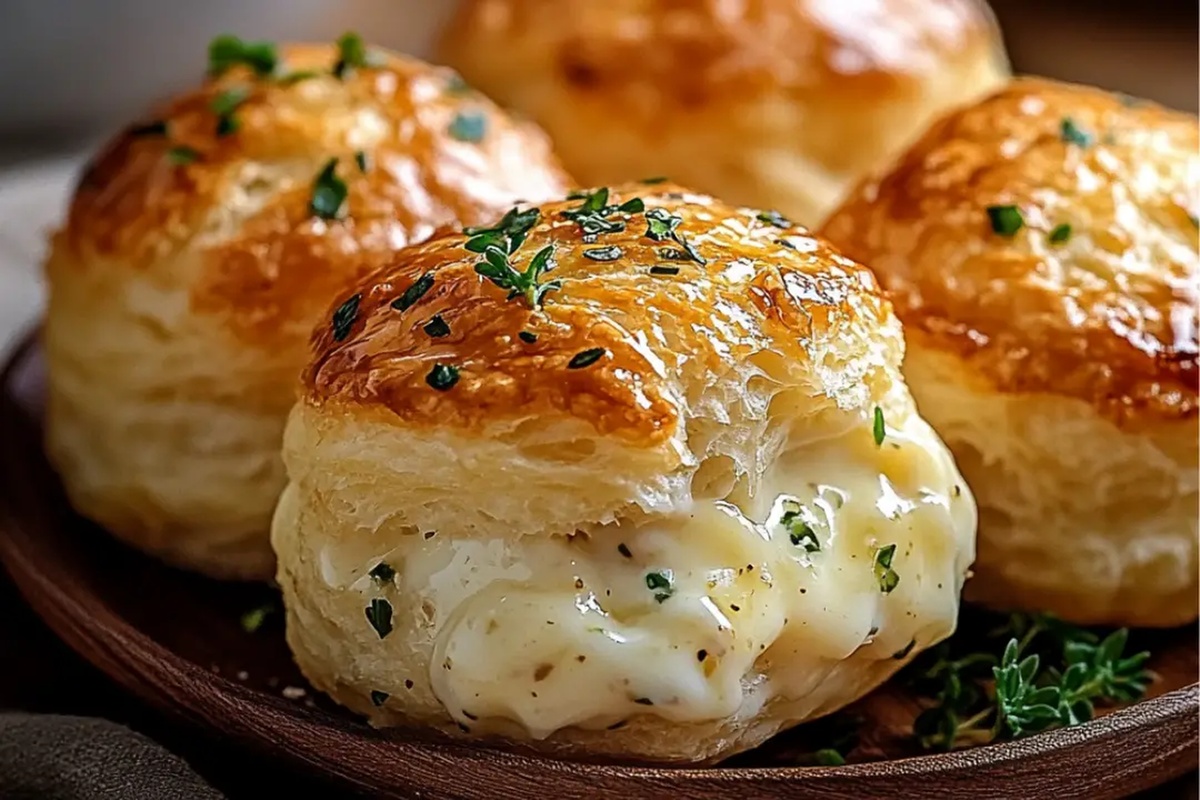
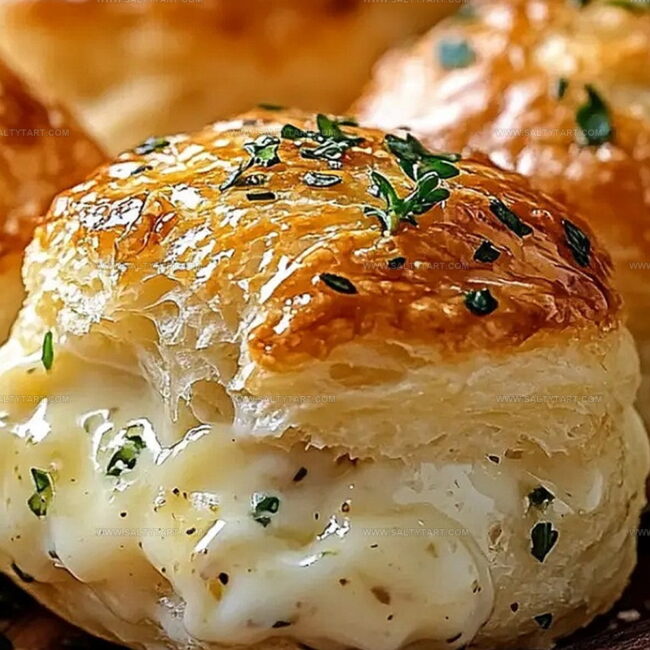
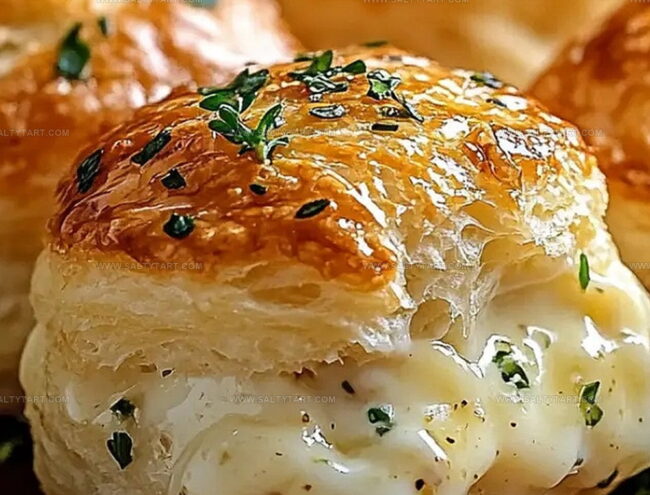
Crispy golden exteriors hide melty, gooey centers waiting to surprise you.
Minimal ingredients combine for maximum flavor in this quick and irresistible appetizer.
cheese lovers will go crazy for these simple yet spectacular bites.
Melted butter and garlic create an aromatic coating that elevates each morsel.
Seriously addictive, these bombs are perfect for game day or spontaneous snacking.
Buckle up for a seriously delicious flavor explosion that’ll have everyone asking for seconds.
Pillsbury Biscuit Garlic Butter Cheese Bombs Details
Ingredients for Pillsbury Biscuit Garlic Butter Cheese Bombs
Main Ingredients:
Biscuits: Refrigerated pillsbury biscuits that serve as the soft, fluffy base for this cheesy appetizer.
Cheese: Mozzarella cheese that creates a melty, gooey center for each bomb.
Butter Mixture Ingredients:Preparation Ingredients:How to Prepare Pillsbury Biscuit Garlic Butter Cheese Bombs
Step 1: Warm Up the Oven
Get your oven ready by heating it to 375°F. Grab a baking sheet and line it with parchment paper or give it a light spray of cooking oil to keep things from sticking.
Step 2: Prep the Dough Circles
Crack open the biscuit container and gently separate each round. Use your hands or a rolling pin to flatten each biscuit into a wide circle about 3 inches across.
Step 3: Create Cheese Centers
Drop a delicious cheese center into each dough circle. You can use:Make sure the cheese sits right in the middle of the dough.
Step 4: Transform Into Flavor Pouches
Carefully fold the dough edges up and around the cheese. Pinch the edges together super tight so no cheesy goodness can escape.
Roll them into cute little balls with the cheese tucked safely inside.
Step 5: Dress with Magical Butter Blend
Mix up a flavor-packed butter sauce in a small bowl with:Brush this magical mixture generously over the top of each dough ball.
Step 6: Bake to Golden Perfection
Slide the baking sheet into the oven. Bake for 12-15 minutes until the bites turn a gorgeous golden brown.
The cheese inside should be melted and oozing with deliciousness.
Step 7: Serve and Devour
Pull these beauties out of the oven and let them cool for a few minutes.
Serve warm and watch everyone’s eyes light up with excitement. These are perfect solo or paired with a yummy dipping sauce.
Tips for Crispy Garlic Butter Cheese Bombs
Variations for Pillsbury Biscuit Garlic Butter Cheese Bombs
Pairing Ideas for Garlic Butter Cheese Bombs
Proper Storage for Pillsbury Biscuit Garlic Butter Cheese Bombs
FAQs
Yes, you can substitute mozzarella with cheddar, provolone, or pepper jack cheese. Just ensure the cheese melts well and fits inside the biscuit dough.
Pinch the biscuit dough edges tightly and seal completely. Place the bombs seam-side down on the baking sheet to help maintain their shape during baking.
You can prepare and freeze unbaked bombs. Place them on a baking sheet, freeze until solid, then transfer to a freezer bag. Bake directly from frozen, adding 2-3 extra minutes to cooking time.
Print
Pillsbury Biscuit Garlic Butter Cheese Bombs Recipe
- Total Time: 30 minutes
- Yield: 8 1x
Description
Pillsbury biscuit garlic butter cheese bombs deliver explosive flavor in every bite. Melted cheese and aromatic garlic create irresistible comfort that draws you straight to the kitchen for a quick, delightful snack.
Ingredients
Main Ingredients:
- 1 (16 ounces/454 grams) container of refrigerated biscuit dough (8 biscuits)
- 4 ounces/113 grams mozzarella cheese (soft, shredded or diced string cheese)
Seasoning and Flavoring:
- 1 teaspoon garlic powder
- 1 teaspoon Italian seasoning
- 1 pinch of salt
Finishing Ingredients:
- 4 tablespoons/60 milliliters melted butter (half a stick)
Instructions
- Prepare the baking environment by warming the oven to 375°F and lining a baking sheet with parchment paper or applying a light grease coating.
- Gently unroll the refrigerated biscuit dough and delicately stretch each round to create a wider, flatter surface approximately 3 inches in diameter.
- Position a single chunk of mozzarella precisely in the center of each dough circle, ensuring complete coverage and preventing potential cheese leakage.
- Carefully envelope the cheese by pulling the biscuit dough edges upward, meticulously pinching and sealing the perimeter to create a compact, spherical parcel.
- Arrange the formed cheese bombs with their sealed side facing downward on the prepared baking sheet, maintaining slight separation between each piece.
- Craft a flavor-enhancing mixture by whisking melted butter with garlic powder, Italian seasoning, and a subtle salt sprinkle until thoroughly combined.
- Generously brush the exterior of each bomb with the aromatic butter blend, ensuring comprehensive and even coverage.
- Transfer the baking sheet to the preheated oven and bake for 12-15 minutes, watching for a rich golden-brown transformation and molten cheese interior.
- Allow the bombs to rest momentarily after removing from the oven, then serve while warm, optionally accompanied by a complementary dipping sauce.
Notes
- Cheese Selection Matters: Choose low-moisture mozzarella for the best melting texture and to prevent excess liquid inside the bombs.
- Seal Technique Prevents Leaks: Pinch biscuit edges tightly and roll gently between palms to create a perfect seal, stopping cheese from oozing out during baking.
- Customize Flavor Variations: Experiment with different cheese types like cheddar, pepper jack, or add herbs like chives or parsley to elevate the taste profile.
- Dietary Modifications: For gluten-free options, use gluten-free biscuit dough, and swap regular butter with plant-based alternatives for dairy-free versions.
- Prep Time: 15 minutes
- Cook Time: 15 minutes
- Category: Appetizer, Snacks
- Method: Baking
- Cuisine: American
Nutrition
- Serving Size: 8
- Calories: 230 kcal
- Sugar: 1 g
- Sodium: 370 mg
- Fat: 15 g
- Saturated Fat: 8 g
- Unsaturated Fat: 6 g
- Trans Fat: 0.5 g
- Carbohydrates: 16 g
- Fiber: 1 g
- Protein: 7 g
- Cholesterol: 35 mg


Mike Reynolds
Founder & Recipe Developer
Expertise
Farm-to-table cuisine, Seasonal recipe development, Sustainable cooking techniques, Food photography
Education
Asheville-Buncombe Technical Community College (A-B Tech)
Associate Degree in Culinary Arts
Mike studied culinary arts with a strong focus on farm-to-table principles and sustainable cooking. His training emphasized the importance of fresh, local ingredients and environmentally responsible practices in the kitchen.
Mike’s food journey began deep in the Blue Ridge Mountains, where weekends at farmers’ markets and home-cooked meals sparked a lifelong obsession with simple, seasonal eating.
After earning his Associate Degree in Culinary Arts from Asheville-Buncombe Technical Community College, he set out to bring farm-to-table cooking into everyday kitchens, without the fuss.
Mike’s philosophy is all about keeping it fresh, unfussy, and full of heart. When he’s not crafting new single-serving recipes, he’s hiking mountain trails, chatting with local farmers, or experimenting with wild ingredients in his backyard kitchen.