The Sweetest Rice Krispie Easter Eggs Recipe for Spring Joy
Crafting these delightful rice krispie Easter eggs will spark joy in your kitchen faster than a bunny hops.
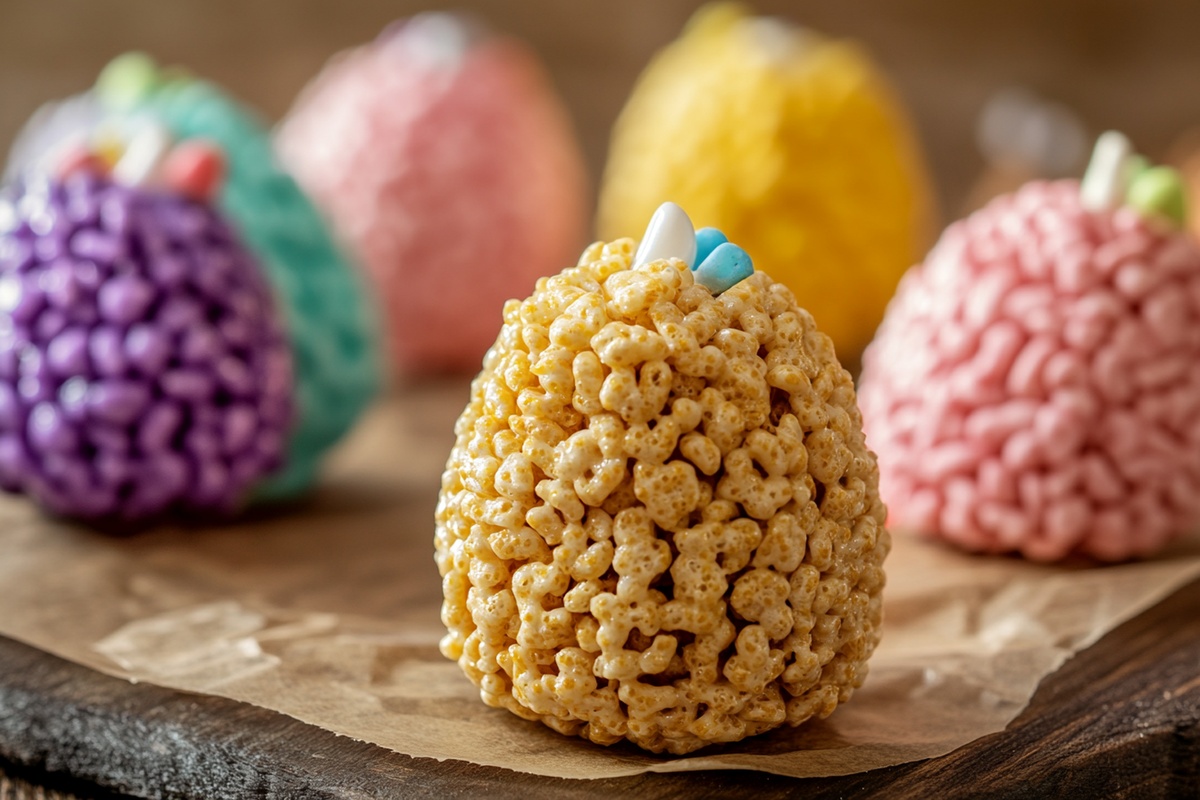
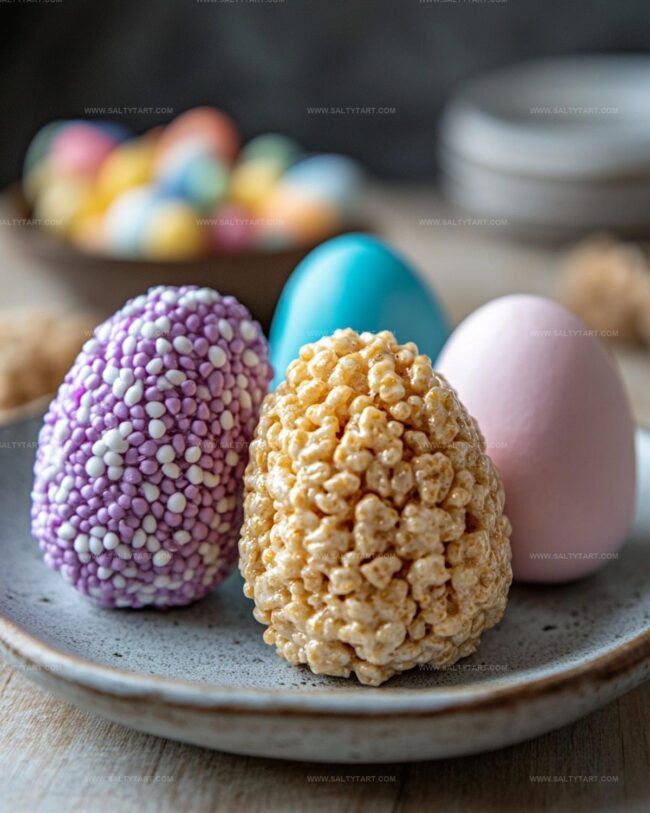
Pastel-colored marshmallow treats shaped like tiny eggs bring playful magic to springtime celebrations.
Soft, gooey, and incredibly simple to make, these cute confections require minimal ingredients.
Kids adore helping create these whimsical sweets that look like colorful spring treasures.
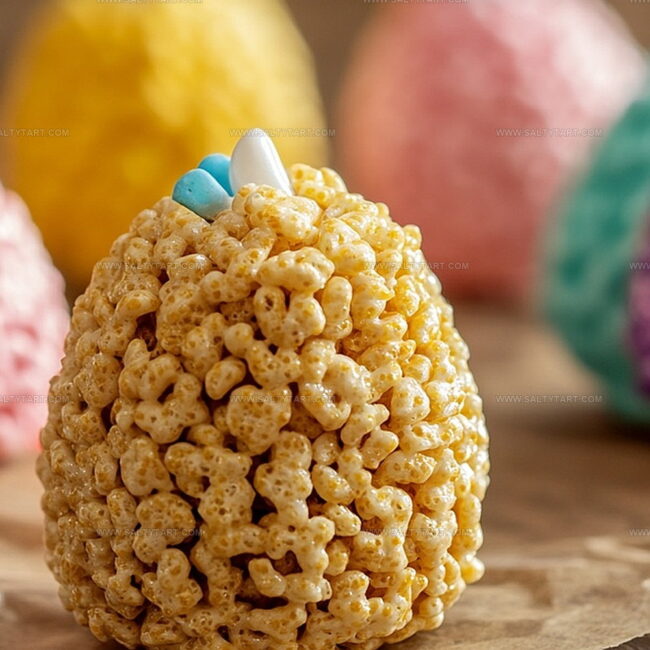
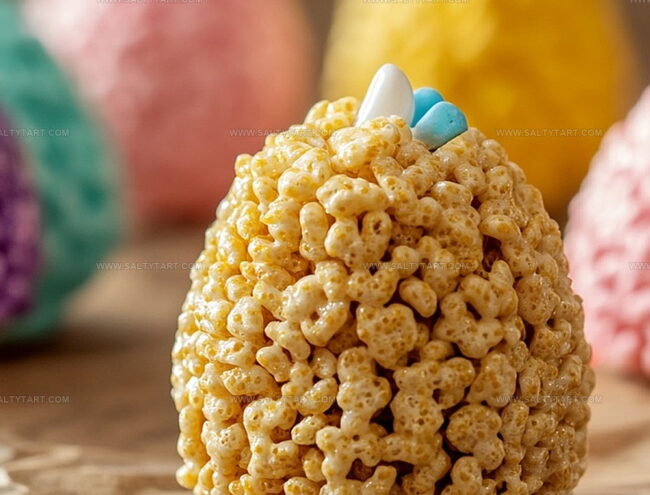
Melted marshmallows bind crispy rice cereal into adorable egg-shaped treats perfect for holiday gatherings.
Decorating with colorful chocolate drizzles and sprinkles makes each egg a miniature masterpiece.
You’ll want to gather the family and start mixing these sweet little surprises right now.
Why Rice Krispie Easter Eggs Are a Favorite
Ingredients for Rice Krispie Easter Eggs
Base Ingredients:Optional Flavor Enhancers:Preparation Support:How to Make Rice Krispie Easter Eggs Easily
Step 1: Warm Up the Butter
Gently melt butter in a large pot over low heat, creating a smooth, golden base for your delightful Easter treat.
Step 2: Create a Marshmallow Magic Blend
Toss in mini marshmallows and stir constantly, watching them transform into a silky, creamy mixture that will bind your Rice Krispie eggs together.
Step 3: Add a Splash of Color
If you want vibrant Easter eggs, drop in food coloring and mix thoroughly until the color spreads evenly through the marshmallow mixture.
Step 4: Fold in the Crispy Goodness
Remove the pot from heat and gently fold Rice Krispies cereal into the marshmallow blend, ensuring every crisp is perfectly coated with the sweet mixture.
Step 5: Shape Your Easter Eggs
Quickly shape the mixture into egg forms using either specialized egg molds or your hands on a parchment-lined surface. Work fast while the mixture is warm and pliable.
Step 6: Let Them Set and Decorate
Allow the Rice Krispie eggs to cool and firm up at room temperature. Once set, get creative with decorations like colorful sprinkles or a drizzle of melted chocolate to make them extra festive.
Tips for Rice Krispie Easter Eggs Success
Flavor Variations for Rice Krispie Easter Eggs
Best Pairings for Rice Krispie Easter Eggs
Proper Storage for Rice Krispie Easter Eggs
FAQs
Lightly coat your hands with cooking spray or butter before shaping the Rice Krispie mixture to prevent sticking.
Yes, you can prepare Rice Krispie Easter Eggs up to 2-3 days in advance and store them in an airtight container at room temperature.
Use plastic egg molds or carefully shape the mixture by hand on a parchment-lined surface, applying gentle pressure to create uniform eggs.
Decorate with pastel-colored candy melts, sprinkles, or drizzle with melted chocolate to create a fun Easter-themed treat.
Print
Rice Krispie Easter Eggs Recipe
- Total Time: 20 minutes
- Yield: 12 1x
Description
Delightful rice krispie easter eggs bring springtime cheer with colorful marshmallow magic. Sweet treats blend childhood nostalgia and festive fun, promising delicious moments that charm families and friends.
Ingredients
Main Ingredients:
- 6 cups Rice Krispies cereal
- 1 bag (10 ounces/280 grams) mini marshmallows
Binding Ingredients:
- 3 tablespoons unsalted butter
Decoration Ingredients:
- Food coloring (pastel shades)
- Sprinkles
- Chocolate drizzle
Instructions
- Warm butter in a spacious saucepan over gentle heat until completely liquefied.
- Pour mini marshmallows into the melted butter, stirring consistently until they transform into a silky, uniform mixture.
- Incorporate food coloring drops, blending thoroughly to achieve an even, vibrant hue throughout the marshmallow base.
- Eliminate pan from heat source and delicately integrate Rice Krispies, ensuring each crisp morsel becomes thoroughly coated with the marshmallow blend.
- Swiftly mold the sticky mixture into delicate egg configurations using either specialized egg-shaped molds or manually shaping with buttered hands on parchment paper.
- Allow the Easter egg treats to rest and solidify at room temperature for approximately 15-20 minutes.
- Embellish the cooled eggs with festive sprinkles or drizzle with melted chocolate for a decorative finishing touch.
Notes
- Customize colors by adding different food coloring to match your Easter theme or personal preference.
- Work quickly when shaping eggs to prevent mixture from hardening, using slightly buttered hands for smooth molding.
- Create gluten-free version by selecting certified gluten-free Rice Krispies or using alternative crispy rice cereals.
- Enhance flavor by adding a splash of vanilla extract or rolling finished eggs in colorful sprinkles for extra festive appeal.
- Prep Time: 15 minutes
- Cook Time: 5 minutes
- Category: Snacks, Desserts
- Method: Melting
- Cuisine: American
Nutrition
- Serving Size: 12
- Calories: 150
- Sugar: 10 g
- Sodium: 90 mg
- Fat: 3 g
- Saturated Fat: 1.8 g
- Unsaturated Fat: 1.2 g
- Trans Fat: 0 g
- Carbohydrates: 30 g
- Fiber: 0.5 g
- Protein: 1.5 g
- Cholesterol: 7 mg
Jess Martinez
Contributing Recipe Writer & Nutrition Consultant
Expertise
Southwestern and Latin American cooking, Nutritional analysis and healthy recipe planning, Cultural food traditions, Modifying traditional dishes for better health
Education
Santa Fe Community College
Certificate in Culinary Arts
Focused on mastering the flavors and cooking methods of traditional Southwestern cuisine.
Jess’s love for bold, homegrown flavors led her straight into the world of Southwestern cooking and cultural nutrition.
After completing her Certificate in Culinary Arts at Santa Fe Community College, she made it her mission to show that good-for-you food can still taste incredible.
At saltytart.com, Jess shares vibrant, health-conscious recipes with roots in tradition but a fresh, modern twist. When she’s not testing new recipes, you’ll find her at local growers’ markets, tending her herb garden, or digging into food history books.