Heavenly Crumbly Rock Buns Recipe: A Sweet British Classic
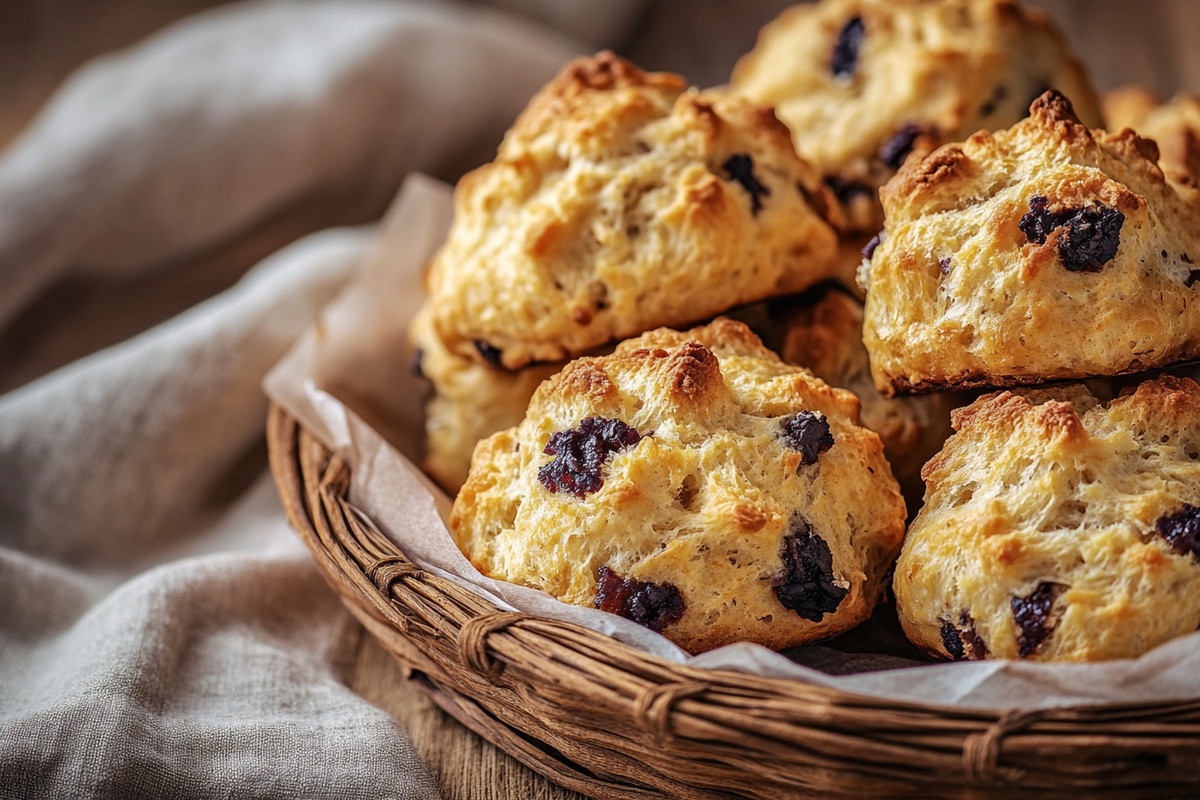
Delightful rock buns capture the essence of classic British teatime treats with their crumbly, rustic charm.
Bakers love these simple pastries for their unpretentious nature and satisfying texture.
Quick to prepare, they remind me of cozy afternoons spent in my grandmother’s kitchen.
Nuts and dried fruits add delightful bursts of flavor to each bite-sized morsel.
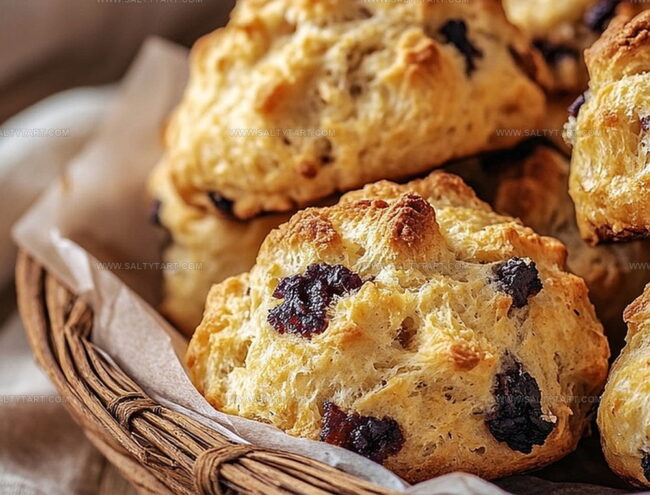
Crisp exterior and tender interior make these little bakes a perfect companion for afternoon tea.
Small enough to enjoy without guilt, yet packed with comforting goodness.
Whip up a batch and let the aroma transport you to a quaint English cottage.
What Makes Rock Buns So Irresistible
Key Ingredients That Bring Rock Buns Alive
Dry Ingredients:Wet Ingredients:Fat and Fruit:Step Into Making Perfect Rock Buns Today
Step 1: Prepare the Oven
Warm up your oven to 375°F (190°C). Cover a baking tray with parchment paper for easy cleanup and perfect baking.
Step 2: Mix Dry Ingredients
Grab a large mixing bowl and combine the following ingredients:Whisk everything together until well blended.
Step 3: Work in the Butter
Drop in cold butter pieces.
Use your fingertips or a pastry cutter to blend the butter into the dry mixture. Keep working until the texture looks like rough breadcrumbs.
Step 4: Add Dried Fruit
Toss in your chosen dried fruits and stir gently to distribute evenly throughout the mixture.
Step 5: Create the Dough
In a separate small bowl, whisk the egg with milk.
Pour this liquid mixture into your dry ingredients. Stir carefully until a soft dough forms.
If the dough seems too dry, splash in a bit more milk.
Step 6: Shape the Buns
Dust a clean surface with flour.
Gently pat the dough into a round shape about 3/4 inch thick. You can use a round cutter or simply shape small mounds with your hands.
Step 7: Arrange on Baking Tray
Place the shaped buns onto the prepared tray. Keep them spaced about an inch apart.
Softly press the tops to flatten them slightly.
Step 8: Bake to Golden Perfection
Slide the tray into the preheated oven.
Bake for 15-20 minutes until the buns turn a beautiful golden color and feel firm when touched.
Step 9: Cool and Enjoy
Pull the baking tray out of the oven.
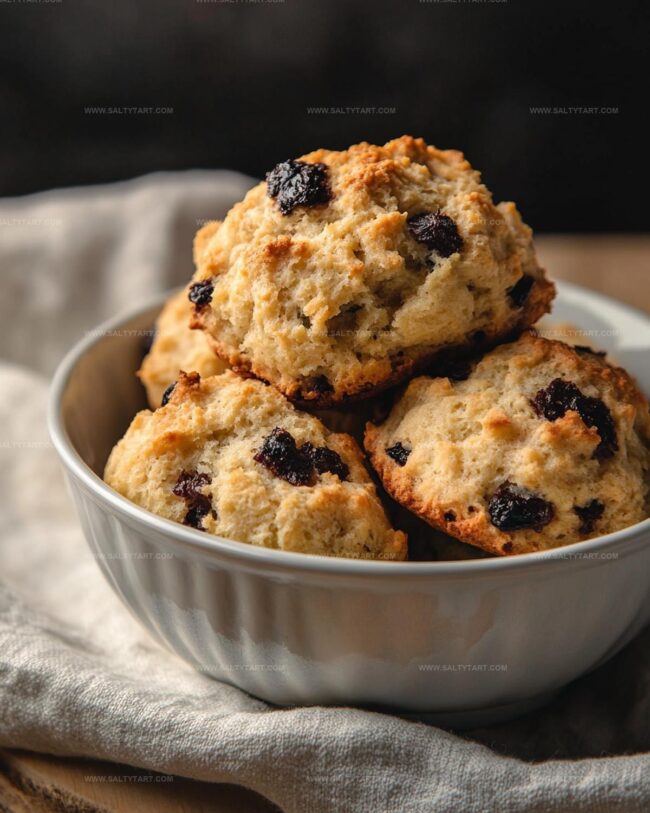
Transfer the rock buns to a wire rack and let them cool completely. Serve and savor your homemade treats!
Tips to Nail Rock Buns Every Time
Creative Twists to Try with Rock Buns
Great Foods to Enjoy Alongside Rock Buns
Create a cozy flavor harmony by serving rock buns alongside a fragrant chai tea that echoes the cinnamon and nutmeg notes in the baked treat.
Spread rich, velvety clotted cream on warm rock buns to add a luxurious, smooth texture that balances the crumbly, fruity pastry.
Dollop tangy orange marmalade on rock buns to introduce a bright, zesty contrast that enhances the sweet dried fruit and warm spices.
Enjoy a creamy vanilla latte that provides a smooth, sweet backdrop to the rustic, textured rock buns, creating a delightful morning or afternoon snack combination.
How to Keep Your Rock Buns Fresh Longer
FAQs
Rock buns originated in the United Kingdom, particularly popular in England as a classic teatime treat during the mid-20th century.
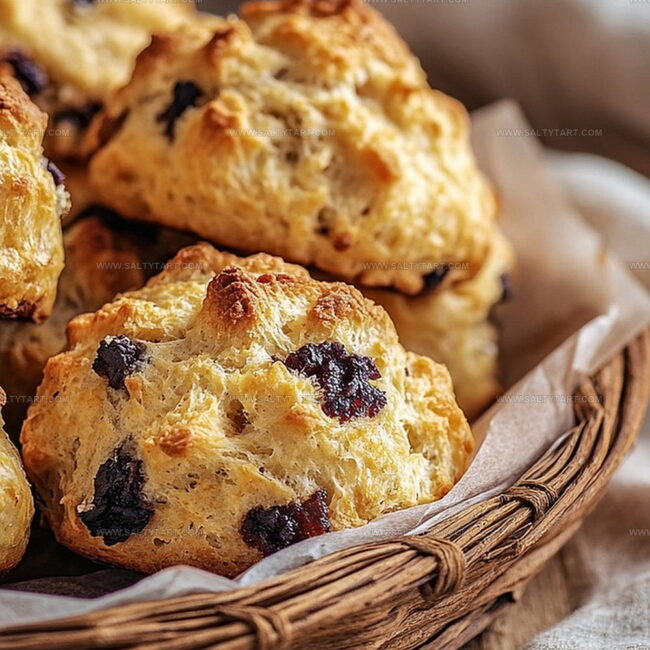
Rock buns have a rough, uneven surface that looks like rocky terrain, with a crumbly texture and a mix of sweet dried fruits throughout the dough.
Absolutely! You can use any combination of dried fruits like raisins, currants, candied peel, or chopped dried apricots based on your preference.
The name comes from their bumpy, uneven appearance that resembles small rocky formations, created by the way the dough is roughly shaped during preparation.
Print
Rock Buns Recipe
- Total Time: 45 minutes
- Yield: 12 1x
Description
Homemade rock buns elevate British tea-time treats with crumbly, sweet charm. Crisp exterior and tender interior promise delightful moments you’ll savor with each delectable bite.
Ingredients
Dry Ingredients:
- 225 grams (1 3/4 cups) all-purpose flour
- 2 teaspoons baking powder
- 50 grams (1/4 cup) granulated sugar
- 50 grams (1/4 cup) light brown sugar
- 1/2 teaspoon salt
- 1/2 teaspoon ground cinnamon
- 1 pinch ground nutmeg
Wet Ingredients:
- 1 large egg
- 2–3 tablespoons milk
Baking Ingredients:
- 110 grams (1/2 cup) cold unsalted butter
- 100 grams (about 2/3 cup) mixed dried fruit (raisins, sultanas, currants)
Instructions
- Prepare the oven at 375F (190C) and line a baking tray with parchment paper for optimal baking conditions.
- Combine all dry ingredients in a large mixing bowl, ensuring an even distribution of flour, baking powder, sugars, salt, cinnamon, and nutmeg.
- Incorporate cold butter into the dry mixture using fingertips or a pastry cutter, working until the texture resembles coarse crumbs with a sandy consistency.
- Fold in dried fruit thoroughly, ensuring an equal spread throughout the mixture.
- Whisk egg with milk in a separate container, then gently integrate the liquid into the dry ingredients, creating a soft, cohesive dough. Adjust moisture with an extra milk splash if needed.
- Transfer dough to a floured surface and shape into a round approximately 2 cm thick. Create individual buns by either cutting rounds or forming rustic mounds with hands.
- Arrange buns on the prepared tray, leaving slight spacing between each piece. Gently flatten the tops to promote even baking.
- Bake for 15-20 minutes until the exterior turns golden brown and the surface feels firm when touched.
- Transfer rock buns to a wire rack, allowing complete cooling to develop their signature crisp exterior and tender interior.
Notes
- Swap dried fruits like raisins or currants with chopped nuts, chocolate chips, or seeds for different flavor profiles and textures.
- Keep butter extremely cold to ensure a crumbly, flaky texture that’s essential for authentic rock buns.
- Mix ingredients minimally to prevent tough buns; gentle mixing maintains a light, delicate crumb structure.
- For gluten-free option, replace wheat flour with a 1:1 gluten-free baking blend to accommodate dietary restrictions.
- Prep Time: 25 minutes
- Cook Time: 20 minutes
- Category: Breakfast, Snacks, Desserts
- Method: Baking
- Cuisine: British
Nutrition
- Serving Size: 12
- Calories: 154 kcal
- Sugar: 9 g
- Sodium: 134 mg
- Fat: 7 g
- Saturated Fat: 4 g
- Unsaturated Fat: 3 g
- Trans Fat: 0.1 g
- Carbohydrates: 21 g
- Fiber: 1.2 g
- Protein: 2.5 g
- Cholesterol: 31 mg
Jess Martinez
Contributing Recipe Writer & Nutrition Consultant
Expertise
Southwestern and Latin American cooking, Nutritional analysis and healthy recipe planning, Cultural food traditions, Modifying traditional dishes for better health
Education
Santa Fe Community College
Certificate in Culinary Arts
Focused on mastering the flavors and cooking methods of traditional Southwestern cuisine.
Jess’s love for bold, homegrown flavors led her straight into the world of Southwestern cooking and cultural nutrition.
After completing her Certificate in Culinary Arts at Santa Fe Community College, she made it her mission to show that good-for-you food can still taste incredible.
At saltytart.com, Jess shares vibrant, health-conscious recipes with roots in tradition but a fresh, modern twist. When she’s not testing new recipes, you’ll find her at local growers’ markets, tending her herb garden, or digging into food history books.