Dreamy Salted Caramel Butter Bars Recipe: Melt-in-Your-Mouth Joy
My love for decadent salted caramel butter bars started during a cozy weekend baking experiment that surprised even me.
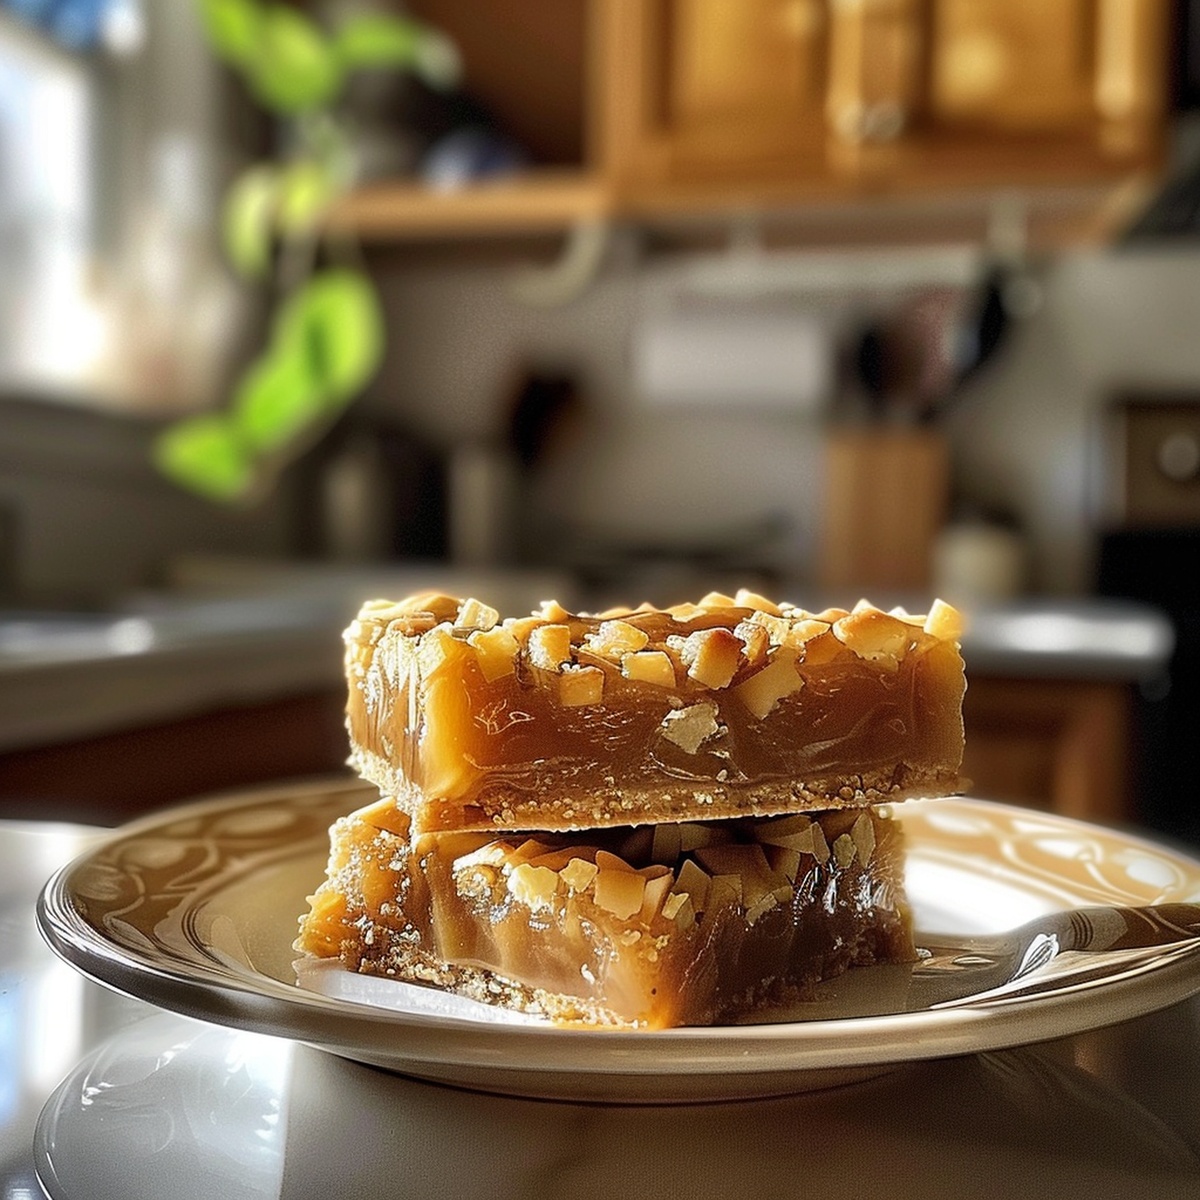
Sweet meets salty in this irresistible treat that melts effortlessly on your tongue.
Layers of buttery goodness create a texture so rich you’ll want to savor every single bite.
Kitchen magic happens when simple ingredients combine into something extraordinary.
Crumbly, golden edges hint at the deliciousness waiting inside these incredible bars.
Each square promises a perfect balance of sweetness and subtle saltiness that will make your taste buds dance.
Come experience a dessert that turns an ordinary moment into something truly memorable.
Why Salted Caramel Butter Bars Are So Good
Ingredients for Salted Caramel Butter Bars
Base Ingredients:Flavor Enhancers:Sauce Ingredient:How to Make Salted Caramel Butter Bars
Step 1: Warm Up the Oven
Set your oven to 350F (175C) and line an 8×8 inch baking pan with parchment paper, ensuring the edges hang over for easy removal.
Step 2: Create the Buttery Base
In a spacious mixing bowl, whip together:Beat these ingredients until they transform into a light, fluffy mixture that looks like a cloud of sweetness.
Step 3: Craft the Crumbly Dough
Gently fold in:Mix until the ingredients just come together, creating a delightfully crumbly texture that will melt in your mouth.
Step 4: Build the Foundation
Take about two-thirds of the dough and press it firmly into the prepared baking pan, creating a solid, even base that will support the caramel magic.
Step 5: Drizzle Caramel Goodness
Pour warm caramel sauce over the dough base, spreading it evenly to ensure every bite will be a heavenly caramel experience.
Step 6: Add the Crumbly Topping
Sprinkle the remaining dough over the caramel layer, creating a rustic, tempting surface that will turn golden and crispy.
Step 7: Bake to Perfection
Slide the pan into the preheated oven and bake for 25-30 minutes. Look for edges that turn a beautiful golden brown, signaling the bars are ready.
Step 8: Cool and Slice
Remove from the oven and let the bars cool completely. Use the parchment paper to lift the entire batch out, then slice into delectable squares.
Tips for Salted Caramel Butter Bars Success
Variations to Try with Salted Caramel Butter Bars
Best Pairings for Salted Caramel Butter Bars
Sip a rich, sweet Sauternes or late-harvest Riesling that complements the buttery caramel notes, enhancing the bar’s luxurious sweetness.
Enjoy a velvety smooth cappuccino or dark roast espresso to cut through the richness and provide a bold, contrasting flavor profile.
Top the warm salted caramel bar with a scoop of creamy vanilla ice cream, creating a delightful temperature and texture contrast.
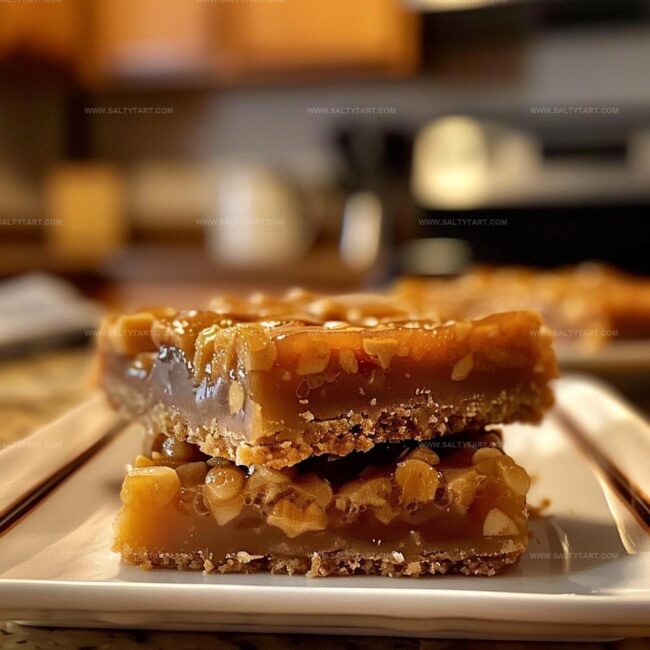
Sprinkle chopped roasted almonds or pecans alongside the bars to add a crunchy texture and enhance the salt-caramel experience.
How to Store Salted Caramel Butter Bars
FAQs
Yes, homemade caramel sauce works perfectly and can enhance the flavor of the bars with a more fresh and rich taste.
All-purpose flour is ideal for creating the perfect texture in these salted caramel butter bars. Use fresh, unbleached flour for the best results.
Look for golden brown edges and a slightly set center. The bars will continue to firm up as they cool, so avoid overbaking.
Sea salt is recommended as it provides a better flavor balance and enhances the caramel’s sweetness. However, you can substitute with kosher salt if needed.
Print
Salted Caramel Butter Bars Recipe
- Total Time: 50 minutes
- Yield: 16 1x
Description
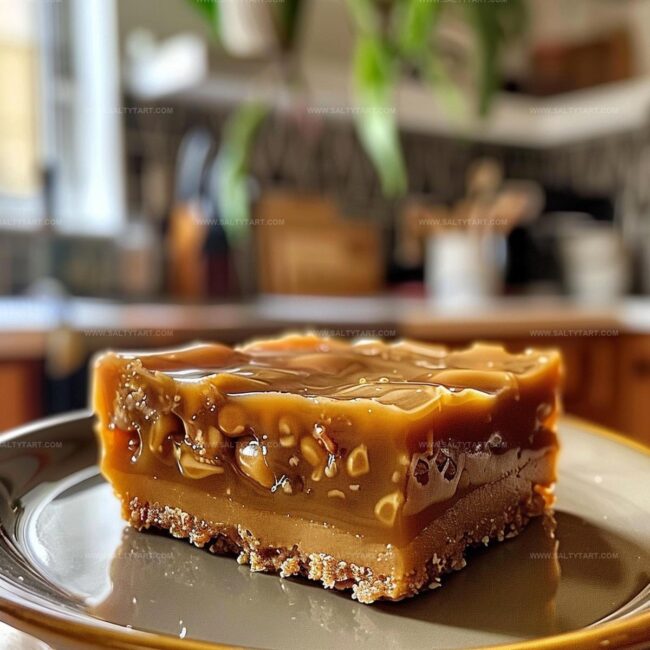
Salted caramel butter bars deliver a heavenly blend of sweet and salty sensations that dance across taste buds. Rich buttery layers meld with smooth caramel, creating an irresistible dessert you’ll crave long after the last delectable crumb disappears.
Ingredients
Main Ingredients:
- 2 cups all-purpose flour
- 1 cup unsalted butter (softened)
- 1 cup brown sugar (packed)
- 1/2 cup granulated sugar
Sweet Enhancers:
- 1 cup caramel sauce (store-bought or homemade)
- 2 teaspoons vanilla extract
- 1/2 cup chocolate chips (optional)
Seasoning:
- 1/2 teaspoon sea salt
Instructions
- Prepare the baking workspace by lining an 8×8 inch pan with parchment paper and heating the oven to 350F (175C).
- Blend softened butter with brown and granulated sugars using an electric mixer until the mixture becomes airy and pale.
- Incorporate flour and sea salt into the butter mixture, mixing until a slightly crumbly texture forms.
- Transfer approximately two-thirds of the dough into the prepared pan, gently pressing to create an even base layer.
- Warm the caramel sauce until it reaches a smooth, pourable consistency.
- Carefully drizzle and spread the caramel sauce across the dough base, ensuring uniform coverage.
- Sprinkle the remaining dough over the caramel layer, creating a rustic, crumbly topping.
- Slide the pan into the preheated oven and bake for 25-30 minutes, watching for golden-brown edges as an indicator of doneness.
- Remove from oven and allow the bars to cool completely at room temperature before cutting into squares.
Notes
- Adjust butter temperature carefully to ensure smooth, creamy texture without overbeating.
- Use high-quality caramel sauce or homemade for richer, more intense flavor profile.
- Create gluten-free version by substituting all-purpose flour with almond or coconut flour blend.
- Enhance salt balance by using flaky sea salt as a final garnish just before serving for extra crunch and flavor depth.
- Prep Time: 20 minutes
- Cook Time: 30 minutes
- Category: Desserts, Snacks
- Method: Baking
- Cuisine: American
Nutrition
- Serving Size: 16
- Calories: 234
- Sugar: 20 g
- Sodium: 85 mg
- Fat: 11 g
- Saturated Fat: 7 g
- Unsaturated Fat: 4 g
- Trans Fat: 0.2 g
- Carbohydrates: 31 g
- Fiber: 1 g
- Protein: 2 g
- Cholesterol: 30 mg
Mike Reynolds
Founder & Recipe Developer
Expertise
Farm-to-table cuisine, Seasonal recipe development, Sustainable cooking techniques, Food photography
Education
Asheville-Buncombe Technical Community College (A-B Tech)
Associate Degree in Culinary Arts
Mike studied culinary arts with a strong focus on farm-to-table principles and sustainable cooking. His training emphasized the importance of fresh, local ingredients and environmentally responsible practices in the kitchen.
Mike’s food journey began deep in the Blue Ridge Mountains, where weekends at farmers’ markets and home-cooked meals sparked a lifelong obsession with simple, seasonal eating.
After earning his Associate Degree in Culinary Arts from Asheville-Buncombe Technical Community College, he set out to bring farm-to-table cooking into everyday kitchens, without the fuss.
Mike’s philosophy is all about keeping it fresh, unfussy, and full of heart. When he’s not crafting new single-serving recipes, he’s hiking mountain trails, chatting with local farmers, or experimenting with wild ingredients in his backyard kitchen.