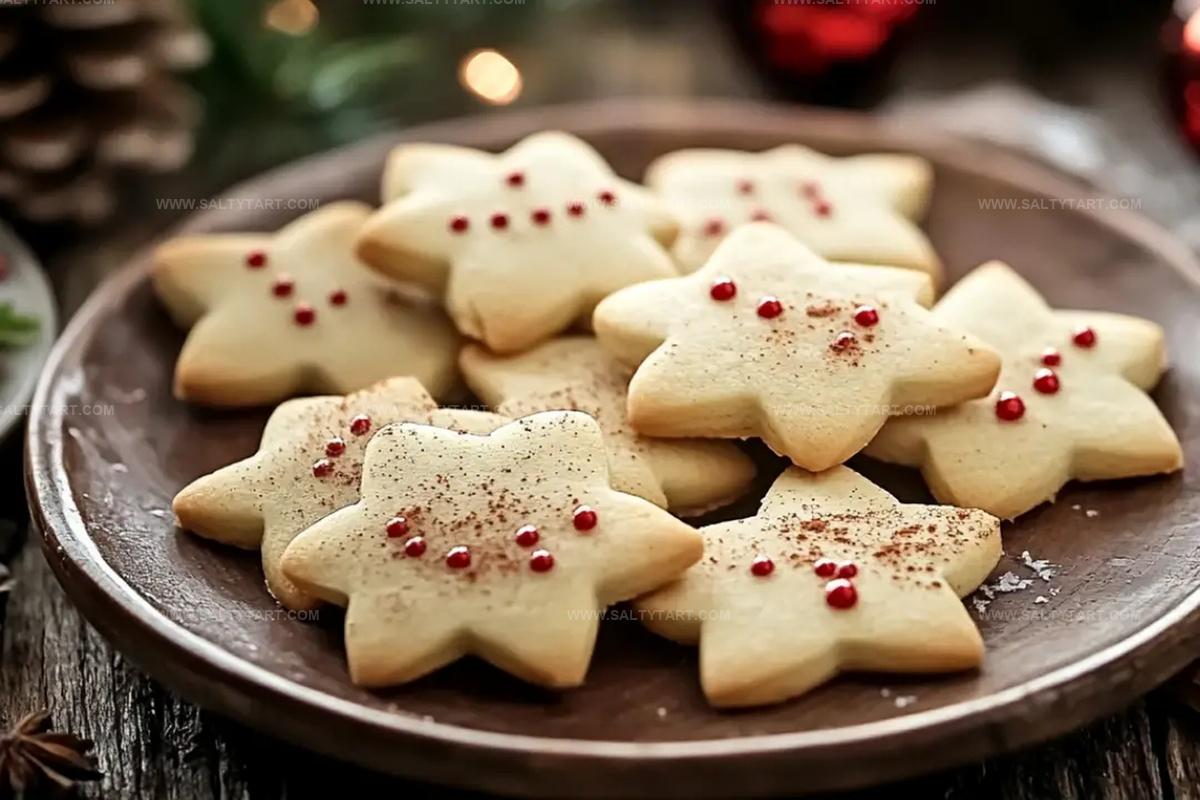
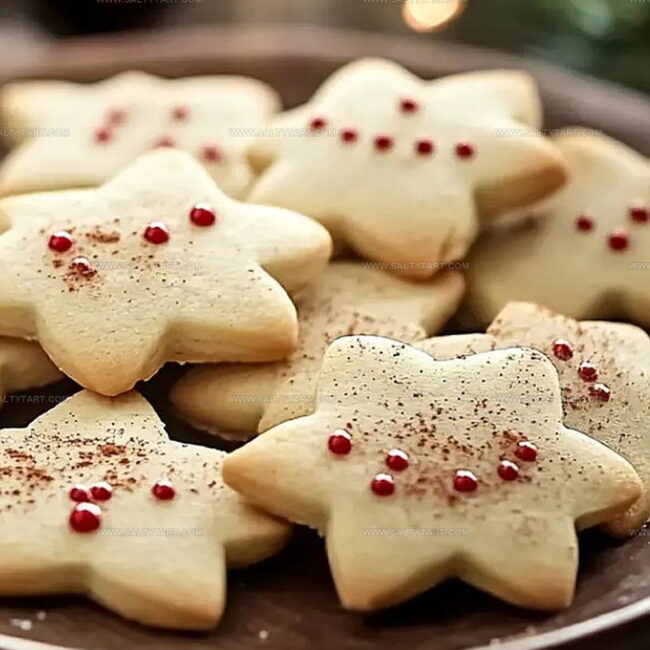
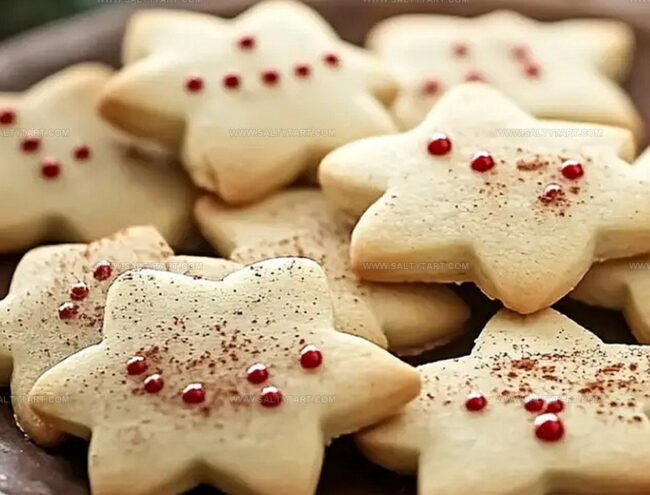
Soft, Dreamy Christmas Cookies Recipe for Holiday Magic
Christmas magic sparkles with these delightful soft Christmas cookies that melt in your mouth like sweet winter memories.
Every bite carries the warmth of holiday cheer and comfort.
Festive baking fills the kitchen with an irresistible aroma of vanilla and cinnamon.
These tender, pillowy treats promise to delight both young and old with their gentle sweetness.
Generations have cherished this beloved recipe, passing down the tradition of creating these delectable cookies.
Simple ingredients come together to create a nostalgic dessert that captures the essence of holiday joy.
Bake a batch and watch smiles bloom across faces as loved ones savor each tender, delicious morsel.
Why Soft Christmas Cookies Are a Joy
Everything for Festive Soft Christmas Cookies
Main Ingredients:Leavening and Seasoning:Liquid and Decorative Ingredients:How to Bake Perfect Soft Christmas Cookies
Step 1: Warm Up the Oven
Get your oven ready by heating it to 400F (200C). Grab some parchment paper and line your baking sheets for a smooth cookie-making adventure.
Step 2: Blend Dry Goodies
Grab a medium bowl and whisk together these powdery friends:Step 3: Whip Creamy Base
In a large bowl, transform butter and sugar into a fluffy cloud. Crack in eggs and splash vanilla and almond extracts.
Mix until everything looks happy together.
Step 4: Create Cookie Dough Magic
Slowly add dry ingredients into the creamy mixture.
Pour in milk between dry ingredient additions. If the dough feels too clingy, send it to chill in the refrigerator for half an hour.
Step 5: Shape Festive Treats
Dust your work surface with flour. Roll out the dough super thin.
Grab holiday-themed cookie cutters and create delightful shapes. Transfer these cute cutouts onto prepared baking sheets.
Step 6: Bake to Golden Perfection
Slide the trays into the oven. Bake for 6-8 minutes until edges turn a gentle golden color.
Let cookies rest on baking sheets for 5 minutes, then move to a cooling rack.
Step 7: Create Magical Icing
Whisk together in a bowl:Add food coloring if you want extra pizzazz.
Step 8: Dress Up Your Cookies
Once cookies are completely cool, spread or pipe icing. Sprinkle with festive decorations for extra joy.
Notes for Soft Christmas Cookie Success
Swaps for Christmas Cookie Lovers Everywhere
What Goes With Soft Christmas Cookies
Keeping Soft Christmas Cookies Freshest
FAQs
Yes, you can prepare the cookie dough up to 3 days in advance. Wrap it tightly in plastic wrap and store in the refrigerator until ready to roll and bake.
Chill the dough for at least 30 minutes before rolling and cutting. This helps the cookies maintain their shape during baking.
Use sharp, clean cookie cutters and dip them in flour between cuts to prevent sticking. Press firmly and lift carefully to transfer the shapes.
Use a piping bag or squeeze bottle for more control. Let the base layer of icing dry completely before adding detailed decorations.
Print
Soft Christmas Cookies Recipe
- Total Time: 38 minutes
- Yield: 24 1x
Description
Festive Christmas Cookies bring holiday cheer with their delightful blend of warm spices and sweet memories. Crisp edges and tender centers invite family and friends to savor classic comfort that connects generations around the seasonal table.
Ingredients
Main Ingredients:
- 3 3/4 cups (472 grams) all-purpose flour
- 1 cup (227 grams) unsalted butter, softened
- 1 1/2 cups (300 grams) granulated sugar
- 2 large eggs
Leavening and Seasoning:
- 1 teaspoon baking powder
- 1/2 teaspoon salt
Flavor Enhancers:
- 2 teaspoons vanilla extract
- 1/2 teaspoon almond extract
- 4 tablespoons (60 milliliters) milk
Instructions
- Preheat the oven to 400F (200C) and line baking sheets with parchment paper for optimal cookie preparation.
- Whisk flour, baking powder, and salt together in a medium mixing bowl to create a uniform dry ingredient blend.
- Using an electric mixer, cream butter and sugar until the mixture becomes light and airy, incorporating eggs, vanilla, and almond extracts until smooth.
- Gradually fold dry ingredients into the wet mixture, alternating with milk, and mix until a cohesive dough forms. Refrigerate for 30 minutes if the dough feels too sticky.
- On a lightly floured surface, roll the chilled dough to approximately 1/4-inch thickness, using festive cookie cutters to create seasonal shapes.
- Carefully transfer cookie shapes onto prepared baking sheets, ensuring even spacing.
- Bake for 6-8 minutes, watching for delicate golden edges as an indicator of doneness. Allow cookies to rest on baking sheets for 5 minutes before transferring to a wire cooling rack.
- Prepare a smooth icing by whisking powdered sugar, milk, and vanilla extract. Optional: Add food coloring for decorative flair.
- Once cookies have completely cooled, decorate with icing using a spread or piping technique and embellish with festive sprinkles.
Notes
- Chill the dough before rolling to prevent sticking and make cutting shapes easier.
- Use room temperature ingredients for smoother mixing and better cookie texture.
- Dust rolling pin and surface lightly with flour to avoid dough becoming tough.
- Swap almond extract with more vanilla or orange zest for different flavor profiles.
- For gluten-free version, replace wheat flour with a 1:1 gluten-free baking blend.
- Avoid overbaking to keep cookies soft and tender; remove when edges are just golden.
- Store decorated cookies in single layers between parchment paper to preserve design.
- Freeze unbaked cookie dough for up to 3 months for quick holiday baking later.
- Prep Time: 30 minutes
- Cook Time: 8 minutes
- Category: Desserts, Snacks
- Method: Baking
- Cuisine: American
Nutrition
- Serving Size: 24
- Calories: 141 kcal
- Sugar: 9 g
- Sodium: 74 mg
- Fat: 7 g
- Saturated Fat: 4 g
- Unsaturated Fat: 3 g
- Trans Fat: 0.1 g
- Carbohydrates: 19 g
- Fiber: 0.3 g
- Protein: 2 g
- Cholesterol: 28 mg


Jess Martinez
Contributing Recipe Writer & Nutrition Consultant
Expertise
Southwestern and Latin American cooking, Nutritional analysis and healthy recipe planning, Cultural food traditions, Modifying traditional dishes for better health
Education
Santa Fe Community College
Certificate in Culinary Arts
Focused on mastering the flavors and cooking methods of traditional Southwestern cuisine.
Jess’s love for bold, homegrown flavors led her straight into the world of Southwestern cooking and cultural nutrition.
After completing her Certificate in Culinary Arts at Santa Fe Community College, she made it her mission to show that good-for-you food can still taste incredible.
At saltytart.com, Jess shares vibrant, health-conscious recipes with roots in tradition but a fresh, modern twist. When she’s not testing new recipes, you’ll find her at local growers’ markets, tending her herb garden, or digging into food history books.