The Perfect Sugar Cookie Icing Recipe: Glossy & Sweet Every Time
Sweet sugar cookie icing can turn ordinary treats into magical masterpieces.
Bakers search for that one perfect sugar cookie icing recipe that makes desserts shine.
Professional and home bakers alike understand the power of a smooth, glossy finish.
This simple yet elegant coating adds a professional touch to homemade cookies.
Decorating becomes an art form with the right technique and ingredients.
Guests will marvel at your beautifully adorned cookies, wondering about your secret.
Let’s create cookie magic that delights everyone at the table.
FAQs
The icing typically sets within 1-2 hours at room temperature, fully hardening in about 6-8 hours.
Yes, add gel food coloring to create vibrant decorative icing for your sugar cookies. Liquid food coloring might thin the consistency, so use gel colors sparingly.
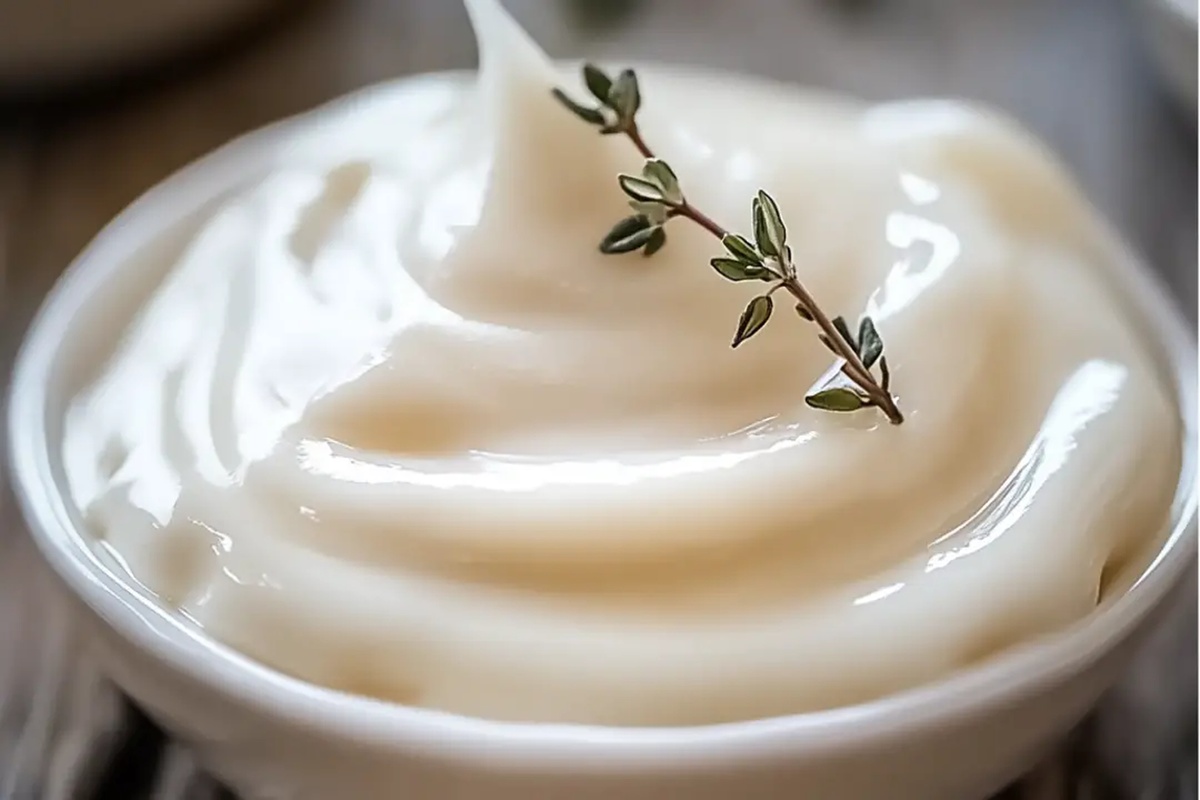
This recipe uses corn syrup for a glossy finish and smoother texture, unlike traditional royal icing which can be more matte and brittle.
Start with the recommended milk and corn syrup amounts, then adjust by adding small amounts of milk to thin or confectioners’ sugar to thicken until you reach a smooth, spreadable consistency.
Why This Sugar Cookie Icing Is a Must
What’s Needed for Perfect Cookie Icing
Main Ingredients:Flavor Enhancers:Optional Thinning Agents:How to Decorate With Sugar Cookie Icing
Step 1: Prepare Powdery Sweet Base
Grab a medium mixing bowl and gently sift the confectioners sugar through a fine-mesh strainer. This crucial step eliminates any pesky lumps and creates a silky smooth foundation for your magical cookie glaze.
Step 2: Blend Liquid Ingredients
Pour these delightful liquids into your sugar base:Whisk everything together with enthusiasm until the mixture transforms into a beautifully glossy, uniform coating that will make your sugar cookies shine.
Step 3: Customize Icing Texture
Check the consistency of your icing.
Want it thicker? Add a touch more confectioners sugar.
Prefer it thinner? Splash in extra milk or a hint of lemon juice.
You’re the artist creating the perfect drizzle for your cookies.
Step 4: Decorate with Flair
Grab your favorite decorating tools – piping bags, small spoons, or even a simple butter knife.
Unleash your creativity and paint your sugar cookies with this luxurious, glossy icing. Work quickly while the mixture is fresh and spreadable.
Helpful Notes for Cookie Icing Success
Icing Swaps for Cookie Decorating Fans
Treats That Go Well With Cookie Icing
Storing Sugar Cookie Icing For Later Use
Print
The Perfect Sugar Cookie Icing Recipe
- Total Time: 10 minutes
- Yield: 8 1x
Description
Sweet sugar cookie icing brings classic bakery magic to homemade treats. Crafted with precision, this simple glaze delivers professional-looking cookies that sparkle with delightful charm you’ll adore.
Ingredients
Sweeteners:
- 1 cup (125 g) confectioners sugar
Liquid Ingredients:
- 1 2 tablespoons whole milk
- 1 tablespoon light corn syrup
Flavor Enhancer:
- 1 3 drops lemon juice
Instructions
- Carefully transfer confectioners sugar through a fine-mesh sieve into a medium mixing bowl, ensuring a smooth, lump-free texture.
- Pour milk, light corn syrup, and freshly squeezed lemon juice directly into the sugar base.
- Whisk ingredients thoroughly until a glossy, uniform glaze emerges with no visible streaks or separation.
- Evaluate the icing’s flow and spreadability, incrementally introducing additional milk or lemon juice to achieve the ideal drizzling consistency – neither too thick nor too runny.
- Apply the vibrant, silky icing immediately onto freshly baked sugar cookies, allowing for seamless decoration and artistic design.
Notes
- Sifting confectioners sugar prevents clumpy icing and ensures a smooth, silky texture that glides effortlessly across cookies.
- Corn syrup adds beautiful shine and helps create a glossy, professional-looking finish that makes your cookies look bakery-worthy.
- Lemon juice contributes a subtle brightness and helps thin the icing, making it easier to spread and creating a more refined decorating experience.
- Adjust consistency carefully by adding liquid in tiny increments, allowing you to control thickness for detailed piping or flooding techniques.
- Prep Time: 10 minutes
- Cook Time: 0 minutes
- Category: Desserts
- Method: Blending
- Cuisine: American
Nutrition
- Serving Size: 8
- Calories: 53 kcal
- Sugar: 13 g
- Sodium: 2 mg
- Fat: 0 g
- Saturated Fat: 0 g
- Unsaturated Fat: 0 g
- Trans Fat: 0 g
- Carbohydrates: 13 g
- Fiber: 0 g
- Protein: 0 g
- Cholesterol: 1 mg
Jess Martinez
Contributing Recipe Writer & Nutrition Consultant
Expertise
Southwestern and Latin American cooking, Nutritional analysis and healthy recipe planning, Cultural food traditions, Modifying traditional dishes for better health
Education
Santa Fe Community College
Certificate in Culinary Arts
Focused on mastering the flavors and cooking methods of traditional Southwestern cuisine.
Jess’s love for bold, homegrown flavors led her straight into the world of Southwestern cooking and cultural nutrition.
After completing her Certificate in Culinary Arts at Santa Fe Community College, she made it her mission to show that good-for-you food can still taste incredible.
At saltytart.com, Jess shares vibrant, health-conscious recipes with roots in tradition but a fresh, modern twist. When she’s not testing new recipes, you’ll find her at local growers’ markets, tending her herb garden, or digging into food history books.