
The Magic Water Pie Recipe: A Surprisingly Sweet Treat
Sweet memories often dance around this quirky water pie recipe that has intrigued bakers for generations.
Midwestern kitchens whispered tales of resourcefulness during tough economic times.
Families discovered an unexpected dessert magic with minimal ingredients.
Curiosity might spark when you first hear about a pie made primarily with water.
Simple pantry staples become something extraordinary through careful technique and imagination.
Neighbors would marvel at the delicate, creamy texture emerging from such humble components.
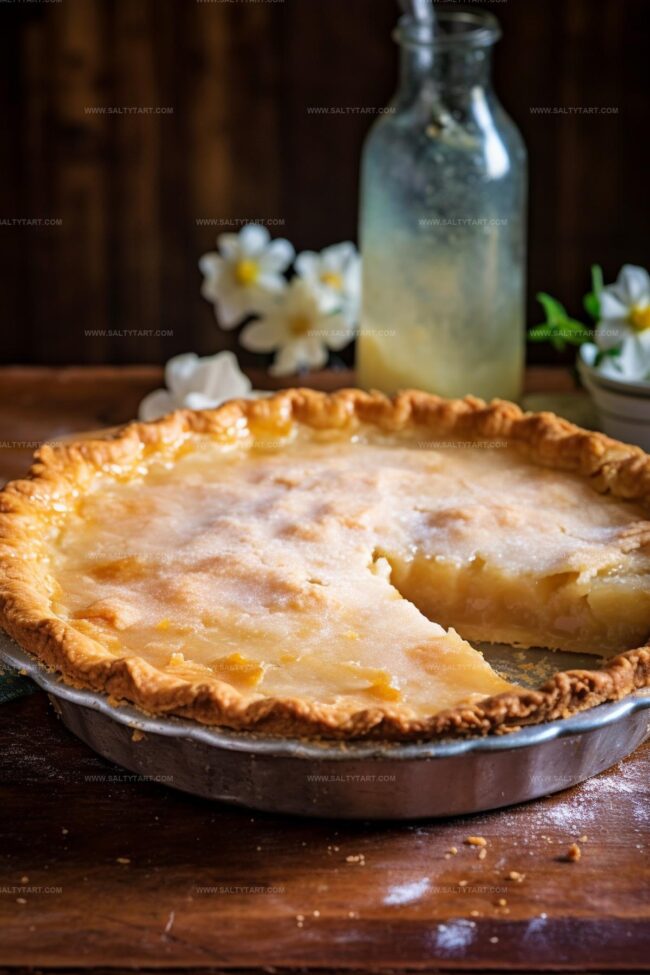
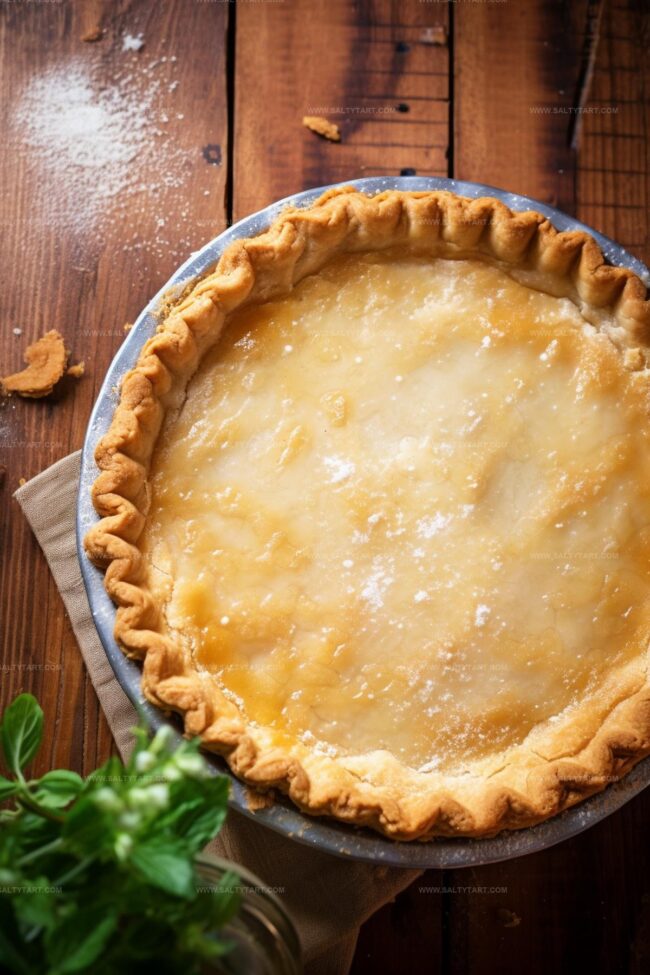
Water Pie Classic Southern Dessert

Ingredients to Make Water Pie
How to Prepare Water Pie
Step 1: Prepare the Oven
Heat your oven to a toasty 400°F. Grab a pie crust and place it on a baking sheet, ready for its transformation.
Step 2: Create the Water Base
Pour pure water directly into the pie crust, letting it settle smoothly across the bottom.
Step 3: Mix the Dry Ingredients
In a mixing bowl, combine:Blend these ingredients until they’re perfectly combined.
Step 4: Sprinkle the Dry Mixture
Gently shower the flour and sugar blend over the water. Don’t disturb the layers – let them rest naturally.
Step 5: Add Flavor Drops
Drizzle vanilla extract across the surface, creating a delicate flavor profile.
Step 6: Dot with Butter
Place small butter pieces evenly across the top of the pie, creating little golden islands.
Step 7: First Baking Phase
Slide the pie into the oven and bake for 30 minutes at 400°F. Watch it transform and bubble.
Step 8: Finish with Low Heat
Reduce oven temperature to 375°F. If the crust edges start browning too quickly, cover them with aluminum foil.
Bake for an additional 30 minutes.
Step 9: Cool and Set
Remove the pie from the oven.
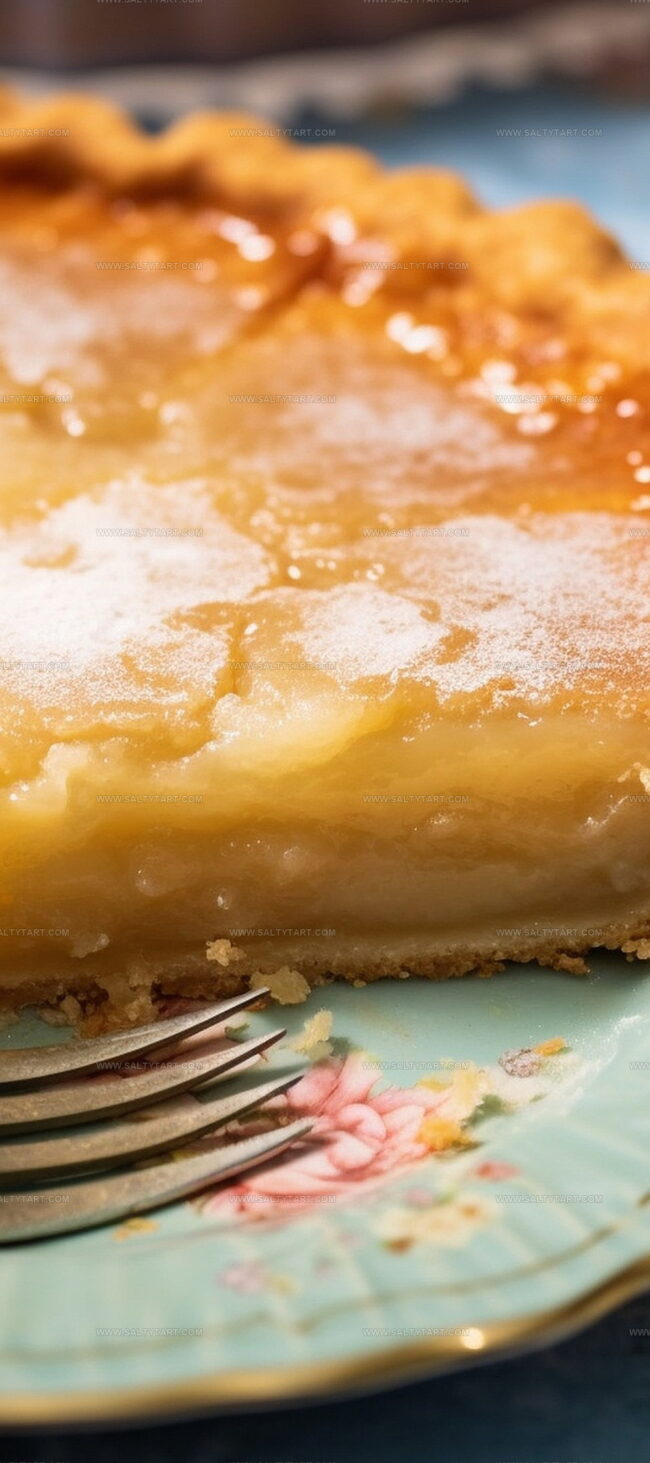
It will look liquidy – don’t panic! As it cools, it’ll magically firm up.
Let it reach room temperature, then refrigerate until completely chilled for the best texture.
Tips to Perfect Water Pie Every Time
Variations That Refresh Water Pie
Pairings That Match Water Pie

Storage Advice for Water Pie
FAQs
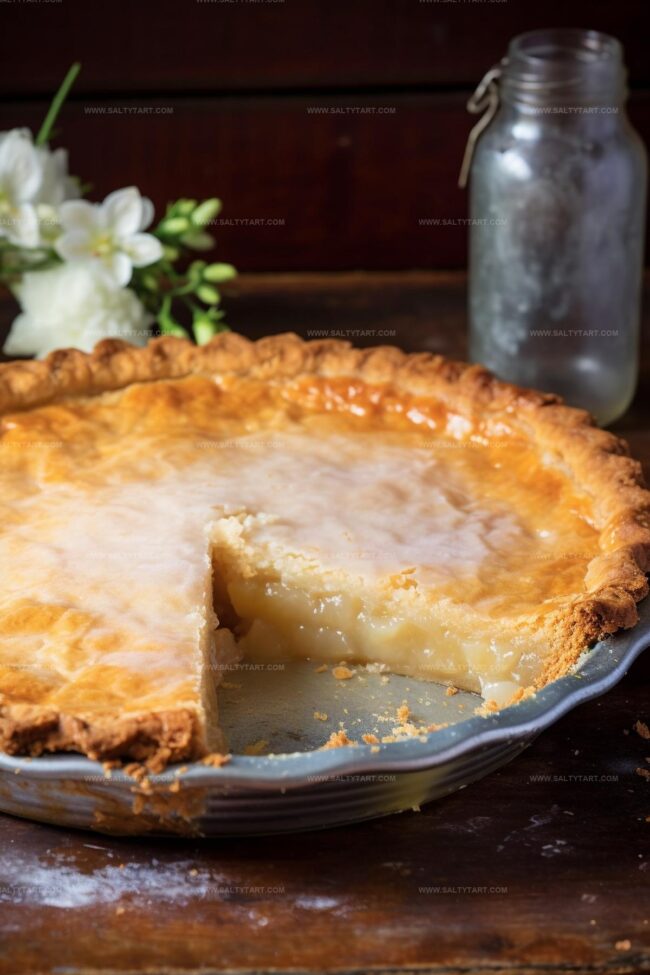
The name comes from using water as the primary liquid ingredient, creating a unique custard-like dessert during the Great Depression when ingredients were scarce.
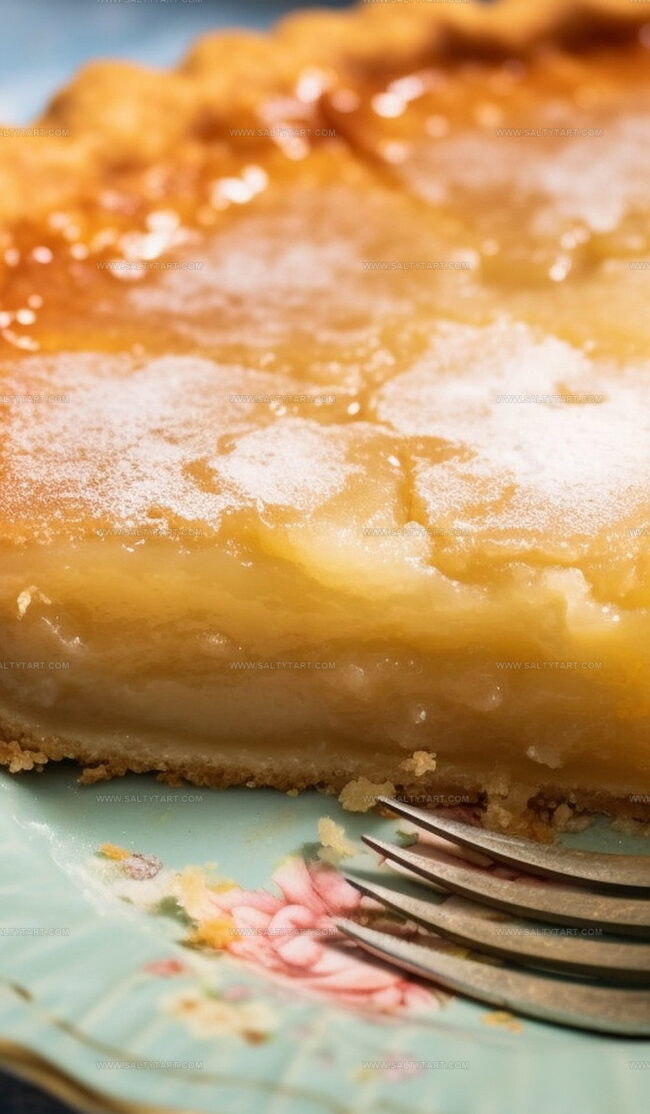
Unlike traditional fruit or cream pies, Water Pie has a simple ingredients list and transforms from liquid to a custard-like texture during baking, making it distinctively different.
The pie has a sweet, vanilla-like flavor with a smooth, delicate texture similar to a light custard or chess pie, surprisingly delicious despite its minimalist ingredients.
Water Pie was a resourceful recipe developed during the Great Depression in the United States, when families needed to create desserts with minimal, affordable ingredients.
Print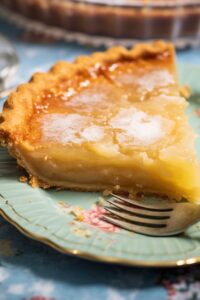
Water Pie Recipe
- Total Time: 1 hour 15 minutes
- Yield: 8 1x
Description
Water pie, a Depression-era delicacy from the United States, offers budget-friendly comfort with simple pantry ingredients. Resourceful home cooks can recreate this nostalgic dessert that stretches limited resources into a sweet, creamy treat you’ll savor.
Ingredients
- 1 cup granulated sugar
- 1 1/2 cups (355 ml) purified water
- 4 tablespoons (60 ml) all-purpose flour
- 2 teaspoons (10 ml) pure vanilla extract
- 5 tablespoons (75 g) unsalted butter (divided into 5 equal portions)
- 1 9-inch deep-dish pie crust (unbaked)
Instructions
- Preheat the oven to 400°F and position an unbaked pie crust on a robust baking sheet for stable handling.
- Pour purified water into the pie crust with precision, ensuring an even distribution across the base.
- Blend flour and sugar in a mixing bowl, creating a uniform dry mixture that will transform the liquid foundation.
- Sprinkle the flour-sugar combination evenly over the water, maintaining a consistent layer without stirring to preserve the delicate structure.
- Delicately disperse vanilla extract across the surface, infusing subtle aromatic notes into the developing pie.
- Strategically place butter portions atop the mixture, allowing them to create pockets of richness during baking.
- Transfer the pie into the preheated oven and bake for 30 minutes, watching the crust develop a golden hue.
- Reduce oven temperature to 375°F, protecting crust edges with aluminum foil if browning occurs too quickly, and continue baking for an additional 30 minutes.
- Remove from oven, acknowledging the initially liquid consistency which will solidify during cooling; let pie rest at room temperature before refrigerating to achieve optimal texture and serve thoroughly chilled.
Notes
- Choose high-quality purified water for the cleanest taste and best results in this unique pie.
- Use room temperature butter to ensure even distribution and smooth melting across the pie surface.
- Avoid stirring ingredients after pouring to maintain the distinct layer separation during baking process.
- Protect pie crust edges with aluminum foil if browning occurs too quickly to prevent burning.
- Refrigerating the pie allows it to set perfectly and enhances the custard-like texture.
- Select a deep-dish pie crust for better liquid containment during the baking technique.
- Experiment with different vanilla extracts like Madagascar or Mexican varieties for subtle flavor variations.
- This recipe works wonderfully as a budget-friendly dessert using minimal ingredients.
- Prep Time: 15 minutes
- Cook Time: 1 hour
- Category: Desserts
- Method: Baking
- Cuisine: American
Nutrition
- Serving Size: 8
- Calories: 250
- Sugar: 25 g
- Sodium: 90 mg
- Fat: 12 g
- Saturated Fat: 7 g
- Unsaturated Fat: 5 g
- Trans Fat: 0.3 g
- Carbohydrates: 35 g
- Fiber: 1 g
- Protein: 2 g
- Cholesterol: 30 mg
Mike Reynolds
Founder & Recipe Developer
Expertise
Farm-to-table cuisine, Seasonal recipe development, Sustainable cooking techniques, Food photography
Education
Asheville-Buncombe Technical Community College (A-B Tech)
Associate Degree in Culinary Arts
Mike studied culinary arts with a strong focus on farm-to-table principles and sustainable cooking. His training emphasized the importance of fresh, local ingredients and environmentally responsible practices in the kitchen.
Mike’s food journey began deep in the Blue Ridge Mountains, where weekends at farmers’ markets and home-cooked meals sparked a lifelong obsession with simple, seasonal eating.
After earning his Associate Degree in Culinary Arts from Asheville-Buncombe Technical Community College, he set out to bring farm-to-table cooking into everyday kitchens, without the fuss.
Mike’s philosophy is all about keeping it fresh, unfussy, and full of heart. When he’s not crafting new single-serving recipes, he’s hiking mountain trails, chatting with local farmers, or experimenting with wild ingredients in his backyard kitchen.