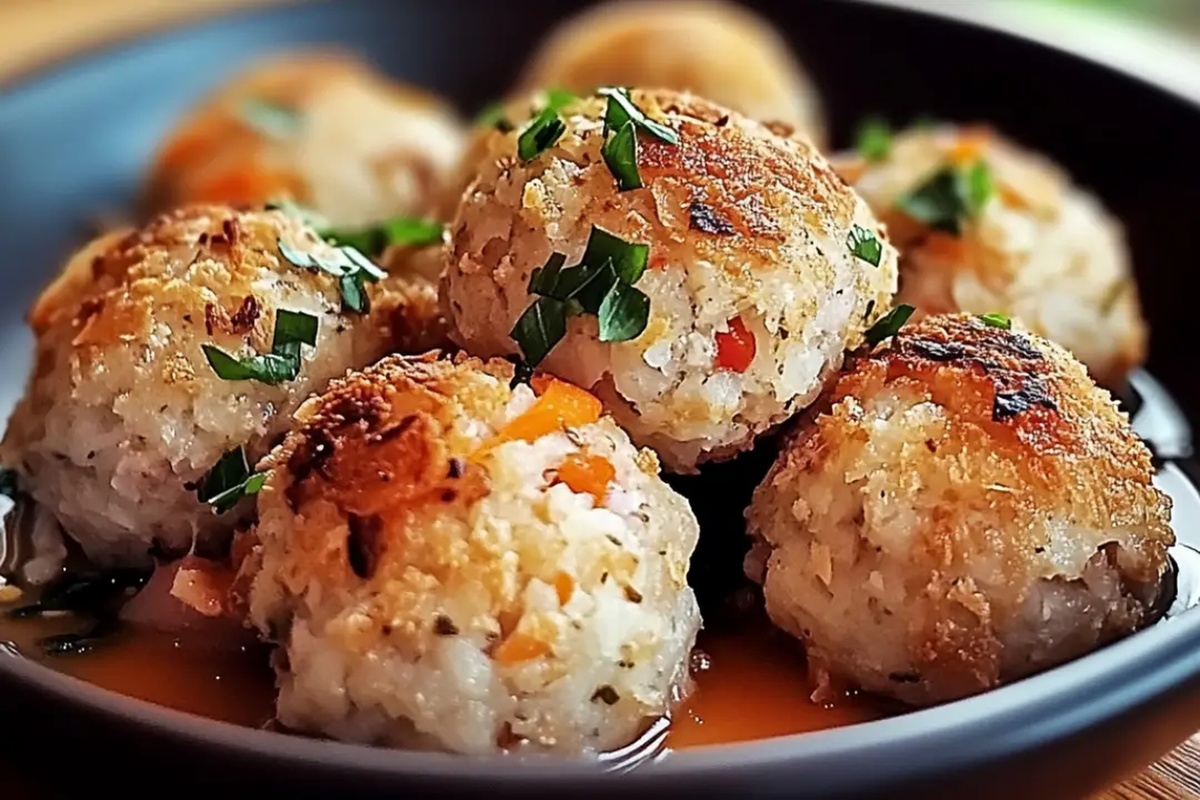
Best White Tuna Balls Recipe: Crispy Bites Everyone Loves
Crispy and golden, these delectable white tuna balls burst with Mediterranean flavors that dance on your palate.
Packed with zesty herbs and tender white tuna, this recipe promises a delightful twist on traditional seafood appetizers.
Each bite delivers a perfect balance of crunch and succulent marine goodness.
The secret lies in selecting fresh ingredients and mixing them with care and precision.
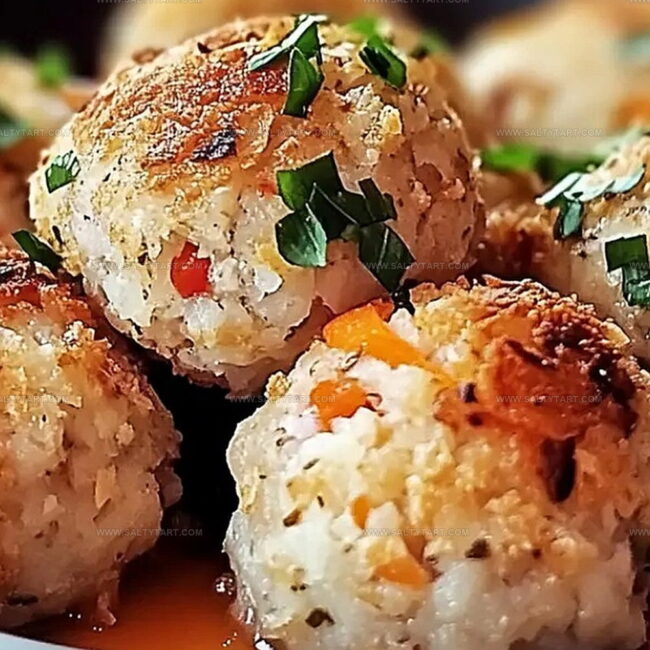
Seasoned with aromatic spices, these tuna balls offer a delightful protein-packed snack that will impress even the most discerning food enthusiasts.
Serve them hot and watch as your guests quickly devour every last morsel of this irresistible culinary creation.
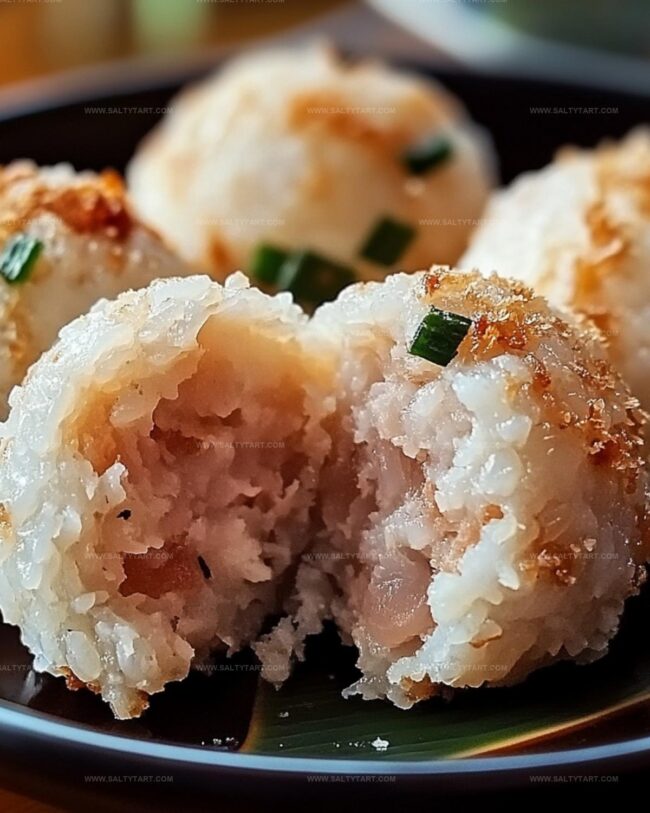
White Tuna Balls That Make a Great Snack
What You Need to Make White Tuna Balls
Main Protein:Binding Ingredients:Seasonings and Flavor Enhancers:Simple Steps for Perfect White Tuna Balls
Step 1: Create Flavorful Tuna Mixture
In a mixing bowl, combine the following ingredients:Blend all ingredients thoroughly until they form a consistent, well-mixed texture.
Step 2: Shape Delectable Tuna Spheres
Gently form the mixture into small round balls, each about the size of a golf ball.
Roll each ball in extra Parmesan cheese to create a delightful crispy coating.
Step 3: Air Fry to Crispy Perfection
Set your air fryer to 400 degrees Fahrenheit.
Carefully arrange the tuna balls in the basket, ensuring they are not touching each other. Cook for 10 minutes, turning the balls halfway through to guarantee even browning and crispiness.
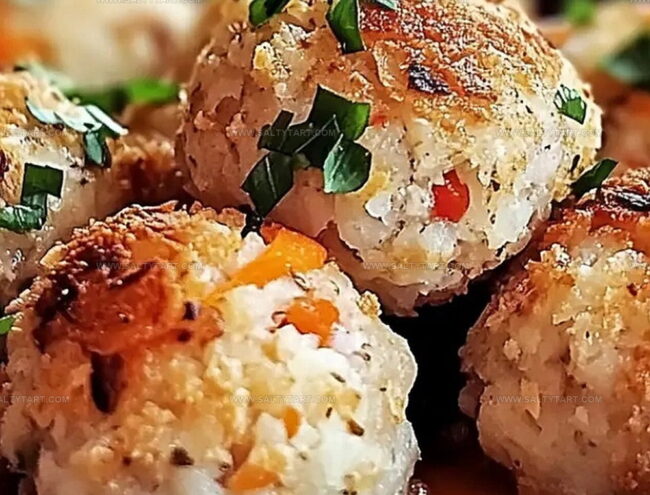
Step 4: Plate and Enjoy
Remove the golden-brown tuna balls from the air fryer. Transfer to a serving plate while they are hot and crisp.
Serve immediately as a delicious appetizer or light meal.
Pro Tips to Elevate White Tuna Balls
Flavor Variations to Spice Up White Tuna Balls
Great Pairings to Serve with White Tuna Balls
How to Store White Tuna Balls Properly
FAQs
Yes, canned white tuna works perfectly for this recipe. Make sure to drain the tuna completely before mixing with other ingredients.
The basic recipe is naturally gluten-free. However, double-check your cheese and seasoning labels to ensure they don’t contain gluten.
Absolutely! Bake them in a preheated oven at 375F (190C) for about 12-15 minutes, turning halfway through to ensure even browning.
Parmesan and mozzarella are great options. Cheddar or a blend of cheeses can also add extra flavor to your tuna balls.
Print
White Tuna Balls Recipe
- Total Time: 25 minutes
- Yield: 4 1x
Description
Succulent white tuna balls blend Mediterranean flavors into irresistible bite-sized delights that dance with zesty herbs and creamy textures. Guests will crave these elegant appetizers that promise a perfect balance of freshness and rich marine essence.
Ingredients
Main Protein:
- 1 can white tuna (drained)
- 1 egg
Cheese:
- 1 cup (240 milliliters) shredded Colby cheese
- 1/4 cup (60 milliliters) Parmesan cheese
Seasonings:
- Salt, to taste
- Pepper, to taste
- 1 teaspoon garlic powder
- 1 teaspoon onion powder
Optional:
- 1/4 cup (60 milliliters) chopped real onions
Instructions
- Combine drained tuna, egg, shredded cheese, and Parmesan cheese in a mixing bowl, incorporating all seasonings like salt, pepper, garlic powder, and onion powder until ingredients are uniformly blended.
- Gently form the mixture into compact spheres approximately 1-inch in diameter, ensuring consistent size for even cooking.
- Roll each formed ball in additional Parmesan cheese to create a crispy exterior coating.
- Activate the air fryer and preheat to 400°F (200°C) for optimal temperature.
- Arrange tuna balls in the air fryer basket, maintaining space between each ball to allow proper air circulation.
- Cook for 10 minutes, rotating the balls midway through to guarantee uniform browning and crispiness.
- Verify doneness by checking for a golden-brown exterior and ensuring internal temperature is thoroughly heated.
- Carefully remove tuna balls from the air fryer and transfer to a serving plate while still warm.
- Garnish with optional fresh herbs or serve with preferred dipping sauce for enhanced flavor.
Notes
- Ensure tuna is well-drained to prevent soggy balls, using paper towels to remove excess moisture.
- Add breadcrumbs or almond flour for extra binding and crispiness, perfect for gluten-free diets.
- Try herbs like dill or parsley to enhance flavor profile and add freshness.
- Replace egg with flax egg for a vegan version, maintaining the same texture and binding properties.
- Prep Time: 15 minutes
- Cook Time: 10 minutes
- Category: Appetizer, Snacks
- Method: Air Frying
- Cuisine: Japanese
Nutrition
- Serving Size: 4
- Calories: 228 kcal
- Sugar: 0.5 g
- Sodium: 410 mg
- Fat: 14 g
- Saturated Fat: 7 g
- Unsaturated Fat: 6 g
- Trans Fat: 0 g
- Carbohydrates: 2 g
- Fiber: 0.3 g
- Protein: 23 g
- Cholesterol: 110 mg
Jess Martinez
Contributing Recipe Writer & Nutrition Consultant
Expertise
Southwestern and Latin American cooking, Nutritional analysis and healthy recipe planning, Cultural food traditions, Modifying traditional dishes for better health
Education
Santa Fe Community College
Certificate in Culinary Arts
Focused on mastering the flavors and cooking methods of traditional Southwestern cuisine.
Jess’s love for bold, homegrown flavors led her straight into the world of Southwestern cooking and cultural nutrition.
After completing her Certificate in Culinary Arts at Santa Fe Community College, she made it her mission to show that good-for-you food can still taste incredible.
At saltytart.com, Jess shares vibrant, health-conscious recipes with roots in tradition but a fresh, modern twist. When she’s not testing new recipes, you’ll find her at local growers’ markets, tending her herb garden, or digging into food history books.